Introduction to Oreo Milkshake
The Sweet Nostalgia of Oreo Milkshakes
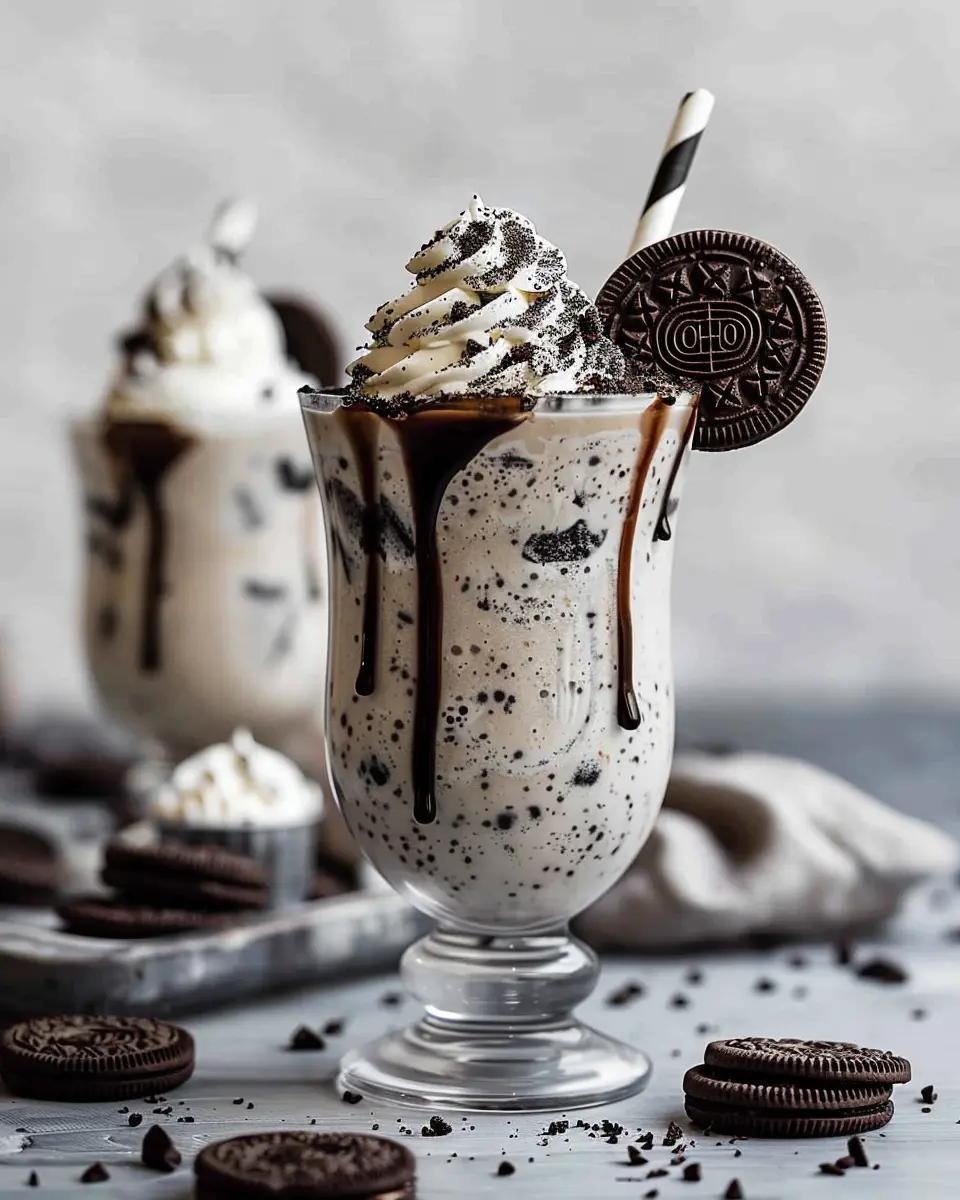
Ah, the Oreo milkshake! Just saying the words brings back a wave of sweet memories from childhood. Do you remember those sunny afternoons spent licking the creamy, frosty concoction that combined the richness of vanilla ice cream and crunchy Oreo cookies? It’s not just a drink; it’s a delicious portal to simpler times filled with laughter and carefree joy.
The appeal of an Oreo milkshake lies in its delightful contrast of textures and flavors. The smooth, velvety base infused with ice cream is complemented by the satisfying crunch of crushed Oreo cookies. This delightful pairing creates an irresistible treat that appeals to both the adventurous foodie and the nostalgic soul. If you’re keen to relive those carefree days or simply indulge in a delightful dessert, this milkshake is a fantastic option.
Let’s face it: life can get hectic. That’s why treating ourselves to something simple yet extraordinary, like an Oreo milkshake, is essential. According to a study by the Journal of Market Research, nostalgic experiences can evoke positive emotions, making us feel happier and more connected to others. What better way to harness those feelings than by making something scrumptious at home?
Ingredients and Variations for Your Oreo Milkshake
Crafting your own Oreo milkshake is not only simple but also opens up a world of creativity. Here’s a quick list of what you’ll need:
- Vanilla ice cream
- Milk (whole or almond, your choice!)
- Oreo cookies
- Whipped cream (optional, but why not?)
- Chocolate syrup (a drizzle adds a nice touch!)
You can switch things up and make it your own! Want to experiment with a peppermint twist? Try adding some mint extract. Feeling adventurous? Throw in a scoop of peanut butter for a new flavor experience!
For some inspiration on creative variations, check out this clever blog post exploring different ways to elevate your Oreos.
So, whether you’re reminiscing about childhood summers or making new memories, the Oreo milkshake is a delightful guilt-free treat that can brighten any day. Think about it—what could be better than sipping on something that not only tastes fantastic but also brings a huge smile to your face? Dive into this recipe and let your taste buds experience the magic!
Ingredients for Oreo Milkshake
Creating a delicious Oreo milkshake is easier than you might think! Let’s dive into the essential components that create this creamy, indulgent treat.
Essential ingredients for a perfect Oreo milkshake
To whip up the ultimate Oreo milkshake, you’ll need just a few key ingredients:
- Oreo cookies: About 4-5 cookies crushed for the perfect chocolaty flavor.
- Vanilla ice cream: 2 cups for creaminess and sweetness.
- Milk: ½ to 1 cup, depending on how thick you like your shake. Whole milk gives a richer texture, but feel free to experiment with alternatives like almond or oat milk.
- Whipped cream: For that perfect topping.
These ingredients work together to create a luscious shake that’s a crowd-pleaser.
Optional toppings and extras to consider
Why stop there? Dress up your Oreo milkshake with these fun toppings:
- Additional crushed Oreos
- Chocolate syrup
- Sprinkles
- A maraschino cherry on top
Feel free to get creative! Adding a hint of mint extract or using chocolate ice cream can also elevate the flavor profile.
For more tips, check out this guide on milkshake variations to inspire your next kitchen adventure!
Preparing Oreo Milkshake
Creating a delicious Oreo milkshake at home is a fun and rewarding experience. Whether you’re looking for a sweet treat on a hot day or just a delightful dessert to satisfy your cravings, a homemade milkshake can do the trick. Let’s dive into the simple steps to make your very own Oreo milkshake—perfect for enjoying on your couch or serving at your next gathering.
Gather Your Equipment
Before you jump into the fun part of making your milkshake, it’s essential to gather your equipment. Here’s what you’ll need:
- A good-quality blender: This is your most important tool. A high-speed blender will give you that smooth texture we all crave in a milkshake.
- Measuring cups: For accurately measuring your ingredients.
- Ice cream scooper: This will make it easier to serve up the ice cream.
- Tall glass or milkshake cup: To showcase your creation—after all, we eat with our eyes first!
- Spoon or straw: For enjoying your delicious concoction.
Having everything in place makes the process smoother and more enjoyable. Plus, it will help you avoid going on a last-minute scavenger hunt!
Prepare the Ingredients
Now that you have your equipment ready, it’s time to prepare the ingredients. Here’s a quick breakdown of what you will need:
- 2 cups of vanilla ice cream: The creaminess of vanilla ice cream is the base of our Oreo milkshake.
- 1 cup of milk: Use whole or 2% milk for a rich, creamy shake.
- 6-8 Oreo cookies: The star of the show! Feel free to adjust this based on how chocolaty you want your shake.
- Optional: Whipped cream and extra Oreos for garnish.
Before you get started, consider how you want your milkshake’s texture. If you’d like it a bit thinner, add more milk; for a thicker shake, reduce the milk slightly. You can also experiment with different ice cream flavors if you’re feeling adventurous—think cookies and cream!
Blend the Milkshake to Perfection
Now comes the exciting part: blending it all together!
- Add the ice cream and milk to your blender. Start with the ice cream, followed by the milk. This helps with blending and prevents any sticking.
- Toss in the Oreo cookies. Don’t worry about breaking them up; the blender will handle that beautifully.
- Blend on medium speed until smooth. This should take about 30 to 45 seconds. If you like chunks of Oreo in your shake, pulse the blender a few times instead of blending it fully.
- Taste and adjust. If it’s not chocolatey enough for your liking, add another Oreo cookie or two, and blend again.
Remember to stop the blender occasionally to scrape down the sides for even mixing. A well-blended Oreo milkshake should have a smooth, fudgy consistency with delightful cookie bits throughout.
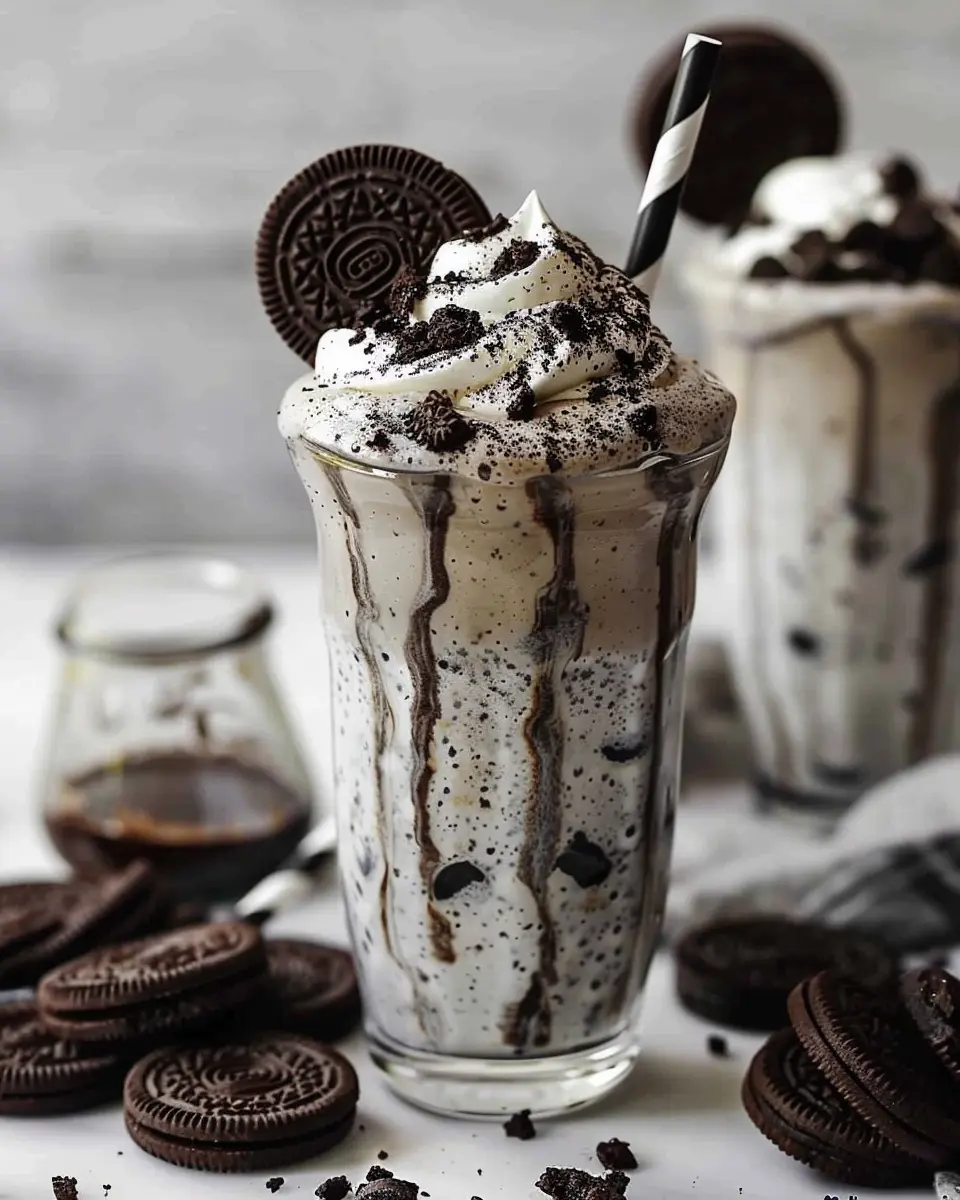
Pour and Garnish with Toppings
Once your milkshake reaches that perfect consistency, it’s time to pour!
- Grab your tall glass or milkshake cup and gently pour in the milkshake.
- For an extra special touch, top it with whipped cream. You can use a canister for neatness or make your own—just whip up some heavy cream with a bit of sugar until peaks form.
- Finally, add crushed Oreos on top for a delightful crunch and visual appeal.
Presenting your Oreo milkshake beautifully elevates the experience, making it all the more enjoyable for you and anyone you serve!
Enjoy and Sip on Homemade Goodness
Now that everything is ready, take a moment to appreciate your creation. Sip slowly and enjoy each delightful taste that comes from this homemade milkshake. There’s something wonderfully satisfying about knowing you made it yourself from scratch.
Share the goodness with friends or enjoy a quiet evening with this sweet treat. And remember, love for milkshakes is universal, so don’t hesitate to share your recipe with others. Want to learn more dessert ideas? Check out resources like Serious Eats and Bon Appétit for even more inspiration!
Happy milkshake-making!
Variations on Oreo Milkshake
When it comes to the classic Oreo milkshake, the possibilities for tasty variations are endless. Here are a few delightful twists to try that will cater to different tastes and dietary needs.
Mint Oreo Milkshake: A Fresh Twist
If you’re looking to add a refreshing touch, consider a Mint Oreo milkshake. Just blend your usual ingredients—ice cream, milk, and Oreos—with a few drops of peppermint extract and some fresh mint leaves. This flavor combo not only adds a cool twist but also makes your shake feel extra festive, especially around the holidays. You can even garnish it with whipped cream and a sprinkle of crushed mint Oreos for an eye-catching presentation.
Cookies and Cream Milkshake: Keeping it Classic
For those who love simplicity, the classic Oreos and vanilla ice cream combo remains unbeatable. Simply blend crushed Oreos with vanilla ice cream and a splash of milk for a smooth texture. This traditional approach lets that rich chocolate flavor shine through, giving you a nostalgic experience reminiscent of your childhood outings to the local diner.
Dairy-Free Oreo Milkshake: Alternatives for Everyone
For those needing a dairy-free option, you don’t have to miss out on the deliciousness of an Oreo milkshake. Substitute regular milk and ice cream with almond milk and coconut ice cream. Blend them together with your favorite crushed Oreos, and you’ve got a delightful treat that’s both creamy and totally satisfying. Alternatives like oat milk or cashew ice cream can also enhance your shake with their unique flavors and textures.
Feel free to explore these variations and perhaps even create your own signature milkshake recipe! The world of Oreos is vast, and every twist is just an adventure waiting to be blended. Check out Nutritional Information for more insights on your chosen ingredients!
Cooking Tips and Notes for Oreo Milkshake
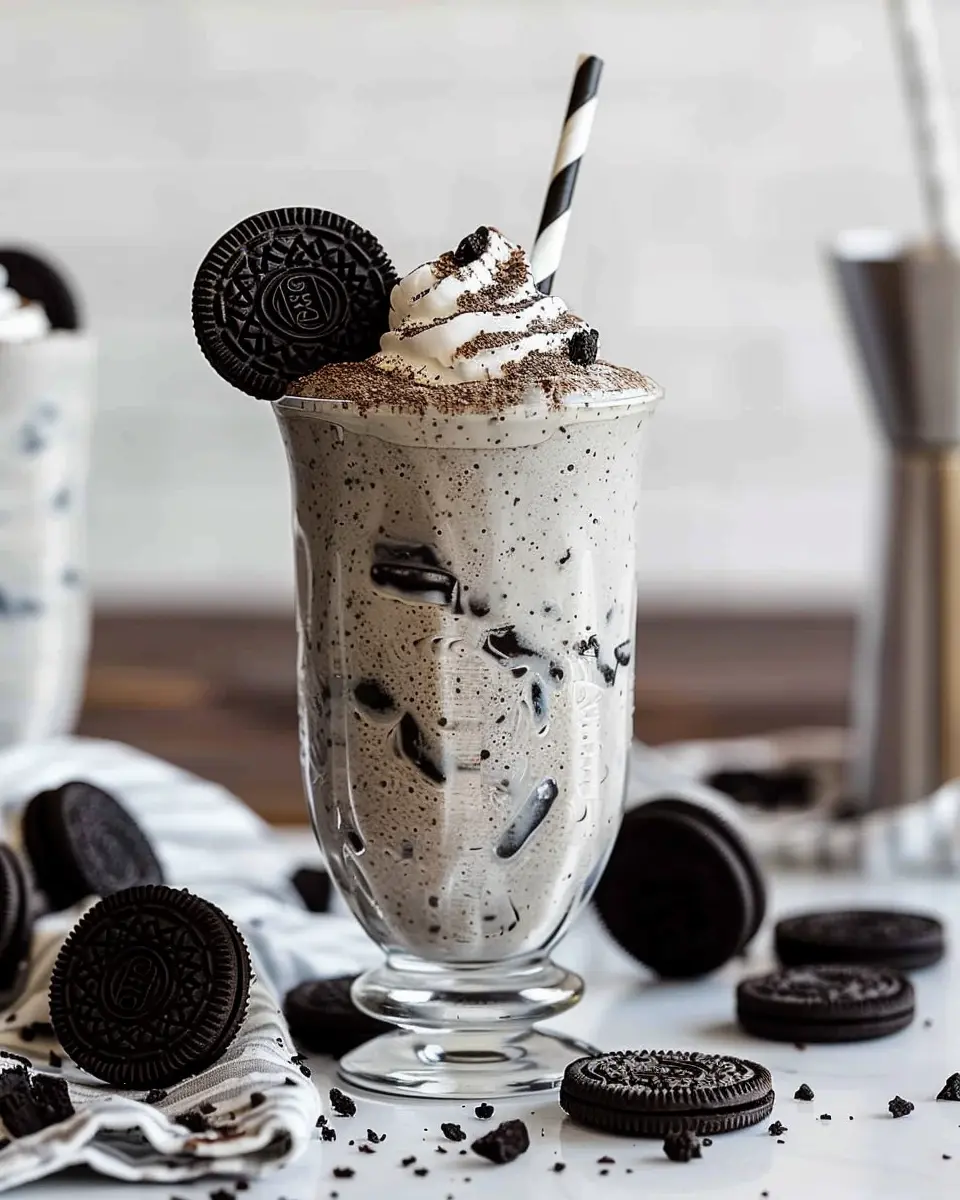
How to Achieve the Perfect Texture
Creating an Oreo milkshake with the right texture is key to enjoying every sip. Start with a good balance of ice cream and milk; typically, two scoops of ice cream and half a cup of milk work perfectly. Blend them briefly, ensuring the ice cream is still somewhat chunky. If you prefer a thicker milkshake, add more ice cream; for a thinner consistency, increase the milk gradually. Don’t forget to toss in a few crushed Oreos just before turning off the blender for that delightful cookie crunch!
Using Different Ice Cream Flavors for Variety
While classic vanilla ice cream is always a hit, why not get adventurous? Try cookies and cream, mints, or even strawberry ice cream to infuse your Oreo milkshake with new flavors. You could also explore dairy-free alternatives made from coconut or almond milk if you’re looking to switch things up. This flexibility not only keeps your palate intrigued but also makes your Oreo milkshake experience uniquely your own.
Feel free to personalize it further! Adding a drizzle of chocolate syrup or a sprinkle of crushed nuts can elevate your milkshake to Instagram-worthy heights. Check out sources like Serious Eats for more frozen treat ideas!
Serving suggestions for Oreo Milkshake
Ideal occasions for sharing milkshakes
An Oreo milkshake is the perfect treat for countless occasions. Whether you’re hosting a summer barbecue, celebrating a friend’s birthday, or having a cozy movie night, this delicious shake adds a touch of indulgence to any moment. You can even serve them at brunch gatherings, paired with delightful pastries or fruity muffins. With their rich flavor and delightful texture, Oreo milkshakes are a crowd pleaser that will leave everyone smiling.
Creative ways to serve your milkshake
Get playful with your presentation to elevate the experience of your Oreo milkshake. Here are some fun ideas:
- Layered Delight: Create a visually appealing layer of whipped cream and crumbled Oreos on top.
- Garnishes: Consider adding chocolate or caramel drizzle around the inside of your glass.
- Shake Station: Set up a DIY milkshake station with various toppings like sprinkles, mini Oreos, or even crushed candy bars for guests to customize their drinks.
- Sip and Share: Serve in oversized glasses or mason jars for a charming touch, and don’t forget to provide fun straws.
For more creative serving ideas, check out resources like Bon Appétit and Food Network. You’ll be inspired to shake things up!
Time details for Oreo Milkshake
Preparation time
Creating a delicious Oreo milkshake is quick and easy! You’ll need around 10 minutes for preparation. This includes gathering your ingredients, measuring them out, and getting everything ready for blending. Trust me, the smell of crushed Oreos will get you excited in no time!
Blending time
Once you’ve prepped your ingredients, blending the perfect Oreo milkshake takes about 2-3 minutes. Just pop everything into your blender and let it whirl until it’s creamy and smooth. Don’t forget to pause for a taste test!
Total time
In total, you’re looking at approximately 15 minutes from start to finish. This means you can indulge in your Oreo milkshake in a flash! Whether it’s a quick treat after work or a midnight snack, this delightful concoction is just moments away. Want to take it up a notch? Add some whipped cream and extra Oreos on top!
For more on culinary adventures, check out Food Network for inspiration.
Nutritional information for Oreo Milkshake
Calories per serving
An Oreo milkshake is a delightful indulgence that packs a flavorful punch! One serving typically contains around 500 calories, making it a rich treat perfect for satisfying those cravings.
Key nutritional stats
But what else is in that delicious shake? Here’s a quick breakdown of the nutritional stats:
- Total Fat: About 22g, primarily from the ice cream and milk
- Saturated Fat: Roughly 12g, mainly from cream and added for that richness
- Carbohydrates: Approximately 70g, with a good portion coming from the Oreo cookies
- Sugar: About 50g, resulting in that sweet, comforting flavor
- Protein: Around 8g, attributed to the milk and any added whipped cream
While a special treat, enjoying an Oreo milkshake occasionally can fit well within a balanced diet. Always consider portion sizes and perhaps pair it with lighter meals throughout the day. If you’re curious about a deeper dive into the nutritional aspects of milkshakes, check out sources like NutritionData for comprehensive insights!
FAQs about Oreo Milkshake
Can I make Oreo milkshake without ice cream?
Absolutely! If ice cream isn’t your thing or if you’re looking for a lighter option, you can create a delicious Oreo milkshake using just milk and frozen Oreos. Blend together the Oreos, milk, and a bit of whipped cream for added richness. Some folks even like to add a dollop of Greek yogurt for creaminess and a protein boost. The result? A lighter, yet still satisfying, treat!
How can I store leftover Oreo milkshake?
If you’re lucky enough to have leftovers (or if you just made too much!), you can store your Oreo milkshake in an airtight container in the fridge. Just remember that it’s best enjoyed fresh, as it can separate or become too icy over time. If you’re looking to enjoy it later, consider blending in a little milk again to regain its creamy texture. A simple shake or stir might also do the trick!
What makes a milkshake thicker or thinner?
The thickness of your Oreo milkshake largely depends on the ingredients you use and their ratios:
-
Thicker Texture: Use less milk and more ice cream or frozen Oreos. You can also add some peanut butter or bananas for a creamier blend.
-
Thinner Texture: If your milkshake ends up too thick, just add a splash more milk and blend.
Experimenting is key. So, whether you prefer your milkshake thick and velvety or smooth and sippable, you have complete control!
For some fantastic tips on achieving the perfect milkshake consistency, check out this guide on kitchen hacks from Food Network. It’s a game-changer for any smoothie or milkshake enthusiast!
Conclusion on Oreo Milkshake
Embracing the joy of homemade treats
Creating your own Oreo milkshake is more than just a delicious venture; it’s a way to infuse some creativity into your day. With just a handful of ingredients—vanilla ice cream, milk, and, of course, Oreo cookies—you have the power to turn an ordinary day into something special. Not only does this delightful concoction satisfy your sweet tooth, but it also allows for endless customization with toppings and mix-ins.
Imagine indulging in a cold, creamy milkshake while reminiscing about childhood memories. Whether enjoyed solo or shared with friends, making an Oreo milkshake is a fun and rewarding experience that reminds us of the simple pleasures in life. What flavor combination will you dream up next?
PrintOreo milkshake: The Best Indulgent Treat You Can Make at Home
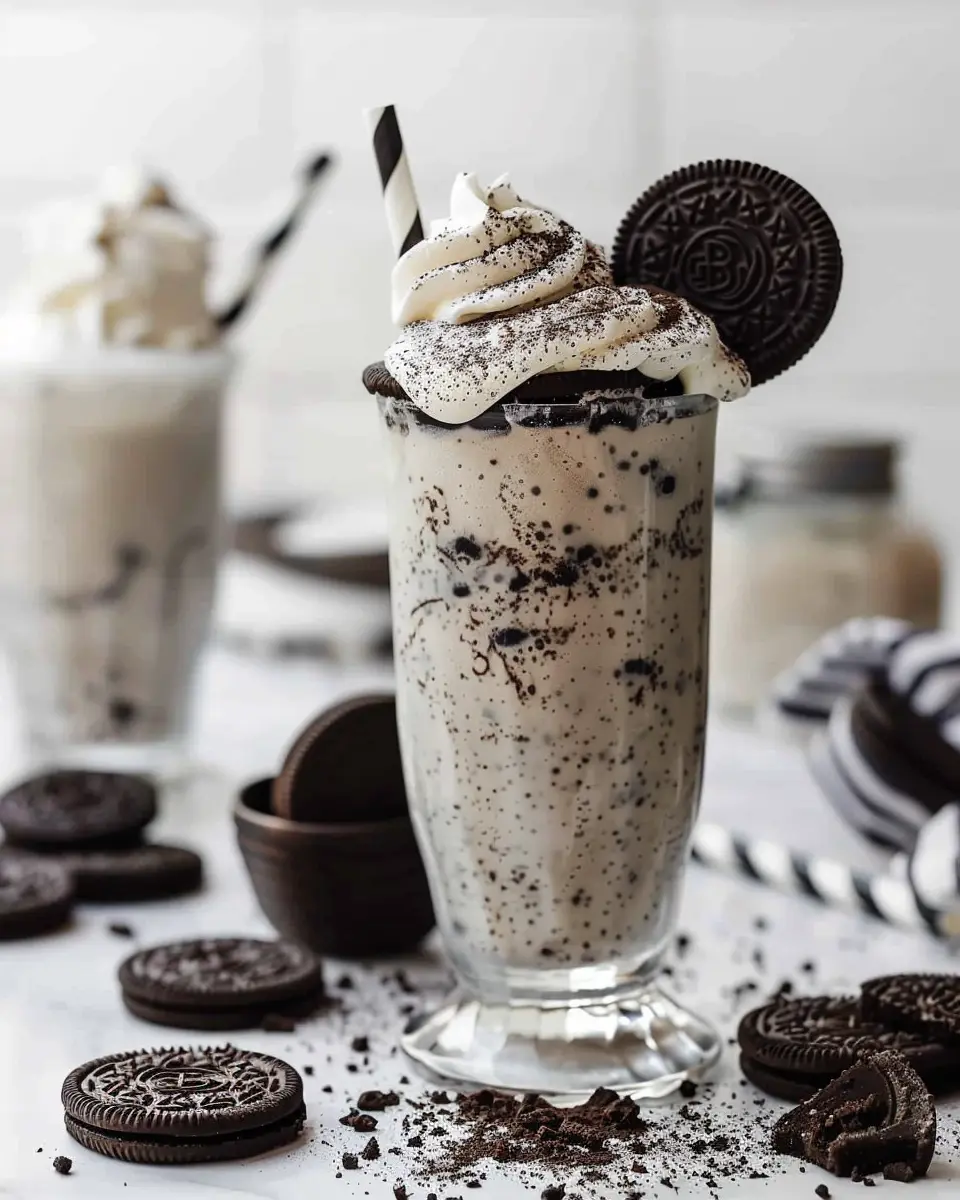
Indulge in the creamy, dreamy delight of an homemade Oreo milkshake, perfect for satisfying your sweet tooth. This milkshake combines rich chocolate flavors with a creamy texture, making it an ideal treat for any occasion.
- Prep Time: 10 minutes
- Total Time: 10 minutes
- Yield: 2 servings
- Category: Dessert
- Method: Blending
- Cuisine: American
- Diet: Vegetarian
Ingredients
- 2 cups vanilla ice cream
- 1 cup milk
- 6 Oreo cookies
- 1 tablespoon chocolate sauce
- Whipped cream for topping
- Oreo crumbs for garnish
Instructions
- In a blender, combine the vanilla ice cream, milk, Oreo cookies, and chocolate sauce.
- Blend on high speed until smooth and creamy.
- Pour the milkshake into glasses and top with whipped cream and Oreo crumbs.
- Serve immediately and enjoy!
Notes
- For a thicker milkshake, use less milk.
- Add more Oreos for an extra chocolatey flavor.
Nutrition
- Serving Size: 1 glass
- Calories: 450
- Sugar: 45g
- Sodium: 180mg
- Fat: 22g
- Saturated Fat: 12g
- Unsaturated Fat: 8g
- Trans Fat: 0g
- Carbohydrates: 58g
- Fiber: 2g
- Protein: 6g
- Cholesterol: 80mg