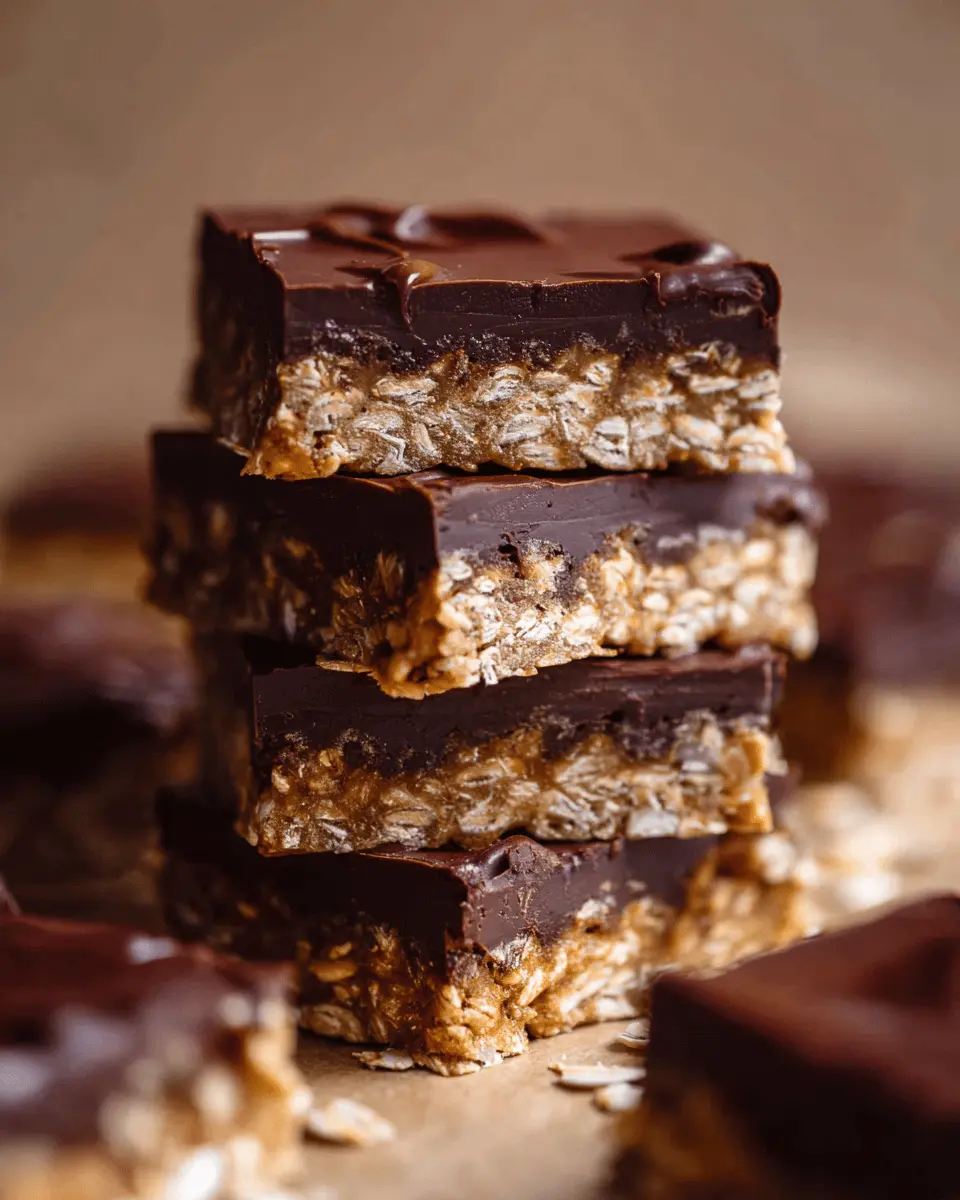
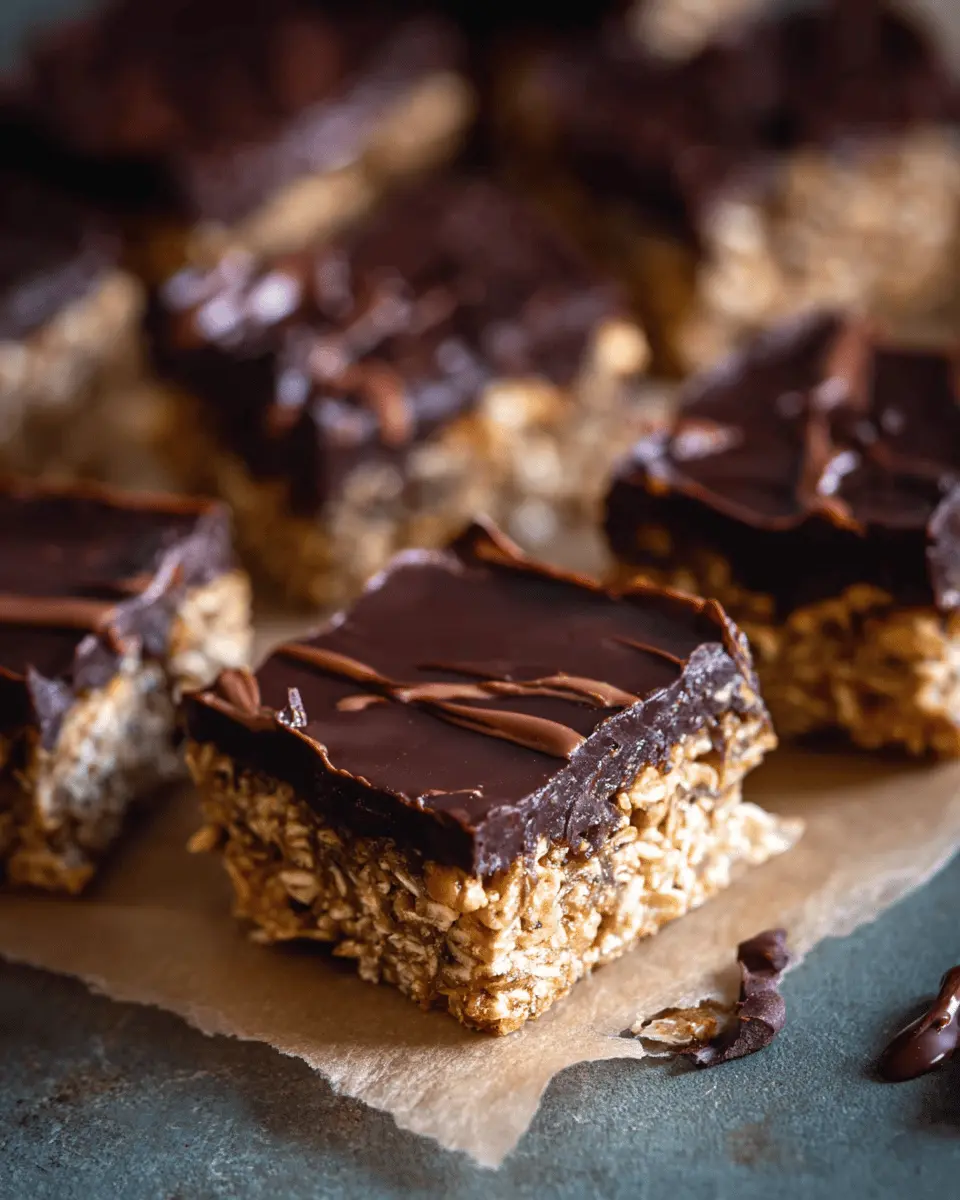
Introduction to No Bake Chocolate Oat Bars
When life gets busy, finding time to whip up a homemade treat can feel nearly impossible. That’s where the magic of no bake chocolate oat bars comes into play. These delightful bars offer you the opportunity to satisfy your sweet tooth without the need for an oven. Simply mix, chill, and enjoy. The convenience factor is a game changer, especially when you’re juggling deadlines and social commitments.
Why No Bake? The Convenience Factor
With the hustle of everyday life, who has time for long baking sessions? The beauty of no bake chocolate oat bars lies in their simplicity. You don’t need extensive culinary skills or specialized equipment. Just a few hearty ingredients—oats, chocolate, nut butter, and a touch of sweetness—and you’re on your way to a delicious snack. Plus, without the hassle of heating your kitchen, these bars are perfect for hot summer days or spontaneous gatherings.
- Quick to Prepare: Minimal prep time means less stress.
- Easy Clean-Up: Fewer dishes to wash is always a win.
- Versatile: Customize with your favorite mix-ins, such as nuts, seeds, or dried fruits.
A Sweet Solution for Busy Young Professionals
In today’s fast-paced world, easy-to-make snacks can feel like a rare find. For young professionals, snacking can often mean unhealthy convenience foods that offer little nutritional value. That’s why no bake chocolate oat bars emerge as a practical solution. Not only are they indulgent and satisfying, but they also provide energy boosts to keep you going throughout your day.
Imagine this: You finish a long day at work, and instead of reaching for junk food, you have a stash of these bars ready to grab. They are not just delicious; they can be a source of sustained energy. Oats are known for their filling properties, while the chocolate adds that much-needed sweetness, making them a balanced choice.
For more ideas on quick, nutritious snacks, visit health-focused sites like Healthline or Active.com. These bars aren’t just a recipe; they’re a lifestyle choice! So, why not treat yourself to a batch today? You deserve it.
Ingredients for No Bake Chocolate Oat Bars
When craving a tasty, nutritious snack, these no bake chocolate oat bars have you covered! They’re simple to make and perfect for those busy days. Let’s dive into the key ingredients you’ll need.
Key ingredients you’ll need
To whip up your delicious no bake chocolate oat bars, gather the following essentials:
- Old-fashioned oats: The heart and soul of the bars, providing a chewy texture.
- Nut butter: Almond or peanut butter works wonders for binding and flavor.
- Sweetener: Use honey, maple syrup, or agave nectar for a touch of sweetness.
- Dark chocolate: Choose high-quality chocolate chips for melting and drizzling on top.
- Coconut oil: This adds richness and helps the chocolate set perfectly.
Optional add-ins for customization
Feeling adventurous? Tailor your no bake chocolate oat bars with these fun add-ins:
- Chopped nuts: Almonds, walnuts, or pecans add a satisfying crunch.
- Dried fruits: Raisins, cranberries, or apricots introduce natural sweetness.
- Seeds: Chia, flax, or pumpkin seeds boost the nutritional value.
- Spices: A dash of cinnamon or vanilla extract brings warmth and depth to the flavor.
These ingredients not only create a delightful treat but also provide a healthy bite that will keep you fueled throughout your busy schedule. For more tips on healthy snacking, check out resources like the Mayo Clinic or American Heart Association. Happy snacking!
Preparing No Bake Chocolate Oat Bars
No bake chocolate oat bars are an indulgent, yet surprisingly wholesome treat. Whether you’re on a busy schedule, looking for a quick dessert option, or simply craving something sweet, this easy recipe will make you an instant fan. Let’s walk through the preparation process step-by-step, ensuring you create something delicious without breaking a sweat!
Melt the butter
First things first—grab yourself some unsalted butter. You’ll need about half a cup, which you can easily melt in a microwave-safe bowl. Heat it in 20-second increments, stirring in between, until it’s fully melted. Why butter, you ask? Not only does it add richness, but it also acts as the glue that holds our no bake chocolate oat bars together. Plus, there’s something comforting about working with butter, isn’t there?
Tip: If you’re watching your fat intake, you can swap half of the butter for applesauce to maintain some moisture while cutting back on calories.
Combine sugar and vanilla
Once your butter is nicely melted, it’s time to sweeten things up! Add one cup of brown sugar to your melted butter, along with a splash of vanilla extract—about a teaspoon will do. Use a whisk to thoroughly combine these ingredients until the sugar is mostly dissolved. This step is crucial! The flavor profile of your oat bars will hinge on how well you blend in that sugar and vanilla. A good mix allows for that sweet, comforting aroma that fills your kitchen and makes everyone think of home-baked goodness.
Did you know? Brown sugar adds a hint of molasses, which not only enhances taste but also provides some mineral benefits compared to white sugar. Check out this Nutrition Data article for more info!
Mix in the oats
Now it’s time for the star ingredient, oats! Grab 2 cups of rolled oats, preferably whole grain for added fiber and nutrition. Stir the oats into your butter mixture until everything is well combined. This is where the magic happens—each oat absorbs that sweet, buttery goodness.
A little tip: If you’re looking for extra texture, consider adding half a cup of chopped nuts or seeds at this stage. Not only do they enhance the flavor, but they’ll also provide some healthy fats and protein—perfect for that post-workout snack!
Create the chocolate layer
Everyone loves a little chocolate, right? In a separate microwave-safe bowl, melt one cup of semi-sweet chocolate chips alongside a tablespoon of coconut oil for that glossy finish. Heat the mixture in short bursts and stir until smooth. Once melted, pour this over your oat mixture, stirring gently until you can hardly see the oats anymore—they should be fully coated in chocolate love!
Feeling adventurous? Add a sprinkle of sea salt on top of the chocolate layer. It really elevates the flavor and balances out the sweetness!
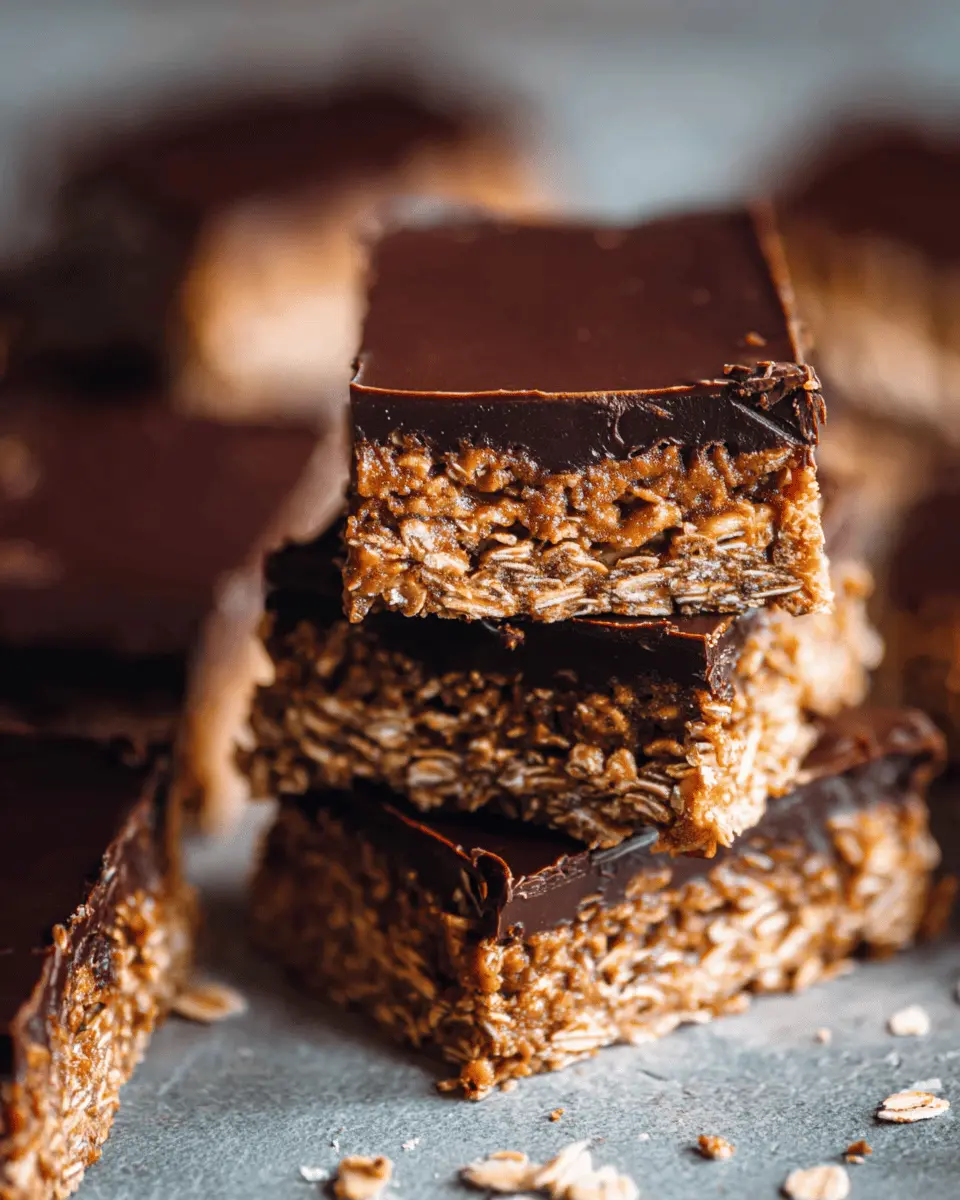
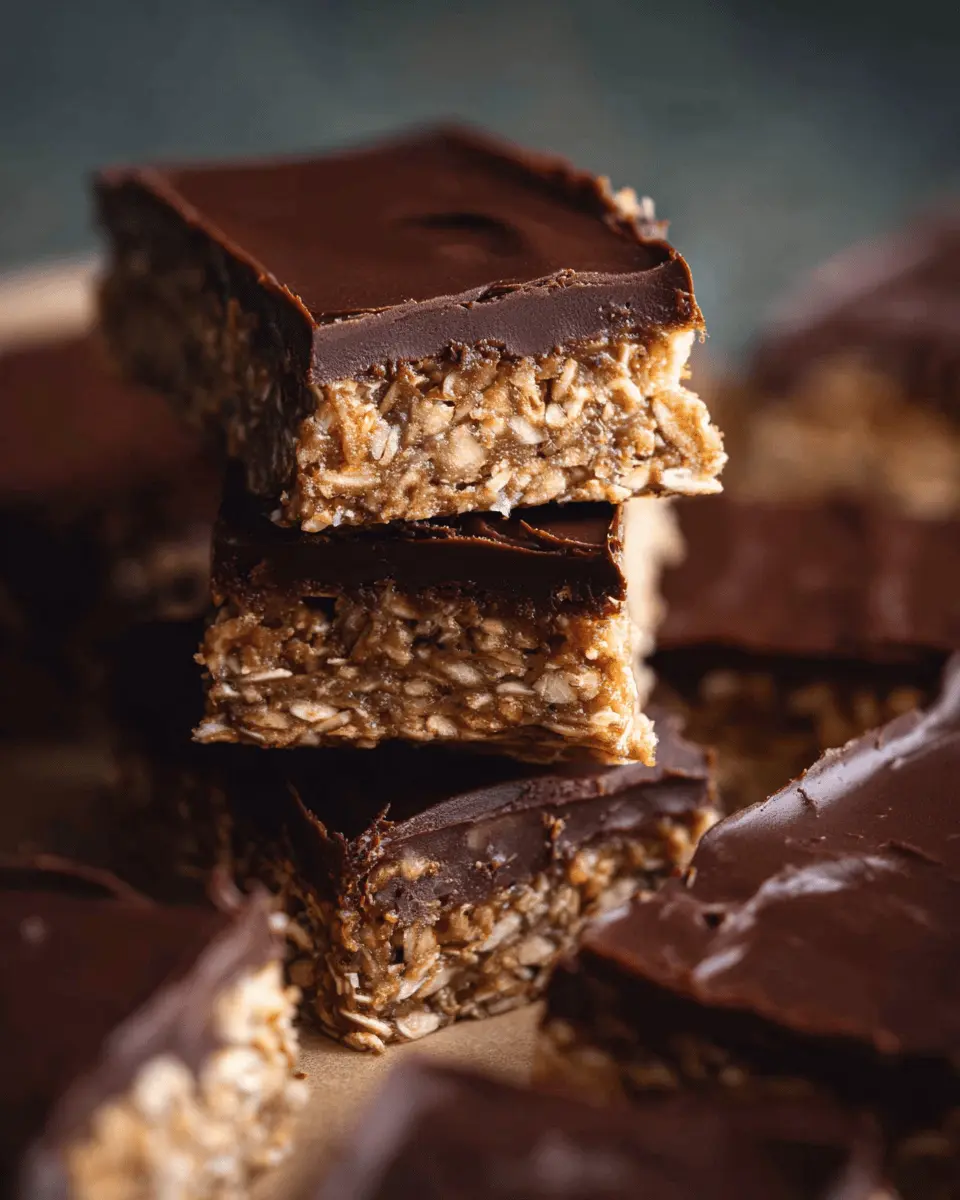
Assemble and chill
Finally, it’s time to assemble our no bake chocolate oat bars. Pour the combined oat-chocolate mixture into a parchment-lined 9×9-inch baking dish. Use a spatula to press it down firmly; this ensures that your bars remain intact when you cut them. Place your filled dish in the fridge for at least 1-2 hours, or until fully set.
Patience is key here! A good chill is what binds everything together into lovely, sliceable bars. Once set, cut them into squares or rectangles—whatever your heart desires. You can store them in an airtight container in the fridge for up to a week, though I doubt they’ll last that long!
Enjoy whipping up these no bake chocolate oat bars! You can feel good about indulging, and they’re perfect for sharing at parties, or when you need a quick pick-me-up. Trust me; once you taste them, you’ll be making them again and again!
Variations on No Bake Chocolate Oat Bars
No bake chocolate oat bars are undeniably versatile and can cater to a variety of tastes and dietary needs. Here are some fun ways to switch up your creation, ensuring there’s a version for everyone in your circle.
Add Nuts or Seeds for Crunch
Adding nuts or seeds not only gives your no bake chocolate oat bars a delightful crunch but also boosts their nutritional value. Consider mixing in:
- Chopped almonds or walnuts for a nutty flavor.
- Sunflower seeds or chia seeds for an added protein punch.
These additions can provide healthy fats and keep you feeling full longer. Plus, the texture contrast is a huge hit—who can resist that?
Go Gluten-Free or Dairy-Free
If you’re catering to specific dietary restrictions, it’s easy to adjust your no bake chocolate oat bars. Opt for gluten-free oats and use nut butter instead of conventional butter. Coconut oil is also a fantastic substitute for butter, making it naturally dairy-free. Brands like Bob’s Red Mill offer gluten-free oats that are reliable and tasty!
Incorporate Dried Fruits for a Twist
Want to add a touch of sweetness and chewiness? Dried fruits like cranberries, apricots, or raisins can take your bars to the next level. They add flavor depth and packs a nutritional wallop, providing essential vitamins and minerals. Plus, the pops of color from dried fruits can make your no bake chocolate oat bars visually appealing.
Get creative, mix and match based on what you love! Each variation not only personalizes your recipe but also guarantees a crowd-pleaser tailored to your taste buds.
Cooking notes for No Bake Chocolate Oat Bars
Tips for achieving the best texture
To create the perfect no bake chocolate oat bars, texture is key. Here’s how to nail it:
- Use rolled oats: They provide a chewy, satisfying bite compared to quick oats.
- Don’t skip the nut butter: A good peanut butter or almond butter adds creaminess and binds the ingredients effectively. Using natural nut butters without added sugars will keep your bars healthy.
- Chill adequately: Let the mixture set in the fridge for at least an hour before cutting. This step ensures they hold together while delivering that delightful crunch!
Troubleshooting common issues
If your no bake chocolate oat bars are crumbling, consider these tips:
- Too dry? You might need more nut butter or sweetener. A touch of honey or maple syrup can help.
- Too sticky? Dust your hands with a bit of cocoa powder or coconut flour when shaping to prevent sticking.
For more insights on ingredient ratios, check out this helpful resource. Happy cooking!
Serving Suggestions for No Bake Chocolate Oat Bars
Best ways to enjoy them
There’s something truly satisfying about no bake chocolate oat bars. They’re perfect for busy days or a sweet treat at night. Try enjoying them chilled straight from the fridge for a refreshing bite, or warm them slightly in the microwave for a melty delight. If you’re feeling adventurous, add a scoop of your favorite nut butter on top for that extra creamy texture. The contrast of the rich chocolate and nutty flavor is simply irresistible!
Pairing options for a complete snack
To elevate your snack experience, consider pairing these bars with fruit or a protein-rich beverage. Here are some tasty ideas:
- Serve with fresh berries for a delightful contrast.
- Enjoy alongside a cup of herbal tea or a cold brew coffee.
- Pair with Greek yogurt for a boost of protein.
For more pairing inspiration, check out this article from Healthline. By mixing and matching these options, you can create a satisfying snack that fuels your busy lifestyle while keeping things delicious!
Time Breakdown for No Bake Chocolate Oat Bars
Preparation Time
Making these no bake chocolate oat bars is a breeze! You’ll need about 10 minutes to gather your ingredients and mix everything together. It’s perfect for those busy days when you want a quick treat without the fuss of baking.
Cooking Time
Believe it or not, there’s no actual cooking involved in this recipe. You won’t need to turn on the oven, making it an excellent choice if you’re looking to save energy or avoid heat in the kitchen.
Total Time
In just about 30 minutes, you can whip up a batch of these delightful bars. After prepping, you’ll let them chill in the refrigerator for at least 20 minutes. It’s a small wait for a delectable reward!
For tips on using quality chocolate, check out this chocolate expert’s guide. You’ll be amazed at how the right choice can elevate your no bake chocolate oat bars!
Nutritional Facts for No Bake Chocolate Oat Bars
Calories and Serving Size
When you whip up a batch of no bake chocolate oat bars, it’s helpful to know that each bar roughly contains around 150-200 calories, depending on the specific ingredients you use. Ideal for a quick snack, a serving size is typically one bar, which makes it easy to grab when you’re on the go.
Key Nutrients to Keep in Mind
These delightful bars pack a nutritional punch with important nutrients such as:
- Fiber: Oats are a great source of soluble fiber, aiding in digestion and keeping you full longer.
- Healthy Fats: Ingredients like nut butter contribute good fats that are essential for overall health.
- Antioxidants: Dark chocolate adds a touch of sweetness while providing antioxidants that combat free radicals in the body.
For more insights about the goodness of oats, you might want to check out Whole Grains Council.
Have you ever swapped out traditional sweeteners for something like honey or maple syrup? This can further enhance the health benefits while keeping your no bake chocolate oat bars delicious. You’re not just treating yourself; you’re fueling your day!
FAQs about No Bake Chocolate Oat Bars
How do I store these bars?
Storing your no bake chocolate oat bars is a breeze! For the best freshness, keep them in an airtight container at room temperature if you plan to enjoy them within a week. For longer storage, the fridge works brilliantly, just give them a little time to warm up before digging in to maintain that deliciously chewy texture.
Can I freeze them?
Absolutely! Freezing is a fantastic option if you’re batch cooking or just want to save some for later. Wrap each bar tightly in plastic wrap, and then place them in a resealable freezer bag. These bars can last up to three months in the freezer. When you’re ready to indulge, simply take them out and let them thaw at room temperature or pop them in the fridge for a quicker solution.
What modifications can I make to the recipe?
The beauty of no bake chocolate oat bars lies in their versatility. Here are a few ideas to customize your bars:
- Sweeteners: Swap out honey for maple syrup for a vegan-friendly version.
- Add-ins: Throw in some dried fruits like raisins or cranberries, or a scoop of nut butter for extra creaminess.
- Textures: Consider adding seeds, such as chia or flax, for an added crunch and nutritional boost.
Feel free to get creative with ingredients you love! Remember, these bars are as much about enjoying the process as they are about the delicious end result.
For more ideas, check out this article on healthy snack swaps for additional inspiration!
Conclusion on No Bake Chocolate Oat Bars
Embracing homemade snacks
Finding time to whip up delicious, homemade snacks like no bake chocolate oat bars can elevate your snacking game. Not only are they a healthier alternative, but they can also save you money while satisfying your sweet cravings. Plus, making your own snacks gives you full control over the ingredients, so you know exactly what you’re munching on!
Encouragement to get creative in the kitchen
Now, don’t be afraid to get creative! Feel free to experiment with different mix-ins—dried fruits, nuts, or even a swirl of nut butter. There’s no wrong way to enjoy these bars. Embrace the creativity of cooking and make it a fun experience. Who knows? You might just discover your new favorite version! For more inspiration, check out this article on healthy snacking ideas. Happy snacking!
PrintNo Bake Chocolate Oat Bars: Easy, Indulgent Treats for Everyone
These No Bake Chocolate Oat Bars are a deliciously easy treat that everyone will love. Perfect for a quick snack or dessert!
- Prep Time: 15 minutes
- Total Time: 1 hour 15 minutes
- Yield: 16 bars
- Category: Desserts
- Method: No Bake
- Cuisine: American
- Diet: Vegetarian
Ingredients
- 2 cups rolled oats
- 1 cup creamy peanut butter
- 1/2 cup honey
- 1/4 cup unsweetened cocoa powder
- 1 cup chocolate chips
Instructions
- In a large bowl, combine rolled oats, peanut butter, honey, and cocoa powder until well mixed.
- Fold in the chocolate chips until evenly distributed.
- Press the mixture firmly into a lined baking dish.
- Refrigerate for at least 1 hour before cutting into bars.
- Store in an airtight container in the refrigerator.
Notes
- For added flavor, you can include nuts or dried fruits in the mixture.
- Make sure to pack the mixture tightly in the baking dish for the best results.
Nutrition
- Serving Size: 1 bar
- Calories: 180
- Sugar: 10g
- Sodium: 50mg
- Fat: 9g
- Saturated Fat: 2g
- Unsaturated Fat: 6g
- Trans Fat: 0g
- Carbohydrates: 21g
- Fiber: 3g
- Protein: 6g
- Cholesterol: 0mg