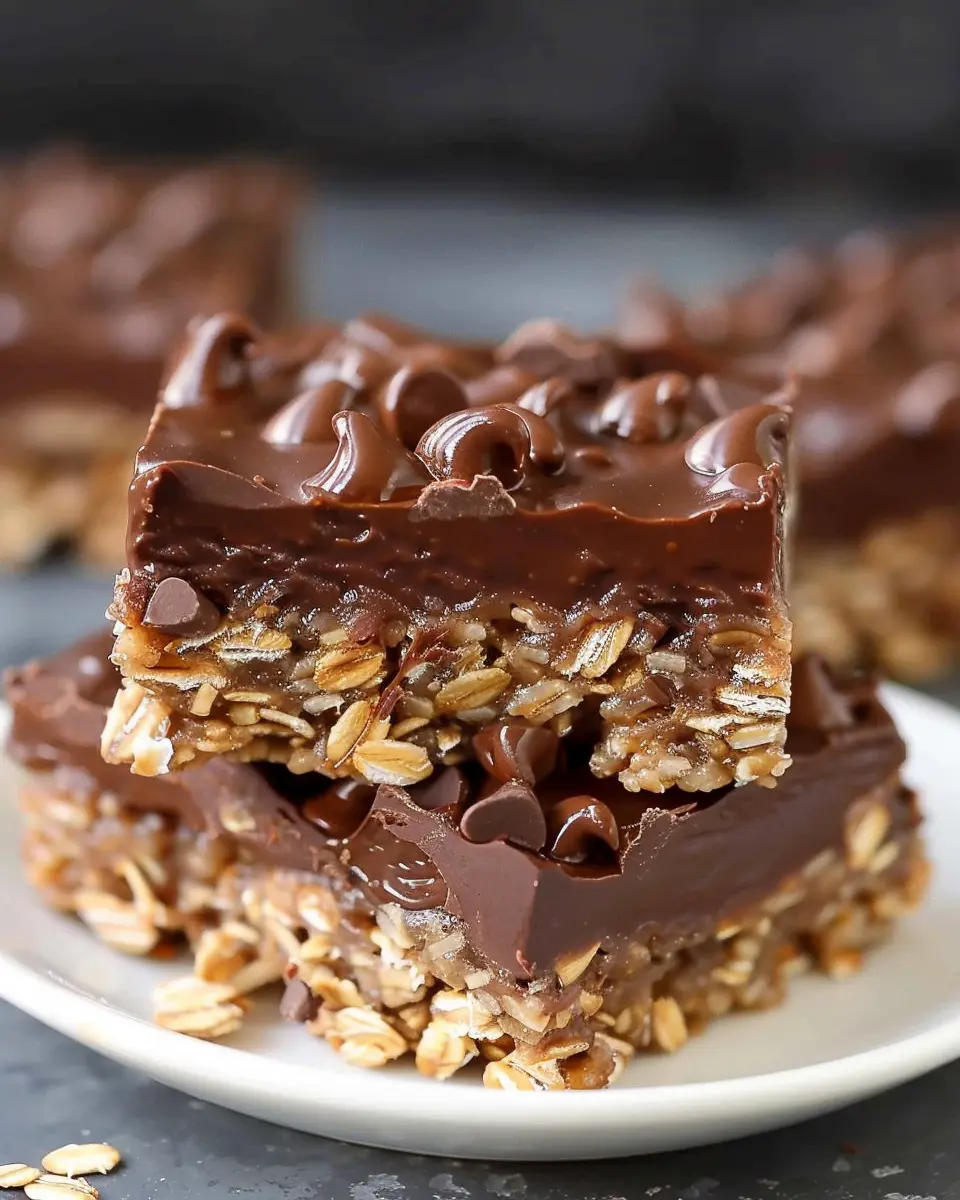
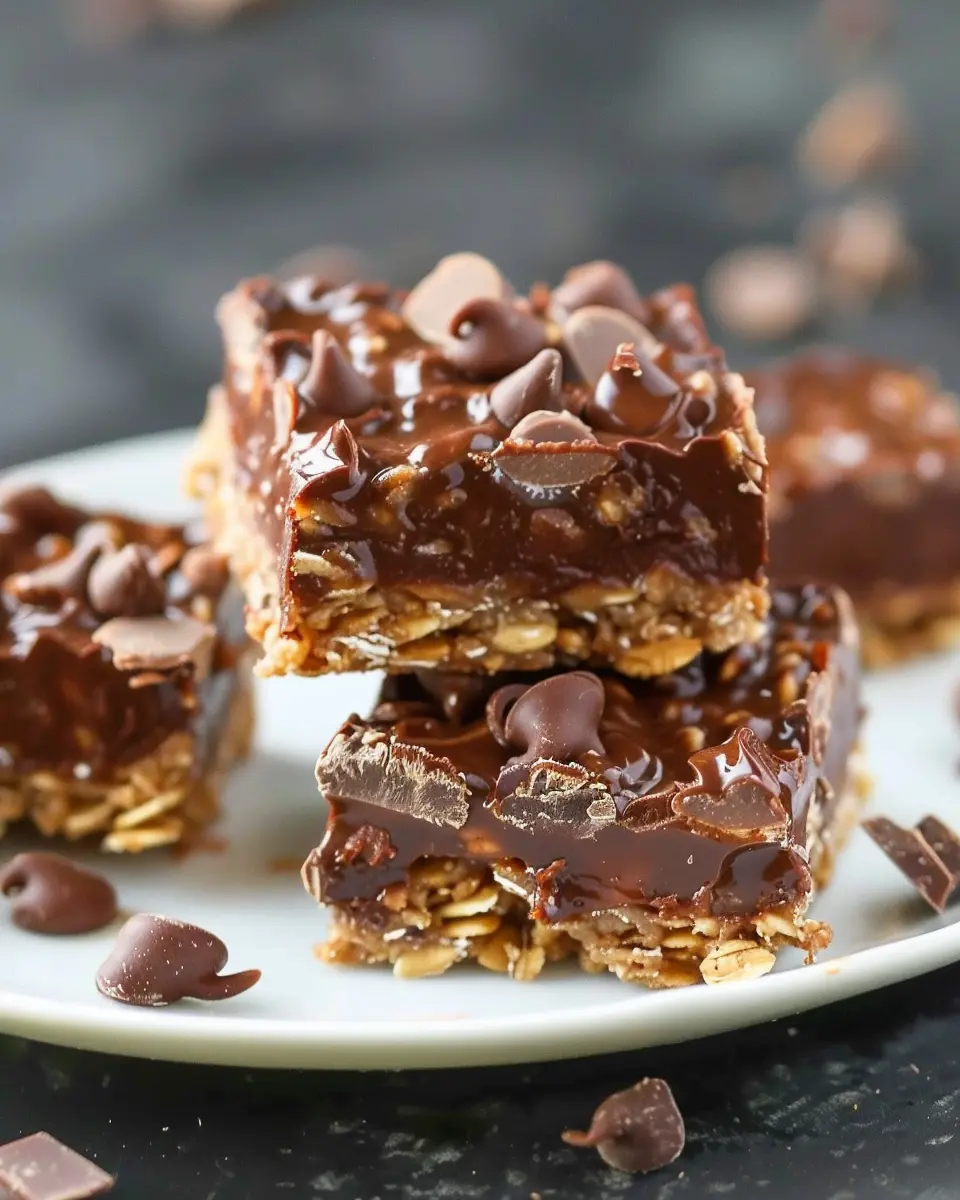
Introduction to No-Bake Chocolate Oat Bars
Why no-bake? The convenience factor
Let’s face it: life is hectic, and sometimes the thought of baking can feel more like a chore than a creative outlet. That’s where no-bake chocolate oat bars come into play! These delightful treats let you skip the oven, allowing for a quicker cooking process that fits perfectly into any busy schedule. You can whip them up in no time, using just a handful of ingredients and a mixing bowl.
With no need for heating up your kitchen, you can enjoy your delicious bars without the sweat. And let’s not forget the flexibility this recipe offers; you can easily customize it by adding your favorite nuts, seeds, or dried fruits. The simplicity and speed of creating these bars make them an accessible snack option for everyone—from busy young professionals to bustling families.
The joy of homemade treats
There’s something truly magical about homemade snacks, isn’t there? When you craft your own no-bake chocolate oat bars, you infuse them with love and creativity. You can control what goes into each delicious bite, ensuring they are made without preservatives and artificial ingredients often found in store-bought snacks. Plus, you get to enjoy the rich, chocolaty aroma as you mix your ingredients.
Making your own treats also allows for experimentation. Ever thought about adding a pinch of sea salt for a sweet-savory balance or drizzling some almond butter on top? With homemade bars, the possibilities are endless! You can find inspiration from reputable sources like the American Heart Association, which emphasizes the benefits of a balanced diet filled with wholesome ingredients.
Beyond nutritional benefits, there’s a proud feeling that comes with sharing homemade goodies. The joy on friends’ and family’s faces when they bite into a freshly made bar is priceless, making it all the more worth the effort. So, grab your mixing bowl and join me in this delicious journey of making no-bake chocolate oat bars that will surely impress your loved ones.
Ingredients for No-Bake Chocolate Oat Bars
Essential ingredients overview
Creating delicious no-bake chocolate oat bars is simple and satisfying. Here’s what you’ll need to get started:
- Rolled oats: These provide the base and make your bars hearty.
- Nut butter: Peanut butter or almond butter works beautifully to bind the ingredients together.
- Honey or maple syrup: Both act as sweeteners and help create that chewy texture.
- Cocoa powder: This is essential for that rich chocolate flavor that you crave.
- Chocolate chips: Use dark or semi-sweet for an indulgent touch.
Alternative options for common ingredients
Don’t stress if you lack something on the list! There are plenty of swaps you can make:
- Oats: If you’re gluten-free, try certified gluten-free oats.
- Nut butter: For nut allergies, sunflower seed butter is a great alternative.
- Sweeteners: You can substitute honey with agave or brown rice syrup for a vegan option.
Finally, feel free to add extras like dried fruit or seeds for added flavor and texture. Check out more ideas on healthyeating.com!
Step-by-Step Preparation of No-Bake Chocolate Oat Bars
No-bake desserts are often a lifesaver for busy professionals looking for quick and delicious treats. Our no-bake chocolate oat bars not only satisfy your sweet cravings but also provide some wholesome ingredients that leave you feeling good about what you’re eating. Let’s dive into the prep steps!
Gather Your Ingredients
First things first, let’s get organized! Before you whip up your no-bake chocolate oat bars, make sure you have all the necessary ingredients at hand. Here’s what you’ll need:
- 2 cups rolled oats
- 1 cup nut butter (like almond or peanut butter)
- 1/2 cup honey or maple syrup
- 1/2 cup unsweetened cocoa powder
- 1/4 cup melted coconut oil or butter
- 1 tsp vanilla extract
- A pinch of salt
- 1/2 tsp cinnamon (optional)
- 1/2 cup semi-sweet chocolate chips (for topping)
Feel free to mix and match according to your taste, but these are the core ingredients you don’t want to miss!
Melt the Butter and Mix in Sweeteners
Now that you’ve got everything in place, it’s time to make the base of your no-bake chocolate oat bars. Start by melting your butter (or coconut oil) in a saucepan over low heat. Once melted, remove from heat and stir in your chosen sweetener—whether that’s honey or maple syrup, both work beautifully here. This mixture should blend smoothly and smell divine.
A little tip: If you’re using honey, always use raw honey for the best flavor and health benefits. The touches of warmth will help activate flavors that can lift your bars to a new level.
Combine Oats, Cinnamon, and Salt
In a large mixing bowl, combine your rolled oats, a pinch of salt, and if you’d like to sprinkle in some warmth, toss in that delicious cinnamon. Give it a good mix so everything is evenly distributed. You want those oats to absorb all the wonderful flavors you have planned for them.
Did you know? Whole grains like oats can lower cholesterol and improve heart health. So, not only are these bars tasty, but they’re also beneficial for your body.
Layering the Bar Mixture
Now that your dry ingredients are ready, it’s time to incorporate your melted sweetened butter mixture. Pour it over the oat mixture and stir until everything is well combined. You’ll want a consistent texture, so ensure there are no dry oats peeking through.
Next, line a square baking dish with parchment paper for easy removal later. Press the mixture firmly into the bottom of the dish. You can use a spatula or your hands to make sure you create an even layer—pressing down ensures your bars hold together when it’s time to cut them.
Melting Chocolate and Peanut Butter
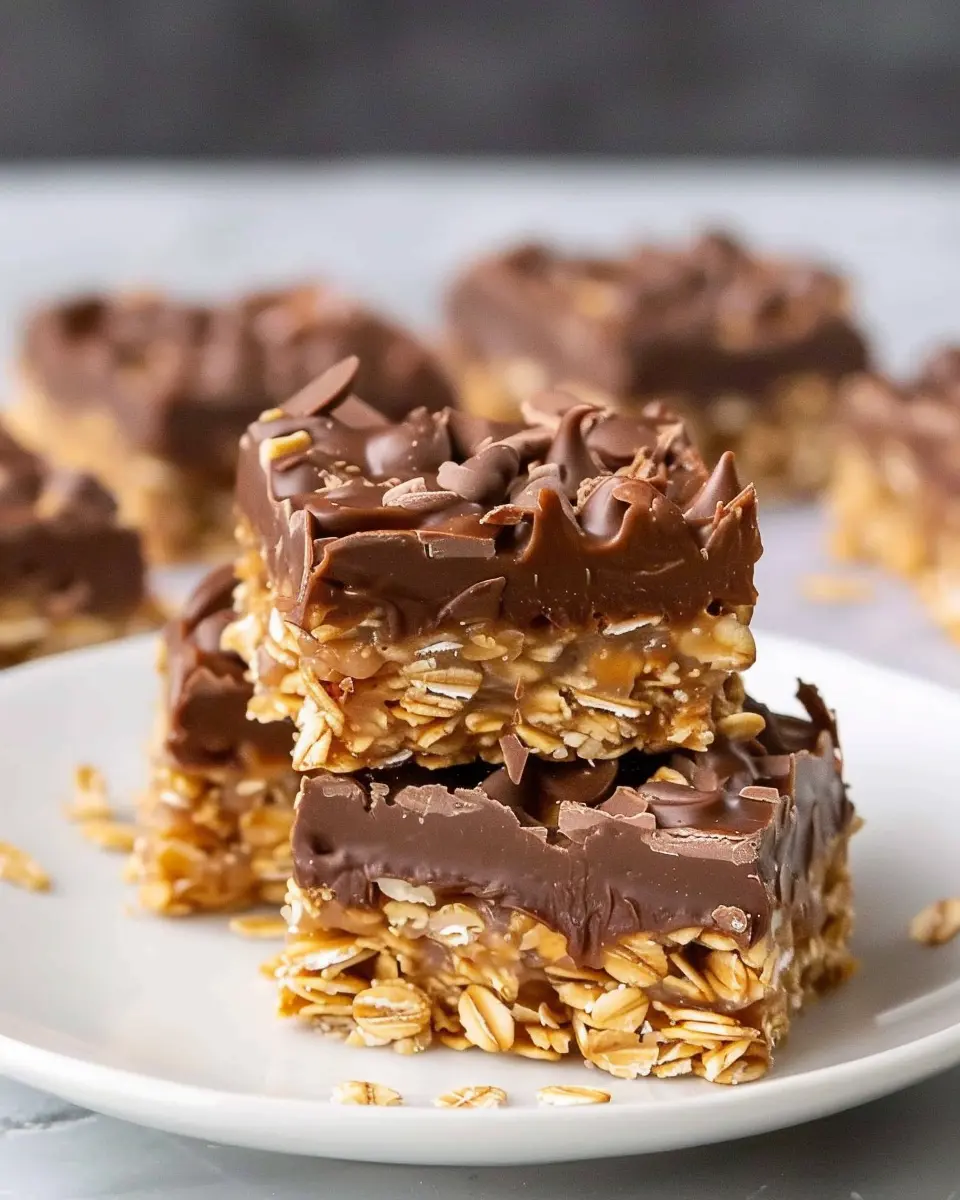
Let’s elevate those no-bake chocolate oat bars with a delicious topping! In a microwave-safe bowl, combine chocolate chips and a dollop of peanut butter. Melt them together in the microwave in short bursts of 15 seconds, stirring in between until smooth. The combination of chocolate and peanut butter creates a rich topping that is simply irresistible.
Pour this melted goodness over your oat mixture, using a spatula to spread it evenly across the bars. It’ll look decadently delicious!
Finishing Touches and Refrigeration
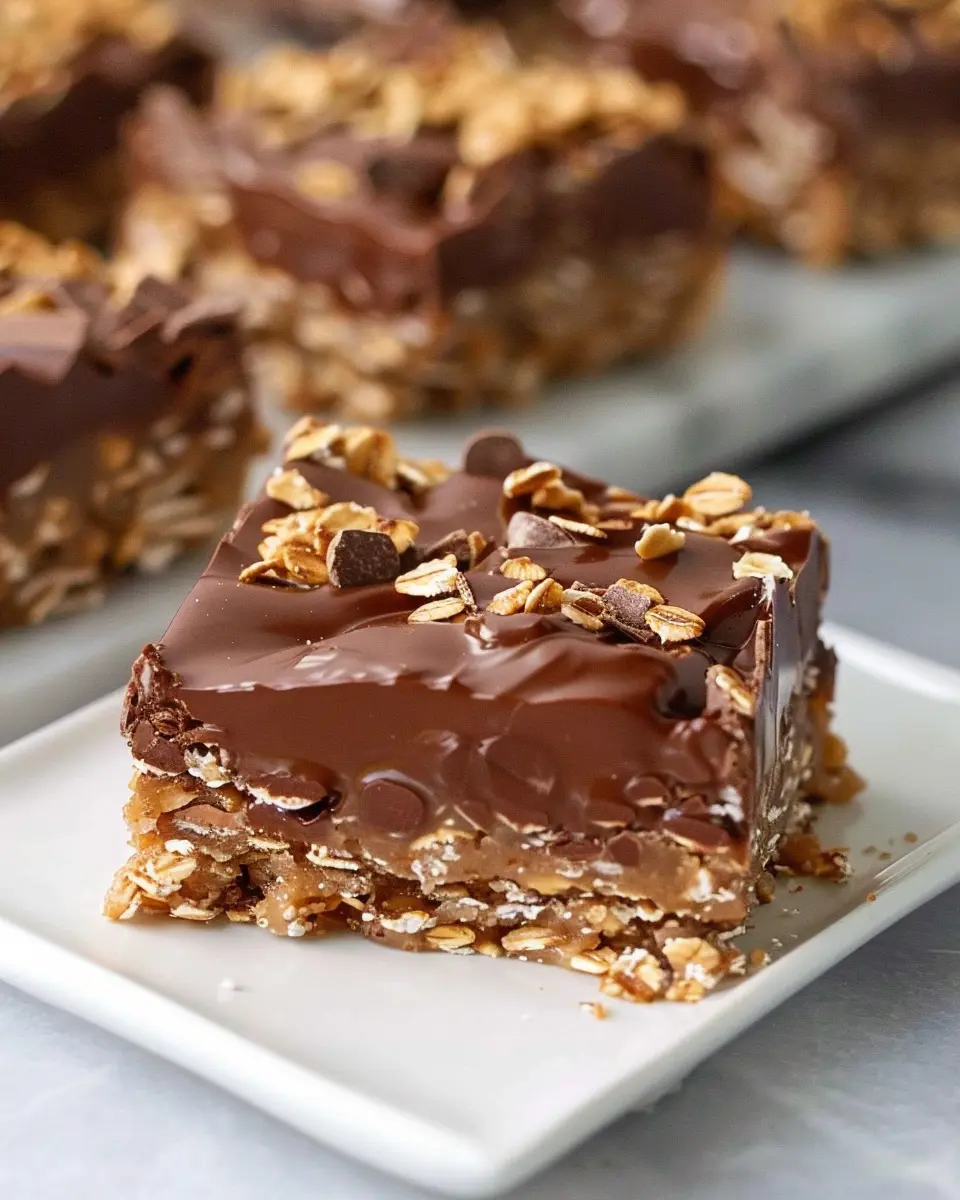
The final step in this process is equally important! Sprinkle a few extra chocolate chips on top for visual appeal (and extra chocolate, of course!). Then, cover the dish with plastic wrap or foil and place it in the refrigerator for at least 2-3 hours to set.
After they’ve chilled, it’s time to cut them into squares or rectangles. Enjoy them right away, or store them in an airtight container in the fridge for quick snacks throughout the week.
And there you have it—simple, delightful no-bake chocolate oat bars! Perfect for on-the-go energy boosts, dessert nights, or a sneaky midnight snack. Happy cooking!
Variations on No-Bake Chocolate Oat Bars
There’s something incredibly satisfying about no-bake chocolate oat bars, especially when you start playing with variations! Let’s explore some easy ways to put your unique spin on this delightful treat.
Adding Nuts or Seeds for Crunch
Nuts and seeds can elevate the texture and flavor of your bars. Consider mixing in:
- Almonds: Chopped or sliced for a crunchy bite.
- Walnuts: Their earthy tones pair well with chocolate.
- Pumpkin seeds: For an unexpected twist and a boost of nutrients.
Each option adds a delightful crunch and an array of healthy fats, making your bars even more nutritious. Plus, they’re great for satisfying those mid-afternoon cravings!
Trying Different Nut Butters
While peanut butter is a classic, experimenting with various nut butters can unlock new flavors. How about:
- Almond butter for a subtly sweet, nutty taste.
- Cashew butter for a silky, creamy texture.
- Sunflower seed butter if you’re looking for nut-free alternatives.
These choices not only change the flavor profile but also introduce unique vitamins and minerals to your no-bake chocolate oat bars.
Experimenting with Dried Fruits
Add a hint of natural sweetness and chewiness by incorporating dried fruits.
- Cranberries: For a tart contrast to chocolate.
- Apricots: Their sweetness pairs beautifully with oats.
- Raisins or dates: For a sticky, caramel-like flavor.
These additions not only enhance taste but can also increase the fiber content! Feeling adventurous? Try swapping out nuts for fruits on some days—you might just find a new favorite combination.
With these variations, your no-bake chocolate oat bars will never taste the same way twice. So, roll up your sleeves, get creative, and enjoy the delicious process! For more ideas, check out resources like Healthline or Food Network for inspiration.
Cooking Tips and Notes for No-Bake Chocolate Oat Bars
Perfecting the texture
Getting the right texture for your no-bake chocolate oat bars is crucial for that delightful bite. Aim for a balance between creamy and crunchy by using rolled oats instead of instant oats. For an extra chewy experience, lightly toast the oats in a pan for a few minutes—this enhances flavor and adds complexity. If your mixture feels too dry, consider adding a splash of almond milk or melted coconut oil until you reach that perfect consistency.
Storing for freshness
To keep your no-bake chocolate oat bars fresh and delicious, store them in an airtight container at room temperature for up to a week. If you want to keep them longer, try refrigerating them; they can last for a couple of weeks this way. You can also freeze your bars, separating layers with parchment paper to avoid sticking. Thaw them overnight in the fridge for a quick treat or snack on the go!
For more great tips, check out resources like The Kitchn or Serious Eats, which delve into the science of cooking and ingredient suggestions.
Serving Suggestions for No-Bake Chocolate Oat Bars
Great pairings for your bars
These no-bake chocolate oat bars are delightful on their own, but why not elevate your snack experience? Pair them with a dollop of Greek yogurt for a creamy contrast, or serve with fresh fruit like ripe strawberries or bananas for a refreshing touch. If you’re in the mood for beverages that complement the rich chocolate, consider a chilled herbal tea or a frothy almond milk latte. Did you know that dark chocolate is known for its health benefits? According to a study published by the National Institutes of Health, it can provide antioxidants that improve heart health.
Creative ways to serve to guests
When hosting friends, presenting no-bake chocolate oat bars can be a showstopper. Cut them into fun shapes with cookie cutters and arrange them on a decorative platter for a festive feel. You can also drizzle some melted dark chocolate over the top for that additional wow factor. For a casual gathering, serve them with mini cups of hot cocoa or coffee, giving guests a warm drink to complement the cool textures. Personalize each bar with toppings like crushed nuts or coconut flakes — your friends will love the variety!
Crafting these serving ideas can make your no-bake chocolate oat bars highlight of the gathering. Want more inspiration? Check out delicious pairings at Minimalist Baker for more flavor-infused treats!
Time Breakdown for No-Bake Chocolate Oat Bars
Preparation Time
Creating your no-bake chocolate oat bars is a breeze! You only need about 15 minutes to gather your ingredients and mix everything together. It’s perfect for those busy days when you want a quick treat without a lot of fuss. Make sure to have your oats, cocoa powder, and sweetener ready to go!
Setting Time
While the prep is straightforward, patience is key when it comes to setting your bars. You’ll want to refrigerate them for at least 30 to 60 minutes. This will help the ingredients meld together beautifully, ensuring a perfect bite every time.
Total Time
In just under 1 hour and 15 minutes, you can have delicious, homemade no-bake chocolate oat bars ready to enjoy. It’s a quick investment of your time for a delightful snack that you can feel good about serving. Need more ideas on how to incorporate these bars into a busy schedule? Check out this article for inspiration!
Nutritional Facts for No-Bake Chocolate Oat Bars
When hunger strikes, no-bake chocolate oat bars can be a delightful and nutritious option. Understanding their nutritional profile helps you enjoy them guilt-free.
Calories
Each serving contains approximately 150-200 calories, making them a satisfying snack without the high caloric load of many treats.
Protein
These bars pack a protein punch, offering around 5-6 grams of protein per serving. This boost is perfect for helping you feel full and energized throughout your busy day.
Carbs and Sugars
With about 20-25 grams of carbohydrates and 8-10 grams of sugar, these bars provide a quick source of energy, ideal for a post-workout snack or a mid-afternoon treat. To delve deeper into carbohydrate sources, you can check out resources from the American Heart Association.
Whether you’re gearing up for a workout or just need a snack to keep you going, these no-bake chocolate oat bars offer a delicious way to satisfy your cravings while staying on track with your nutrition goals.
FAQ about No-Bake Chocolate Oat Bars
Can I use quick oats instead of rolled oats?
Absolutely! While rolled oats give these no-bake chocolate oat bars a chewier texture, quick oats can work in a pinch. They will create a smoother consistency, so if you’re looking for a softer bar, feel free to swap them in. Just keep in mind that the flavor may differ slightly due to the oats’ processing. For more details on oats and their uses, check out the informative guide on oat varieties.
What’s the best way to cut the bars?
Cutting your no-bake chocolate oat bars can sometimes feel like a daunting task, but it doesn’t have to be! Here’s a simple method to achieve clean, even slices:
- Chill First: Allow the bars to chill in the fridge for at least two hours. This helps them firm up, making them much easier to cut.
- Use a Sharp Knife: A sharp knife will glide through the bars more smoothly. You could also warm the knife slightly under hot water for an even neater cut!
- Line the Pan with Parchment: If you line your pan with parchment paper before adding the mixture, you can easily lift the bars out for cutting.
How long do they keep in the fridge?
These no-bake chocolate oat bars can last in the fridge for about one week. You can also freeze them for up to three months with great results. Just make sure to wrap them tightly in plastic wrap or store them in an airtight container. They’re perfect for meal prep—having a batch on hand makes for quick snacks throughout the week!
Feel free to leave comments or questions below if you have more inquiries about these delicious bars!
Conclusion on No-Bake Chocolate Oat Bars
If you haven’t yet tried making your own no-bake chocolate oat bars, now is the perfect time to roll up your sleeves and get started! These bars are not only easy to whip up, but they also offer a customizable base that can cater to your unique tastes. Experiment with nuts, seeds, or dried fruit to add your personal twist.
I’d love to hear about your experiences in the kitchen. What variations have you tried? Did you discover a killer topping or mix-in? Share your thoughts in the comments or connect with others in food forums for even more inspiration. Happy snacking!
PrintNo-Bake Chocolate Oat Bars: Easy, Indulgent Treats for Everyone
A delightful and easy recipe for no-bake chocolate oat bars that everyone will love.
- Prep Time: 10 minutes
- Cook Time: 0 minutes
- Total Time: 2 hours 10 minutes
- Yield: 12 bars
- Category: desserts
- Method: no-bake
- Cuisine: American
- Diet: vegan
Ingredients
- 2 cups rolled oats
- 1 cup almond butter
- 1/2 cup honey
- 1/2 cup cocoa powder
- 1/2 cup dark chocolate chips
- 1/4 cup chopped nuts
Instructions
- In a large mixing bowl, combine rolled oats, almond butter, honey, cocoa powder, and dark chocolate chips.
- Mix thoroughly until all ingredients are well combined.
- Press the mixture into a lined baking dish evenly.
- Sprinkle chopped nuts on top and press them in lightly.
- Refrigerate for at least 2 hours before cutting into bars.
- Enjoy your no-bake chocolate oat bars!
Notes
- For a vegan option, use maple syrup instead of honey.
- These bars can be customized with your favorite add-ins.
Nutrition
- Serving Size: 1 bar
- Calories: 200
- Sugar: 10g
- Sodium: 5mg
- Fat: 10g
- Saturated Fat: 2g
- Unsaturated Fat: 8g
- Trans Fat: 0g
- Carbohydrates: 25g
- Fiber: 3g
- Protein: 5g
- Cholesterol: 0mg