Introduction to Amish White Bread
What is Amish White Bread and Why is it Popular?
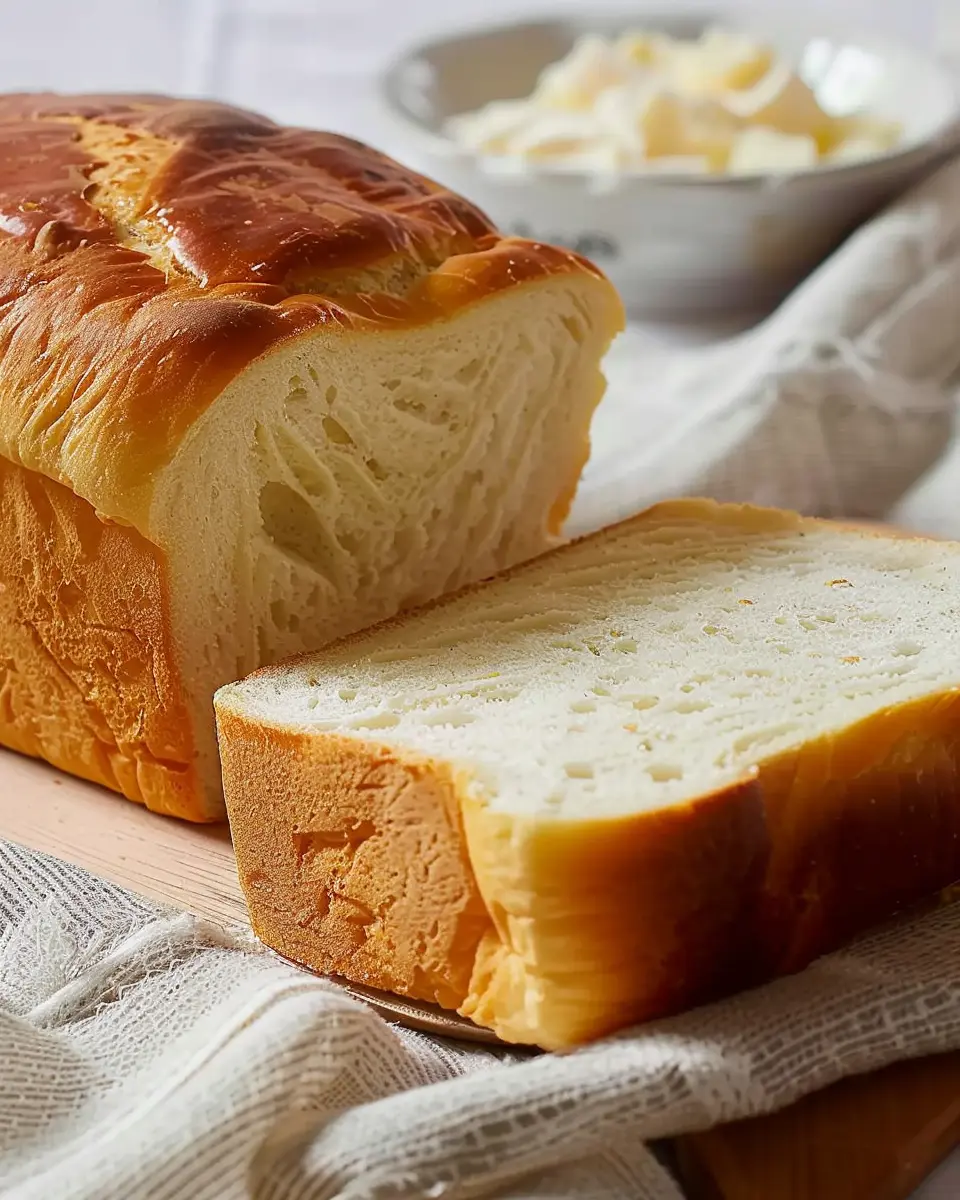
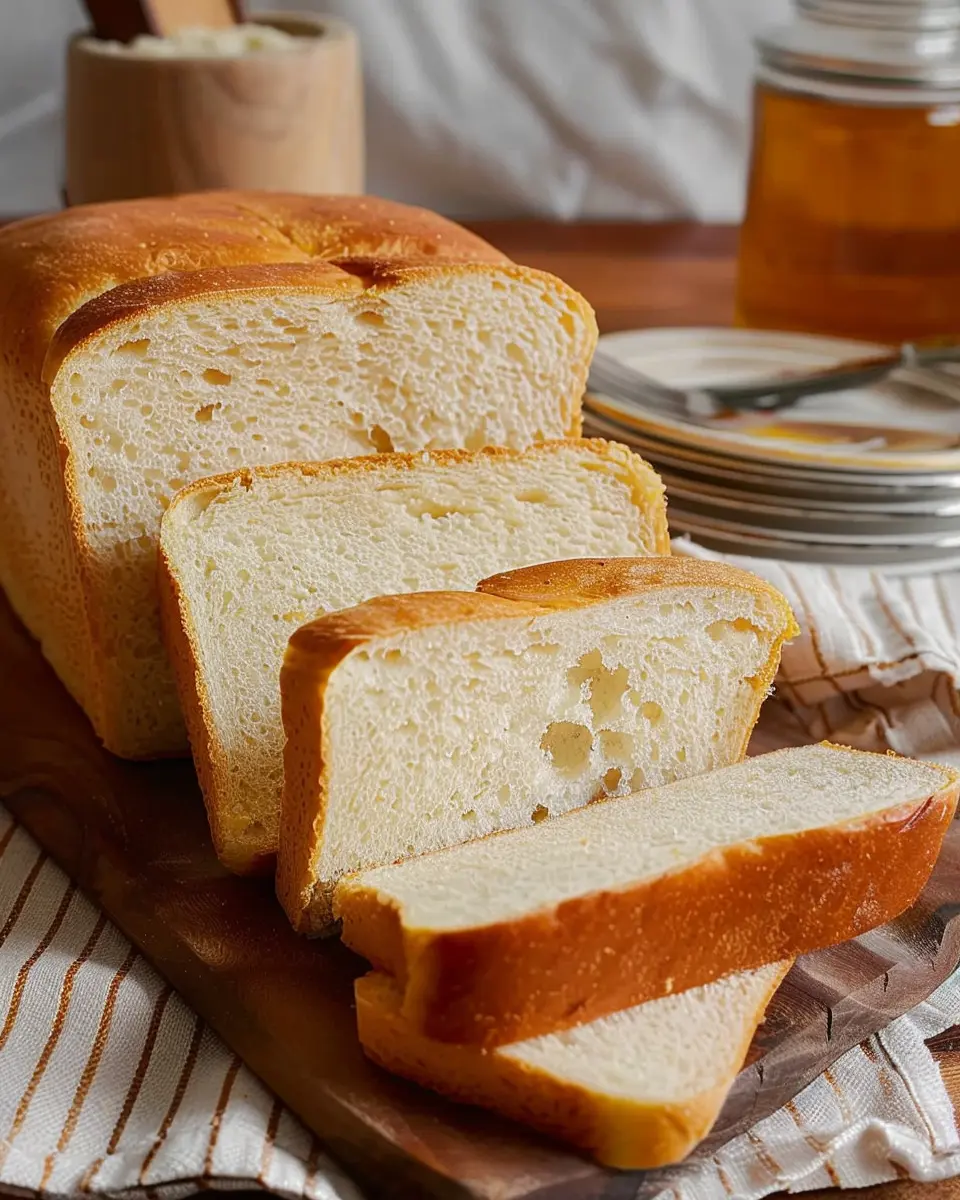
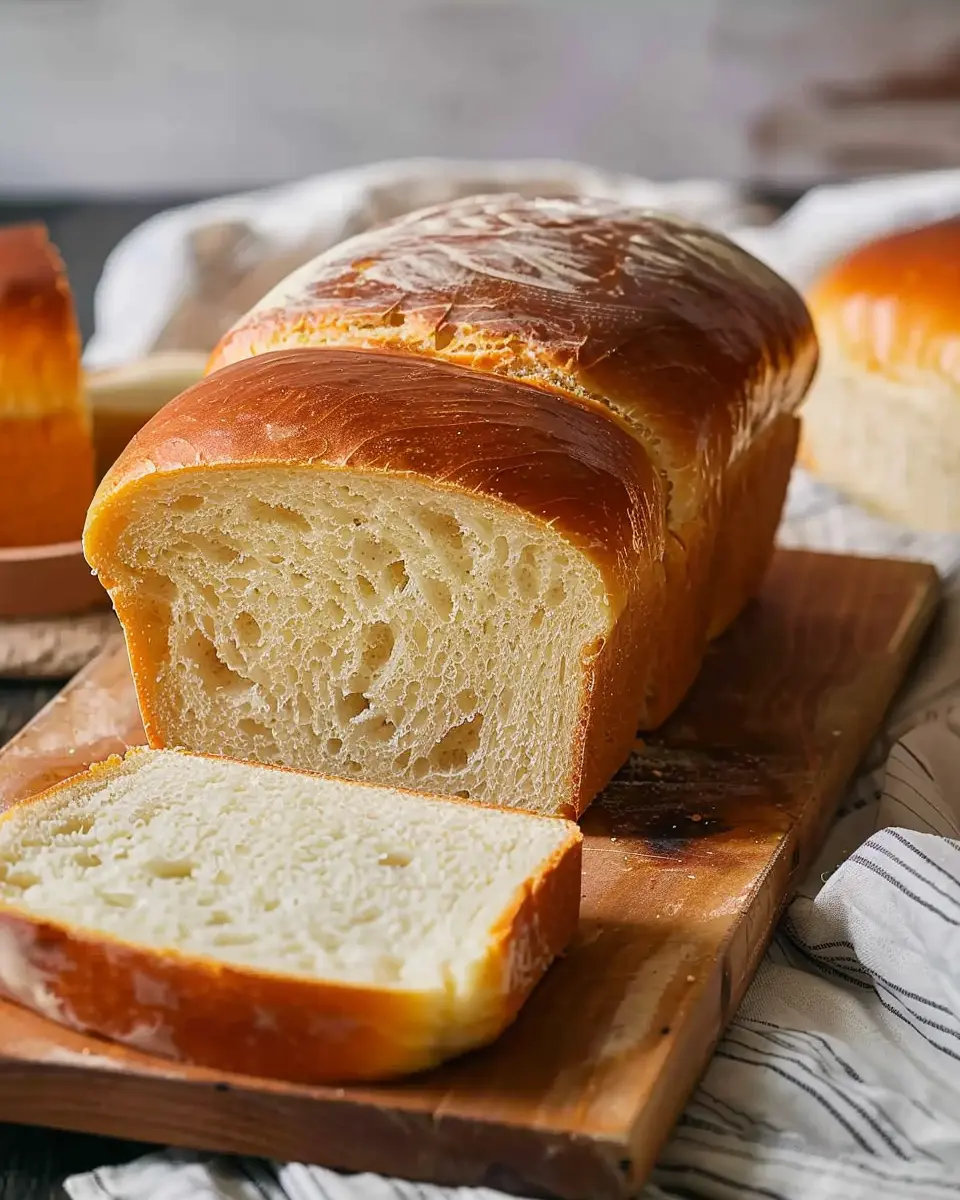
Amish White Bread is more than just a simple loaf; it embodies a rich tradition of comfort and community. Originating from the Amish communities in America, this bread is known for its soft, fluffy texture and slightly sweet flavor, making it the perfect companion for any meal. The recipe typically includes basic ingredients like flour, water, yeast, sugar, and salt, with the magic lying in the meticulous process and love poured into each loaf.
One of the reasons for its widespread popularity is that it’s a fantastic homemade bread option for even the most novice of bakers. There’s something deeply satisfying about crafting a loaf from scratch; it’s like a little piece of art that you can eat. As Amish White Bread has traveled beyond its origins, people are drawn to its nostalgic taste and the simplicity of the recipe. It’s no wonder blogs and cookbooks alike sing its praises, often recommending it as an ideal starting point for those looking to dive into the world of home baking. For further details about the Amish baking traditions, you might check out this insightful piece from The Spruce Eats.
The Charm of Homemade Bread in a Fast-Food World
In our fast-paced lives dominated by takeout and drive-thrus, the allure of homemade goods stands out more than ever. There’s something magical about the aroma of freshly baked bread wafting through your home—it can transform an ordinary day into something special. Baking Amish White Bread allows you to disconnect, take a breath, and maybe even indulge in a bit of warmth and nostalgia.
Making bread at home comes with a plethora of benefits:
- Healthier Ingredients: You control what goes into the bread—no preservatives or additives.
- Cost-Effective: Baking at home can save you money compared to store-bought gourmet breads.
- Satisfaction: There’s unmatched joy in serving a bread you’ve made yourself.
Baking is a wonderful way to bond with family or share slices with friends, turning each loaf into a shared experience, rather than a mere product. So why not take a break from the hustle and bustle, grab your apron, and get started on this delightful journey with Amish White Bread?
Ingredients for Amish White Bread
Essential ingredients for a perfect loaf
To create delightful Amish white bread, a few key ingredients are essential. You’ll need:
- All-purpose flour: This forms the base of your bread and gives it that soft texture.
- Sugar: Just a touch of sugar enhances the flavor and helps with fermentation in the yeast.
- Salt: Essential for flavor, it also strengthens the dough structure.
- Yeast: Active dry yeast is your go-to here; it’s what makes the bread rise and gives it a lovely, airy crumb.
- Water: Warm water helps activate the yeast, allowing it to work its magic.
- Butter: For richness and a bit of flavor, softened butter mixed in makes the bread tender.
These simple ingredients are easy to find at your local grocery store or online (King Arthur Baking is a great resource for sourcing quality ingredients).
Alternatives and substitutions for common ingredients
Not all kitchens are stocked with every ingredient, and that’s okay! Here are some alternatives:
- Instead of all-purpose flour, you can use bread flour for a chewier texture.
- Honey or agave syrup can replace sugar for a naturally sweet touch.
- If you’re out of butter, a neutral oil (like vegetable oil) will work, though it may slightly alter the taste.
- For salt, sea salt or kosher salt can be used interchangeably.
Experimenting with these substitutions can lead to a unique twist on traditional Amish white bread! Don’t hesitate to let your creativity shine.
Preparing Amish White Bread
Baking Amish white bread is more than just a culinary task; it’s an experience that connects us to our roots and fills our homes with a warm, inviting aroma. Let’s dive into the preparation process, which surprisingly combines both science and artistry.
Gather and measure your ingredients
Before those doughy delights can rise, let’s gather everything you’ll need. Measure out the following:
- 5–6 cups of all-purpose flour: For the perfect texture.
- 2 ¼ teaspoons of active dry yeast: The magic that makes your bread rise.
- 2 cups of warm water (about 110°F): Just warm enough to activate the yeast.
- 2 tablespoons of granulated sugar: To feed the yeast.
- 2 teaspoons of salt: For flavor.
- 2 tablespoons of vegetable oil or melted butter: To enhance the bread’s richness.
Using precise measurements ensures a consistent product every time. It’s always a good idea to weigh your ingredients if you have a kitchen scale!
Activating the yeast
Let’s get that yeast working! Combine the warm water and sugar in a small bowl, then sprinkle the yeast on top. Allow it to sit for about 5–10 minutes. You’ll know the yeast is ready when it bubbles and froths, a sign that it’s come to life. If it doesn’t bubble, your yeast might be expired—try investing in fresh yeast from a reputable source like King Arthur Baking.
Mixing the dough
In a large mixing bowl, combine 2 cups of flour, salt, and the activated yeast mixture. Gradually add more flour until a sticky dough forms. Don’t be afraid to use your hands—it’s primal and rewarding!
Kneading techniques for bread
Kneading is where the magic happens. Transfer the dough to a floured surface and knead it for about 8–10 minutes until it’s smooth and elastic. The best technique? Fold the dough over itself and push it away with the palms of your hands. Turn the dough a quarter turn after each fold. A well-kneaded dough should bounce back when you poke it.
First rise – what to expect and knowing when it’s ready
Once your dough is kneaded to perfection, shape it into a ball and place it in a greased bowl, covering it with a clean kitchen towel. Let it rise in a warm spot for about an hour or until it doubles in size. Think of this rise as the dough’s well-deserved spa day—it’ll relax and unleash its flavor.
Punching down the dough and shaping loaves
When your dough is ready, gently punch it down to release any trapped gas bubbles. This step is vital for creating a more uniform texture. Divide the dough into two equal pieces and shape them into loaves. Line a loaf pan with parchment paper for easy removal.
Second rise – tips for success
Place the shaped loaves back in the pan, covering them loosely with the kitchen towel again. Let them rise for another 30–40 minutes. This second rise is crucial for achieving the light, airy quality we all love in Amish white bread. To give your loaves a boost, consider placing them in a warm oven (turned off)!
Baking the perfect loaf
Finally, preheat your oven to 350°F. Once the loaves have risen, bake them for 25-30 minutes. The sound of crackling crust is music to the ears! They are done when they turn golden and sound hollow when tapped on the bottom. Cooling is essential, so let your Amish white bread rest on a wire rack before slicing.
This homemade bread is perfect for sandwiches, toast, or simply with a smear of butter. What’s your favorite way to enjoy fresh bread? For further insights into bread-making, check out resources like Breadtopia. Happy baking!
Variations on Amish White Bread
When it comes to Amish white bread, the basic recipe is just the beginning. Let’s explore how you can mix things up and make it your own!
Adding herbs and spices for a flavor twist
Elevate your Amish white bread by introducing herbs and spices. Imagine the aroma of a loaf infused with rosemary, thyme, or garlic. Simply add 1-2 teaspoons of your chosen herbs to the dough during the mixing stage. If you’re a fan of heat, a pinch of crushed red pepper flakes can add an unexpected kick. The key is to start small and taste as you go—after all, you want to enhance, not overpower, that delicious base flavor!
Whole wheat or multigrain Amish bread variations
If you’re leaning towards a healthier loaf, consider swapping out some of the all-purpose flour for whole wheat or multigrain options. A 50/50 mix offers a nutty flavor and extra fiber, making it a heartier delight. According to nutritionists, whole grains can improve heart health and aid digestion, so you can feel good about your choice while still enjoying freshly baked bread. For an even more wholesome loaf, explore the delightful textures of sprouted grains, which are rich in nutrients (ChooseMyPlate.gov).
Sweet additions: Cinnamon, raisins, or chocolate chips
Let’s not forget the sweet side of Amish white bread! Want to awaken your taste buds? Add a teaspoon of cinnamon and a cup of raisins for a delightful breakfast or snack option. If you’re feeling indulgent, why not toss in some chocolate chips? They melt beautifully in the bread, creating pockets of gooey goodness. Just remember to adjust the sugar in the original recipe if using sweeter ingredients—they can easily tip the balance!
Embrace these tasty variations, and your Amish white bread can become a cherished favorite, no matter the occasion!
Cooking Tips and Notes for Amish White Bread
Common Pitfalls and How to Avoid Them
Making delicious Amish white bread can be a delightful adventure, but there are a few common mistakes to watch out for:
- Incorrect yeast activation: Always check the expiration date of your yeast. To activate it properly, use warm (not hot) water. If it doesn’t bubble after 5-10 minutes, your yeast may be inactive.
- Kneading technique: Knead your dough enough to develop gluten, which gives your bread its structure. If the dough feels too sticky, lightly dust your work surface with flour.
- Over-proofing: Keep an eye on dough rising times. If your dough doubles but gets overly puffy, it may collapse in the oven. Aim for a soft, springy texture.
Storage Tips to Keep Your Bread Fresh
To ensure your Amish white bread stays fresh and tasty for days:
- Cool completely: Before storing, let your bread cool on a wire rack to avoid moisture buildup.
- Wrap properly: Use plastic wrap or a bread bag to keep the moisture in. For longer storage, consider freezing individual slices.
- Room temperature: Store your bread at room temperature for up to 3-5 days. For longer freshness, a sealed container in the freezer is ideal.
For more insights on bread storage, check reputable sources like the Bread Bakers Guild of America. Happy baking!
Serving Suggestions for Amish White Bread
Ideal spreads and toppings
There are countless ways to enjoy Amish white bread. For a classic experience, try spreading creamy butter right out of the fridge — it’s simple yet delightful! You might also enjoy a slather of homemade strawberry jam for a burst of sweetness that complements the bread’s subtle flavor.
If you’re feeling adventurous, consider pairing it with a savory herb-infused cream cheese or perhaps a spread made from avocado and lime for a trendy twist. For a hearty option, top it with Turkey Bacon and fresh arugula for a breakfast that’s both satisfying and nutritious!
Creative uses for leftover bread
Don’t let any slices of your Amish white bread go to waste! Use it in a delicious bread pudding or transform stale slices into croutons by cubing, seasoning, and baking until crispy. Homemade French toast is another great way to make the most of those leftovers; just dip in egg and milk, then fry until golden brown.
For more ideas on how to creatively use bread, check out this article on Food Network. Enjoy experimenting!
Time Breakdown for Amish White Bread
When you’re ready to dive into baking Amish white bread, knowing the time commitment helps you plan your kitchen adventure better. Here’s how it breaks down:
Preparation time
Set aside about 15 minutes to gather your ingredients and mix the dough. This is the fun part—watching simple elements come together and knowing a delicious loaf is on the way!
Rising time
The dough needs to rise for 1-2 hours. This is where the magic happens. While you wait, you might enjoy a podcast or catch up with a friend—it’s a great moment to unwind.
Baking time
The baking itself takes around 30-35 minutes. Make sure to keep an eye on it towards the end so it reaches that beautiful golden brown color, indicative of Amish white bread perfection.
Total time
All in all, prepare for about 2 to 2.5 hours from start to finish. Not too bad for a homemade loaf that’ll impress your friends! For more tips on bread-making, check out resources like King Arthur Baking, which offers excellent insights into bread techniques. Enjoy your baking journey!
Nutritional Facts for Amish White Bread
When diving into the delightful world of Amish white bread, it’s essential to consider its nutritional contribution. Let’s break it down:
Calories per slice
Each slice of homemade Amish white bread typically contains around 120 calories. While this can vary based on ingredients, it’s a satisfying option for many meals.
Macronutrient breakdown
- Proteins: About 4 grams. This isn’t a protein powerhouse, but every bit adds up, especially when paired with protein-rich toppings like turkey bacon or chicken ham.
- Carbohydrates: Approximately 22 grams. Ideal for energy, these carbs come from the flour and contribute to that delightful texture we crave.
- Fats: Roughly 1 gram. A low-fat choice, making it a guilt-free indulgence when enjoyed in moderation.
For more information on calories in bread, you can visit the U.S. Department of Agriculture (USDA), which provides extensive food data.
Understanding the nutritional facts can help you enjoy Amish white bread as part of a balanced diet. Do you have a favorite topping you love to put on your bread?
FAQs about Amish White Bread
Why did my bread not rise?
If your Amish white bread isn’t rising, there could be a few factors at play. First, check if your yeast is fresh. Expired yeast won’t activate properly, leading to flat bread. Also consider the water temperature; if it’s too hot, it can kill the yeast, while water that’s too cold won’t activate it. Aim for warm water, around 110°F (43°C), which is ideal for yeast activation. Finally, make sure your dough is in a warm, draft-free environment. An oven set to low or a warm spot in your kitchen can make all the difference. For more bread tips, visit blogs like King Arthur Baking.
Can I freeze Amish white bread?
Absolutely! Freezing Amish white bread is a fantastic way to preserve it for later use. Make sure to cool the bread completely before wrapping it tightly in plastic wrap or aluminum foil, then place it in an airtight container or freezer bag. It can last up to three months in the freezer. When you’re ready to enjoy it, simply let it thaw at room temperature or pop it in the toaster for a quick warm-up!
What is the best way to slice homemade bread?
Slicing homemade bread can be tricky without the right tools. To achieve perfect slices of your Amish white bread, let it cool completely first—this ensures cleaner cuts. Use a serrated bread knife, which allows for a gentle sawing motion. For even slices, try using a bread slicer guide. And remember, if you’re looking for that perfect crust, a little patience goes a long way!
With these tips, you’ll be well on your way to baking success. Happy baking!
Conclusion on Amish White Bread
Homemade bread brings an unparalleled joy that transforms any meal. This Amish white bread recipe stands out for its simplicity and heartwarming aroma that fills your kitchen. Imagine the satisfaction of tearing off a warm slice, slathering it with butter, and sharing it with loved ones—there’s nothing quite like it!
If you have yet to try making your own bread, I wholeheartedly encourage you to dive in. The process is not only therapeutic but also incredibly rewarding. So roll up your sleeves, gather your ingredients, and give this delightful recipe a whirl! You might just find it becomes a cherished family tradition. For more on the benefits of homemade bread, check out Healthline’s article.
PrintAmish White Bread: The Best Homemade Loaf for Cozy Meals
This delicious Amish White Bread recipe is perfect for cozy meals with family and friends.
- Prep Time: 15 minutes
- Cook Time: 35 minutes
- Total Time: 1 hour 50 minutes
- Yield: 2 loaves
- Category: Bread
- Method: Baking
- Cuisine: American
- Diet: Vegetarian
Ingredients
- 4 cups all-purpose flour
- 1 ½ cups warm water
- ¼ cup sugar
- 2 tablespoons vegetable oil
- 2 teaspoons salt
- 1 tablespoon active dry yeast
Instructions
- In a bowl, dissolve sugar in warm water and sprinkle yeast on top.
- Let it sit for about 10 minutes or until foamy.
- Add vegetable oil, salt, and 2 cups of flour; mix until combined.
- Add remaining flour gradually, kneading until a smooth dough forms.
- Let the dough rise in a warm place until doubled, about 1 hour.
- Punch down the dough and mold it into loaves.
- Place in greased bread pans and let rise again for 30 minutes.
- Bake at 350°F for 30-35 minutes.
- Cool before slicing.
Notes
- For a richer flavor, you can use milk instead of water.
- Ensure the water is warm but not hot to activate the yeast correctly.
Nutrition
- Serving Size: 1 slice
- Calories: 150
- Sugar: 1g
- Sodium: 250mg
- Fat: 3g
- Saturated Fat: 0.5g
- Unsaturated Fat: 2g
- Trans Fat: 0g
- Carbohydrates: 29g
- Fiber: 1g
- Protein: 4g
- Cholesterol: 0mg