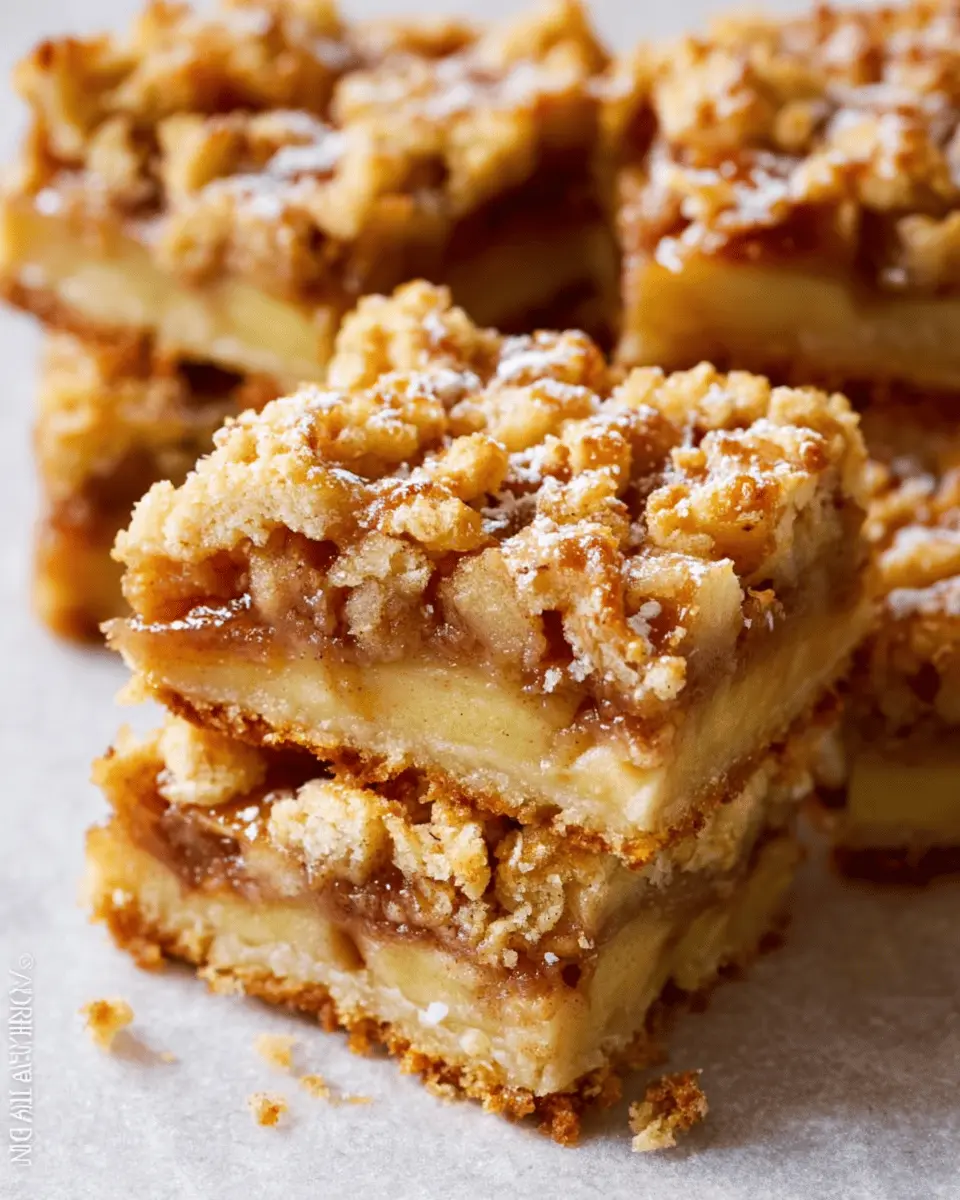
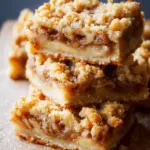
Introduction to Apple Bars
Discovering the Joy of Homemade Apple Bars
When was the last time you indulged in something that felt like a cozy hug from the inside? For many, that delightful experience comes from homemade apple bars. These treats, with their sweet and tangy flavor profiles, are perfect for any occasion—but they often evoke warm memories of fall days, family gatherings, and kitchen adventures.
Nothing beats the satisfaction of baking something from scratch. According to experts, engaging in cooking can promote mental well-being and reduce stress. Imagine the aroma of cinnamon and baked apples wafting through your home as you whip together a batch of these delicious bars. Plus, making your own apple bars allows you to personalize the recipe to your liking—whether you want to add a pinch of nutmeg, substitute with whole wheat flour, or even toss in some dried cranberries for an extra zing.
But where to start? A simple recipe usually requires just a handful of ingredients: fresh apples, flour, oats, and spices. Many home bakers swear by using Fresh Apples, sourced from local markets. The taste truly enhances the quality of the final product. If you’re curious about the best types of apples for baking, resources like The Spruce Eats offer fantastic guidance on the subject.
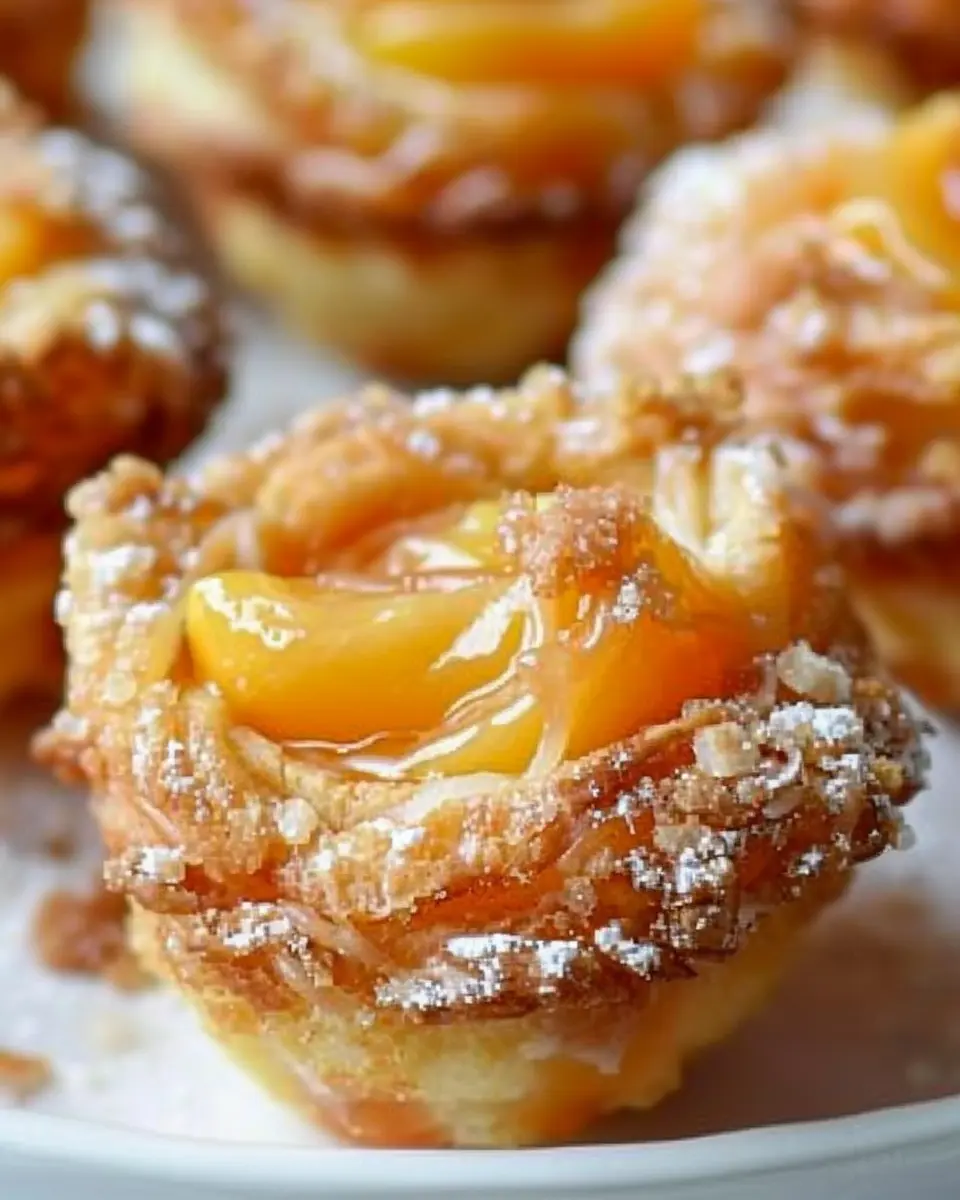
As you venture into the world of apple bars, think beyond the traditional recipe. You can pack these bars with nuts or change up the topping with a drizzle of caramel sauce. Have you ever tried pairing them with a scoop of vanilla ice cream? It’s pure bliss! Not only are they a fantastic dessert, but they make for a leisurely snack with a cup of tea or coffee, perfect for your next cozy evening at home.
So, grab your apron and let’s embark on this delightful baking journey together. With a few simple steps, you’ll be amazed at how easily you can create a recipe that feels both nostalgic and innovative. Your friends and family will be begging for the recipe—and they’ll never guess how simple it was to make!
Ingredients for Apple Bars
Creating delicious apple bars starts with gathering the right ingredients. Let’s break it down into three essential categories to help streamline your baking adventure!
Essential Ingredients for the Crust
The crust is the foundation of any great apple bars, so here are the key players you’ll need:
- All-purpose flour: Provides structure and stability.
- Unsalted butter: For that rich, creamy flavor.
- Granulated sugar: Sweetens the crust and balances the flavors.
- Salt: Enhances the sweetness and adds depth.
- Ice water: A splash helps bind everything without overworking the dough.
Key Ingredients for the Apple Filling
Now, onto the star ingredient—the apples! The filling adds warmth and comfort to your apple bars:
- Fresh apples: Granny Smith or Honeycrisp work beautifully for balanced sweetness and tartness.
- Brown sugar: Deepens the flavor and complements the apples.
- Cinnamon: A classic spice that brings warmth, feel free to explore more about its benefits here.
- Lemon juice: Brightens the apple flavors and prevents browning.
Ingredients for the Topping
No apple bar is complete without a delightful topping! Here’s what you’ll need:
- Oats: For a hearty crunch.
- Flour and brown sugar: Create that crumbly texture we all crave.
- Cinnamon: A pinch enhances the overall flavor.
- Melted butter: Binds the topping and adds richness.
Gather these ingredients, and you’ll be halfway to crafting a batch of scrumptious apple bars! Feel free to explore variations and adjustments that suit your taste buds. Happy baking!
Preparing Apple Bars
Baking can be a delight, especially when it involves fresh ingredients and the comforting flavor of baked apples. Apple bars are a fantastic treat that can be enjoyed at any time of the year, but they’re especially loved when the weather turns crisp. Here’s a step-by-step guide on how to whip up these delicious bars that will impress your family and friends—and maybe even yourself!
Get Your Oven Ready and Gather Ingredients
Before diving into the fun part, it’s crucial to prepare your workspace. Start by preheating your oven to 350°F (175°C). While that heats up, gather all your ingredients. Here’s what you’ll need:
-
For the crust:
-
1 cup all-purpose flour
-
1/2 cup unsalted butter, softened
-
1/4 cup granulated sugar
-
1/4 teaspoon salt
-
1/2 teaspoon baking powder
-
2 tablespoons cold water
-
For the apple filling:
-
3 cups peeled and diced apples (Granny Smith works great)
-
1/4 cup brown sugar
-
1 teaspoon cinnamon
-
1 tablespoon lemon juice
-
1 tablespoon cornstarch
Having everything in place allows you to move seamlessly between the steps, making the process a lot more enjoyable. Plus, as a busy professional, I know the importance of efficiency in the kitchen!
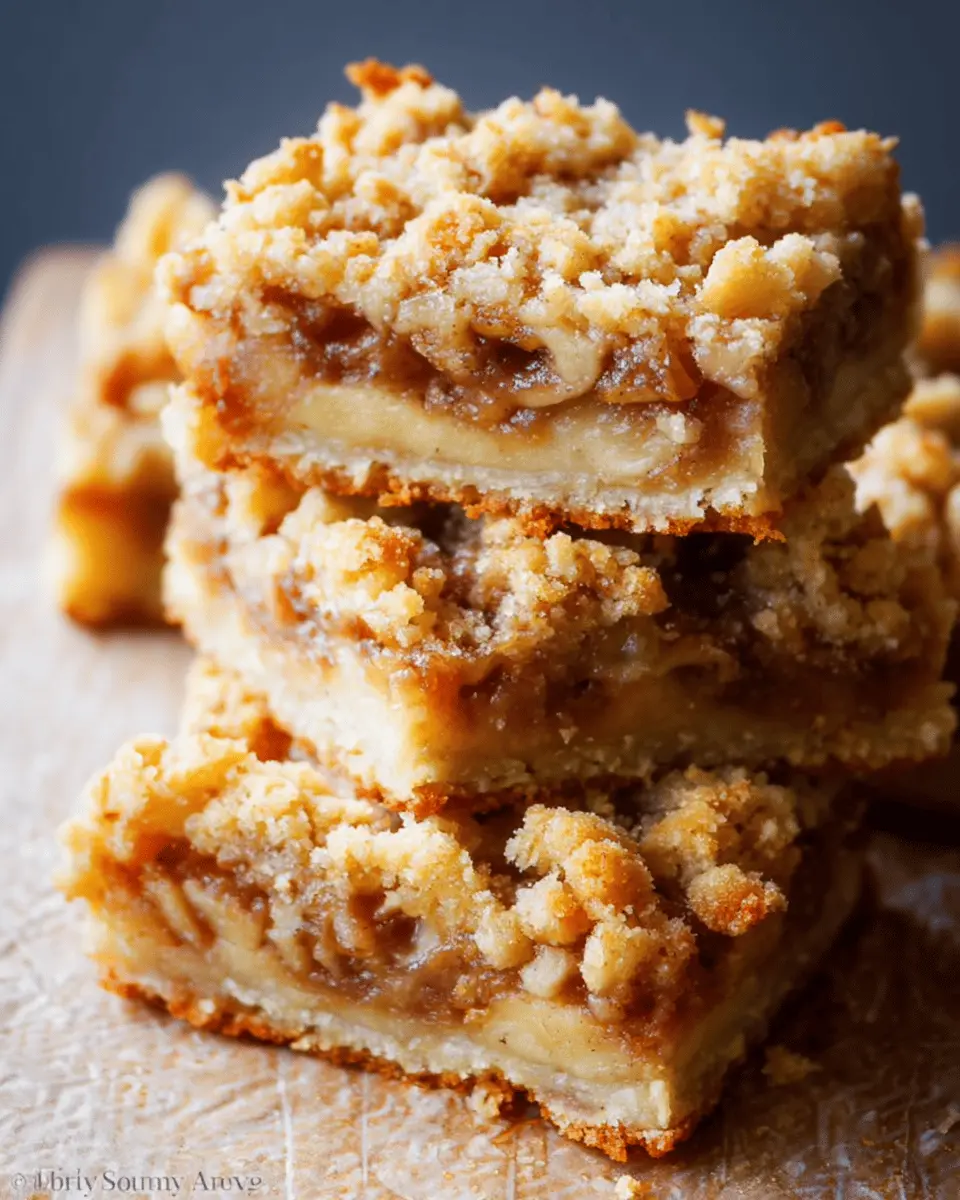
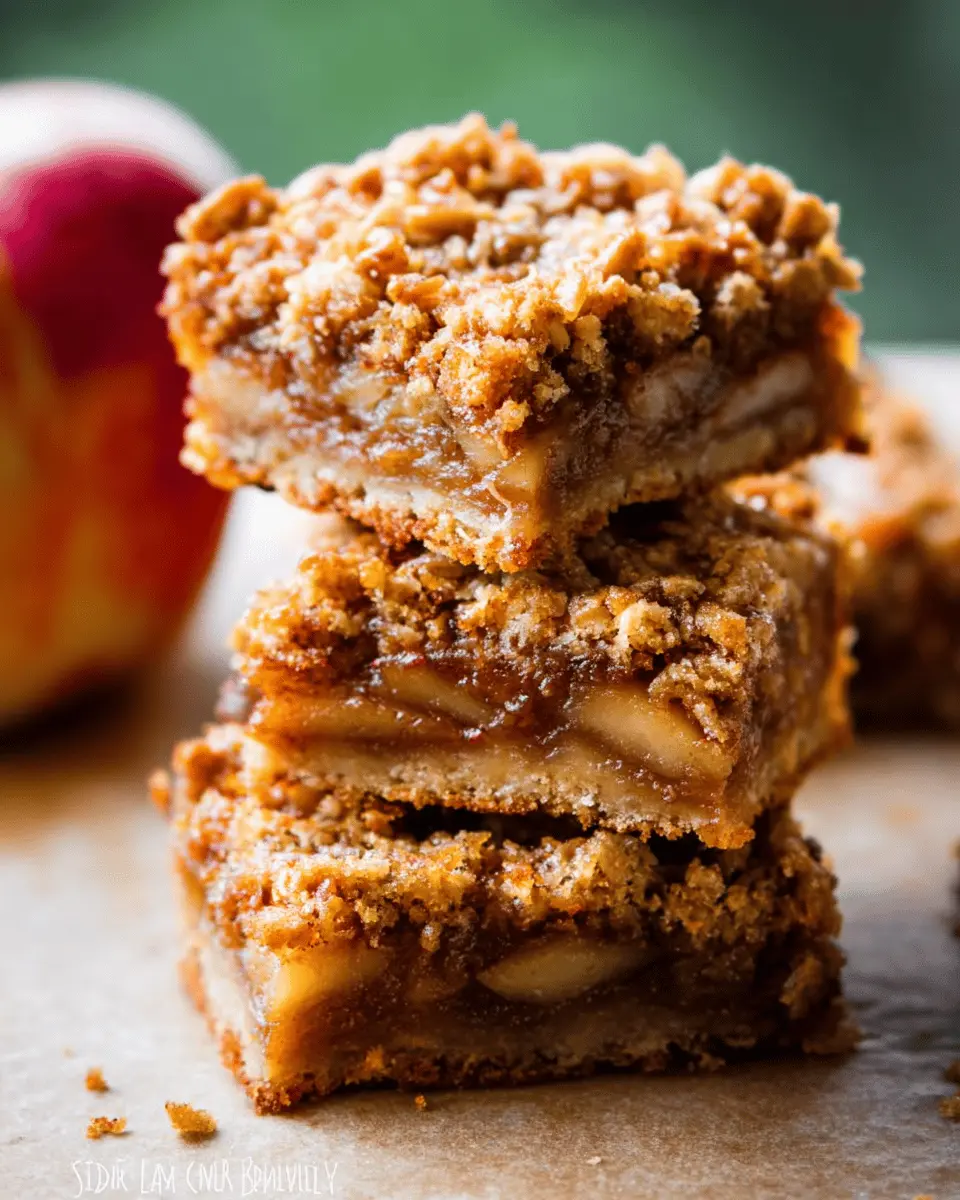
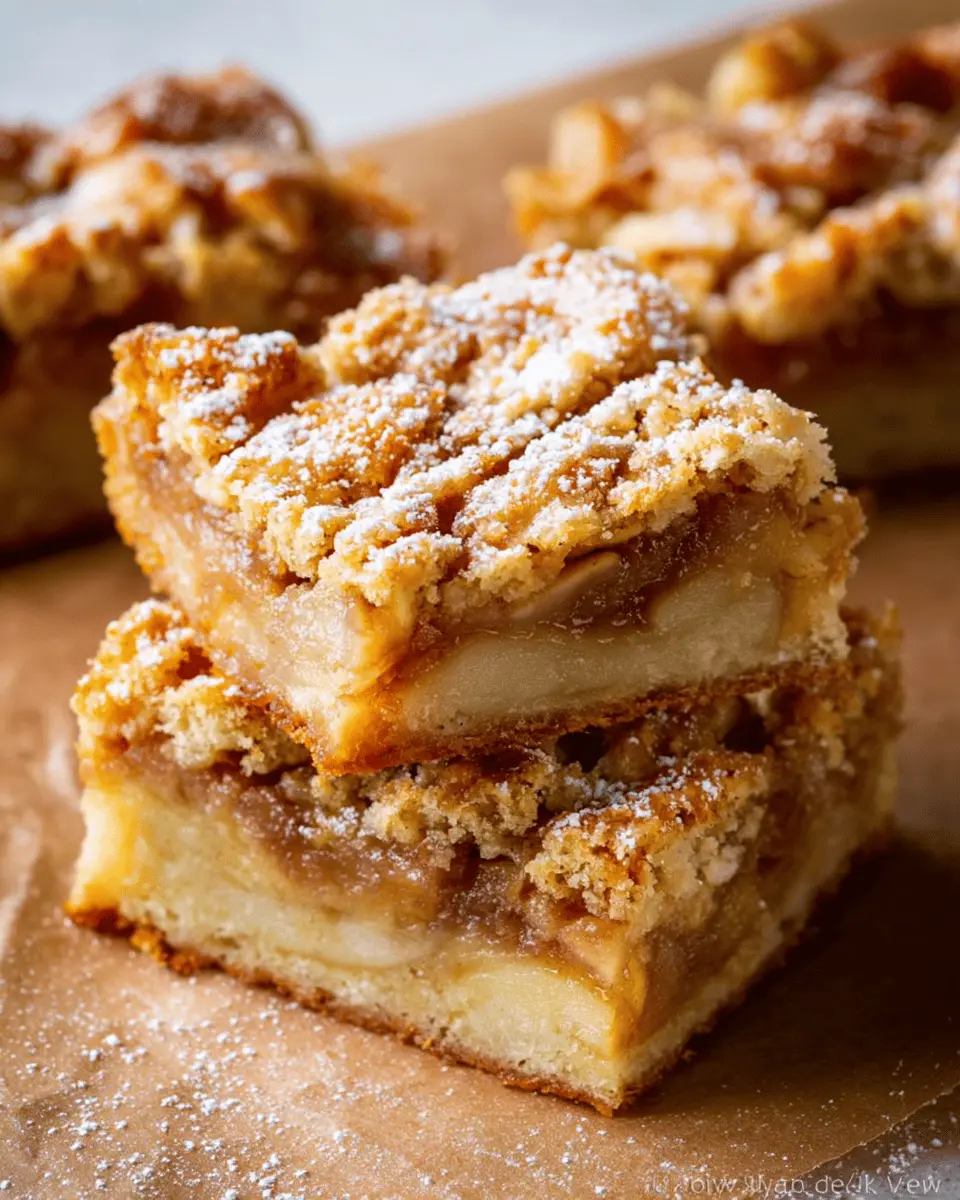
Create the Crust
The crust is the foundation of your apple bars, providing that delightful crunch against the soft apple filling. In a mixing bowl, combine the flour, sugar, salt, and baking powder. Then, cut in the softened butter until it resembles coarse crumbs.
Add the cold water gradually, mixing until the dough holds together. Once formed, press it into a greased baking dish (about 9×13 inches). Try to spread it evenly across the bottom. The crust shouldn’t go up the sides; we want to keep that filling nice and snug.
Pro Tip: Use your fingers or the back of a measuring cup to flatten the crust—this not only helps it evenly distribute but can also be surprisingly therapeutic!
Prepare the Apple Filling
Now, let’s turn our attention to the star of the show: the apples! In another bowl, mix your diced apples with brown sugar, cinnamon, lemon juice, and cornstarch. This mixture brings out the natural sweetness of the apples while adding a tangy kick that brightens the dish.
Did you know that apples are filled with fiber and vitamins? According to studies, incorporating more fruits into your diet can significantly improve your overall health. So, while indulging in these scrumptious apple bars, you can feel good about the ingredients, too!
Assemble the Apple Bars
With both your crust and apple filling ready, it’s time to assemble! First, pre-bake the crust for about 10 minutes—this helps avoid a soggy bottom later. Once removed from the oven, spread the apple filling evenly over the crust, ensuring every bite has that delicious apple flavor.
For an extra touch, sprinkle a bit more cinnamon on top before placing it back into the oven. This step not only enhances the fragrance but makes your kitchen smell heavenly!
Bake to Perfection
Now comes the magic of baking. Place your pan in the oven and let the apple bars bake for about 30-35 minutes or until the apples are tender and the crust is a beautiful golden brown.
After they’re done, allow the bars to cool completely in the pan. This can be the hardest part—waiting to try your creation! Once cooled, cut into squares and serve.
For a delightful twist, consider pairing your apple bars with a scoop of vanilla ice cream or a dollop of whipped cream for a delectable dessert experience.
Now that you know how to prepare these delicious apple bars, I can’t wait for you to share your own experiences. Happy baking!
Variations on Apple Bars
Apple bars are like a blank canvas, just waiting for your creative touch! If you’re looking to shake things up a bit, here are two delicious variations that will bring a new flavor to your apple bar experience.
Add a Nutty Twist
Elevate the traditional apple bar by incorporating nuts! A handful of walnuts or pecans can add a delightful crunch and rich flavor. Simply chop the nuts coarsely and fold them into the apple filling or sprinkle them on top before baking.
-
Benefits of Nuts: Nuts are packed with healthy fats and protein, making your dessert a tad more nutritious. According to the California Walnut Commission, walnuts can even help improve heart health!
-
Extra Flavor: Consider roasting the nuts lightly before adding them for an additional layer of flavor. It’s a simple step that makes a noticeable difference.
Make It with Oats
For a heartier version of your apple bars, try using oats! This alternative not only adds texture but can also increase the nutritional value. Here’s how you do it:
- Simple Substitution: Replace part of the flour in your recipe with rolled oats. Aim for a 50-50 mix for the best results.
- Oat Crumble Topping: For a fun twist, create an oat crumble topping by combining oats, butter, brown sugar, and cinnamon. Just sprinkle it over the apple mixture before baking for an irresistible crunch.
These variations on apple bars can suit any gathering, from casual get-togethers to festive celebrations. They’re simple to incorporate, yet they allow you to personalize your dessert and impress your guests. So, which variation are you excited to try? Let your creativity shine!
Cooking Tips and Notes for Apple Bars
Choosing the Right Apples
Selecting the right apples is crucial for the success of your apple bars. Aim for a mix of sweet and tart varieties for depth of flavor. Great choices include:
- Granny Smith: Perfect for a tart kick.
- Honeycrisp: Offers a sweet crunch that balances perfectly with spices.
- Gala: Sweet and softening during baking, adding a lovely texture.
Liking the idea of mixing apples? It can enhance both flavor and consistency!
The Importance of Chilling the Dough
Chilling your dough for at least 30 minutes before baking is a game changer. This step allows the fat to firm up, leading to a flakier crust. Plus, it helps to prevent shrinkage during baking. If you’ve ever had an apple bar that fell flat, this little trick is your secret weapon!
While you’re chilling your dough, consider using the time to prep your apples or whip up a quick custard sauce as a great accompaniment. For added tips on baking, check out this helpful guide on dough preparation that offers insights on creating the perfect crust!
Serving Suggestions for Apple Bars
Perfect Pairings with Sides
When serving your delicious apple bars, consider sides that enhance their warm, spiced goodness. Here are some perfect pairings:
- Natural Yogurt: A dollop of tangy Greek yogurt can balance the sweetness of the apple bars.
- Turkey Bacon: Crispy turkey bacon not only adds texture but also complements the cinnamon in your bars.
- Fresh Fruit: Serve with a side of seasonal berries, like strawberries or blueberries, for a fresh pop of color.
For a unique twist, look into recipes that blend flavors, such as a berry compote that can be drizzled over your apple bars.
Creative Serving Ideas
Let’s get creative! Elevate your apple bars experience with these imaginative serves:
- Ice Cream Delight: Top warm apple bars with a scoop of vanilla ice cream for a comforting dessert.
- Homemade Whipped Cream: A light layer of freshly whipped cream can add an irresistible touch.
- Infused Tea: Pair your apple bars with a cup of cinnamon or chai tea for a cozy vibe.
Serve your apple bars at gatherings or weekend brunches, and don’t forget to share your creations on social media! For more serving inspirations, check out this site on dessert pairings.
Time Breakdown for Apple Bars
When you’re craving apple bars, knowing how much time to allocate can make your baking experience more enjoyable. Here’s a quick breakdown to help you plan your day effectively.
Preparation Time
To get started, set aside about 15-20 minutes for preparation. This includes washing and slicing your apples, measuring your ingredients, and mixing your batter. Pro tip: If you’re short on time, use a pre-made pie crust or pre-sliced apples for efficiency!
Cooking Time
Once prepared, your apple bars will take about 30-35 minutes in the oven. Keep an eye on them as they bake, as the delicious aroma will definitely tempt you!
Total Time
In total, you’ll need roughly 50-55 minutes from start to finish. That’s less time than it takes to binge-watch a couple of your favorite episodes! For a step-by-step guide, consider checking out The Kitchn for more baking tips.
Happy baking!
Nutritional Facts for Apple Bars
Calories per Serving
When indulging in apple bars, you might be curious about how they fit into your daily caloric intake. Typically, one serving of homemade apple bars contains around 150-200 calories. This makes them a delightful treat while keeping your calorie count in check, especially if you’re balancing work and social life.
Sugar Content
These delicious treats can have a sugar content ranging from 10-15 grams per serving, depending on how sweet you like your bars and the types of ingredients you use. Opting for less sugar or natural sweeteners can keep those levels lower, so your taste buds can relish the apple flavor without the guilt.
Dietary Considerations
Apple bars can be quite adaptable! They can easily cater to various dietary preferences, whether you’re gluten-free or vegan. Here are a few considerations:
- Gluten-Free: Use almond or oat flour instead of regular flour.
- Vegan: Replace eggs with flaxseed meal or applesauce.
- Nuts/Seeds: Consider adding walnuts for healthy fats and a crunch, but be mindful of allergies.
Feeling inspired to elevate your apple bar game? Check out resources like The Academy of Nutrition and Dietetics for more tips and tricks!
FAQs About Apple Bars
Can I use frozen apples for the filling?
Absolutely! Using frozen apples for your apple bars is a great time-saver, especially during off-seasons when fresh apples aren’t available. Just be sure to thaw them thoroughly and drain any excess moisture to prevent sogginess in your bars. If you’re looking for tips on how to handle frozen fruits, check out resources from the USDA for best practices.
How do I store leftover apple bars?
To keep your apple bars fresh, store them in an airtight container at room temperature for up to three days. If you want them to last longer, you can refrigerate them for up to a week. Alternatively, for longer storage, consider freezing them. Wrap each bar tightly in plastic wrap and then place them in a freezer-safe bag. Thaw them overnight in the fridge when you’re ready for a sweet treat!
Can I make apple bars ahead of time?
Definitely! In fact, making apple bars a day in advance could enhance their flavors. Just follow your recipe as usual, allow them to cool completely, and then store them in an airtight container. For even better taste, serve them slightly warmed or at room temperature with a scoop of ice cream or a dollop of whipped cream. Need tips on variations for your bars? Websites like AllRecipes and Food Network offer fantastic ideas!
With these helpful insights, you’re all set to perfect your apple bar experience, whether you’re baking for guests or indulging yourself. Happy baking!
Conclusion on Apple Bars
Why Apple Bars Should Be Your Next Baking Adventure
Looking for a delicious dessert that’s easy to whip up? Apple bars are a fantastic choice! They bring together the sweetness of apples with a buttery, crumbly crust, creating a treat that satisfies any sweet tooth. Plus, they’re versatile—enjoy them warm with ice cream, as a snack, or even for breakfast. The texture is an irresistible combination of soft and crispy, making them perfect for sharing with friends.
Did you know that apples are packed with vitamins and fiber? They’re a wholesome ingredient that adds a nostalgic flavor to your baking. With each bite, you’re not just indulging; you’re savoring a slice of comfort too. So why wait? Head to your kitchen and start your apple bars baking adventure today—your taste buds will thank you!
For more great recipes and tips on baking, visit resources from culinary experts like the American Baking Guild and King Arthur Baking.
PrintApple Bars: Easy Homemade Recipe Perfect for Cozy Evenings
Enjoy these delightful Apple Bars that are perfect for cozy evenings with family and friends.
- Prep Time: 20 minutes
- Cook Time: 35 minutes
- Total Time: 55 minutes
- Yield: 12 bars
- Category: Dessert
- Method: Baking
- Cuisine: American
- Diet: Vegetarian
Ingredients
- 4 cups diced apples
- 1 cup sugar
- 2 cups all-purpose flour
- 1 teaspoon baking powder
- 1/2 teaspoon cinnamon
- 1/2 teaspoon salt
- 1 cup butter, softened
- 2 large eggs
Instructions
- Preheat the oven to 350°F (175°C).
- In a large bowl, cream together the butter and sugar until smooth.
- Beat in the eggs one at a time.
- In another bowl, combine flour, baking powder, cinnamon, and salt.
- Gradually stir the dry ingredients into the wet mixture.
- Fold in the diced apples.
- Pour the batter into a greased baking dish.
- Bake for 30-35 minutes or until the top is golden brown.
- Let cool before slicing into bars.
Notes
- Serve warm with a scoop of vanilla ice cream for a special treat.
- Feel free to add chopped nuts for extra crunch.
Nutrition
- Serving Size: 1 bar
- Calories: 200
- Sugar: 15g
- Sodium: 180mg
- Fat: 8g
- Saturated Fat: 5g
- Unsaturated Fat: 3g
- Trans Fat: 0g
- Carbohydrates: 30g
- Fiber: 2g
- Protein: 3g
- Cholesterol: 35mg