Introduction to Homemade Pop Tarts
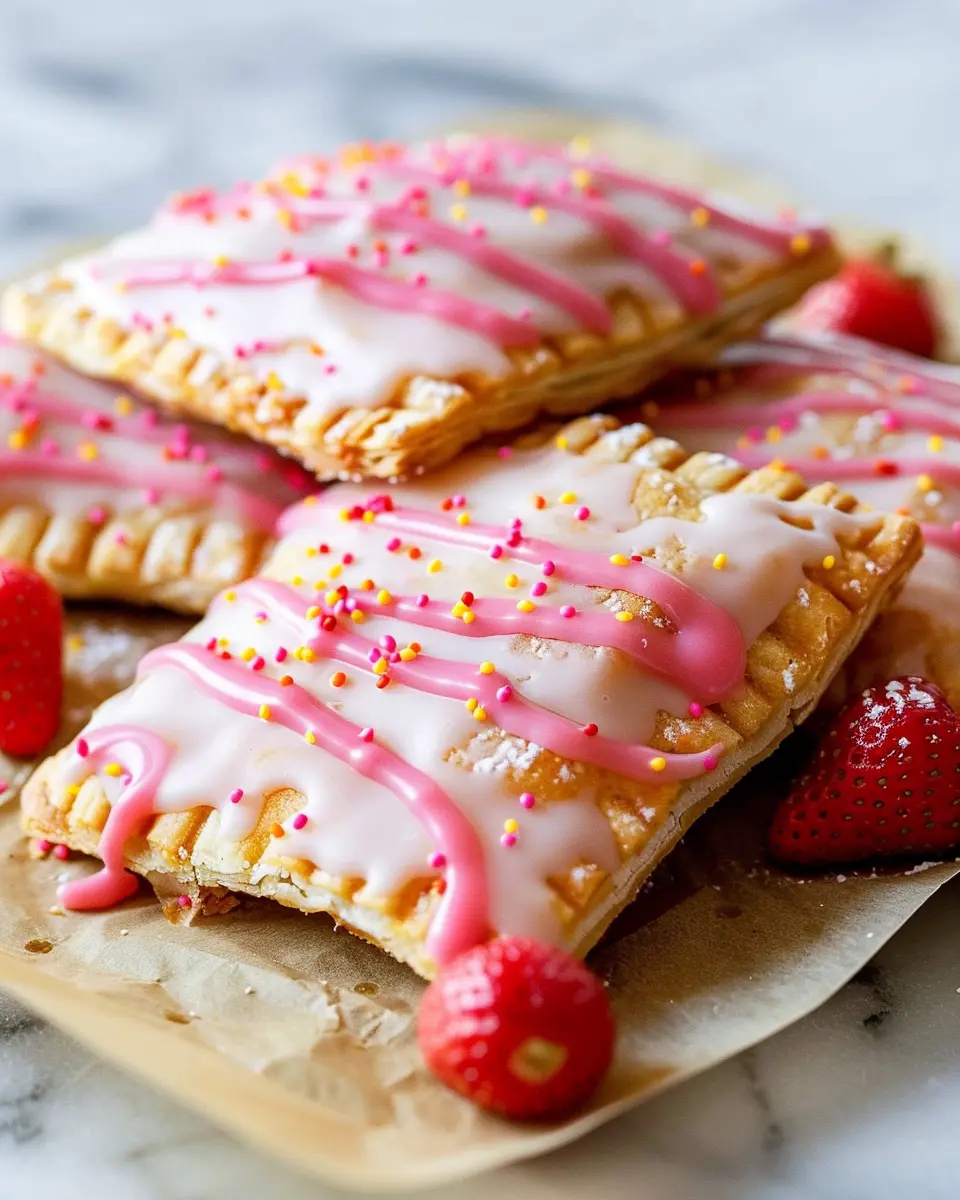
Are you tired of the same old breakfast routine? Homemade Pop Tarts might just be the game-changer you’re looking for! These delightful pastries are not only easy to make, but they also allow you to customize flavors that suit your taste buds perfectly. Imagine biting into a flaky crust filled with your favorite jam or frosting; it’s like a mini celebration at the start of your day!
Why Homemade Pop Tarts Are an Ultimate Treat?
When was the last time you truly indulged in something special? Store-bought Pop Tarts can be fun, but they often are packed with sugars and preservatives that you might want to avoid. Making your own means you control the ingredients. Yes, that’s right—you get to choose everything from fresh fruit fillings to gluten-free flour options. According to a study by the American Heart Association, making your own treats is not only healthier but can also be a satisfying culinary experience.
Here are a few reasons why homemade Pop Tarts stand out:
- Customization: Want a fruity raspberry filling? Or maybe you’re craving a rich chocolate center? The choices are endless, and you can cater these pastries to your tastes.
- Quality Ingredients: Using organic ingredients and high-quality butter makes a significant difference in flavor. Plus, it’s a great way to support local farmers or artisanal shops!
- Skillful Crafting: Baking can be therapeutic. The process of mixing, rolling, and assembling gives you a delightful sense of achievement, especially when you draw your loved ones into the activity.
If you’re looking for inspiration or tips, websites like Smitten Kitchen and Serious Eats offer great resources! They often provide techniques and flavor combinations that can help you elevate your homemade Pop Tarts to the next level.
So why not roll up your sleeves and dive into this fun, delicious project? Trust me, once you bite into your very own creation, you’ll understand why these pastries are the ultimate treat for every occasion! Whether it’s a quick breakfast or a fun dessert, homemade Pop Tarts can brighten up any day. Stay tuned for the complete recipe coming up next!
Ingredients for Homemade Pop Tarts
Essential ingredients for a classic pop tart
Creating homemade pop tarts is simpler than you might think! To whip up a classic version, gather the following essential ingredients:
- All-purpose flour: This is the backbone of your pastry, giving it structure.
- Unsalted butter: Cold butter adds flakiness and richness—definitely a must!
- Granulated sugar: A touch of sweetness goes a long way in both the dough and the filling.
- Salt: Just a pinch enhances the overall flavors.
- Ice water: Helps bind the dough without melting the butter too much.
- Filling: Fruit preserves, like strawberry or raspberry, are traditional favorites.
Optional ingredients for customizing flavors
Feel adventurous? You can customize your homemade pop tarts with a variety of optional ingredients:
- Alternative fillings: Think of chocolate spread, peanut butter, or even Turkey Bacon bits for a savory twist.
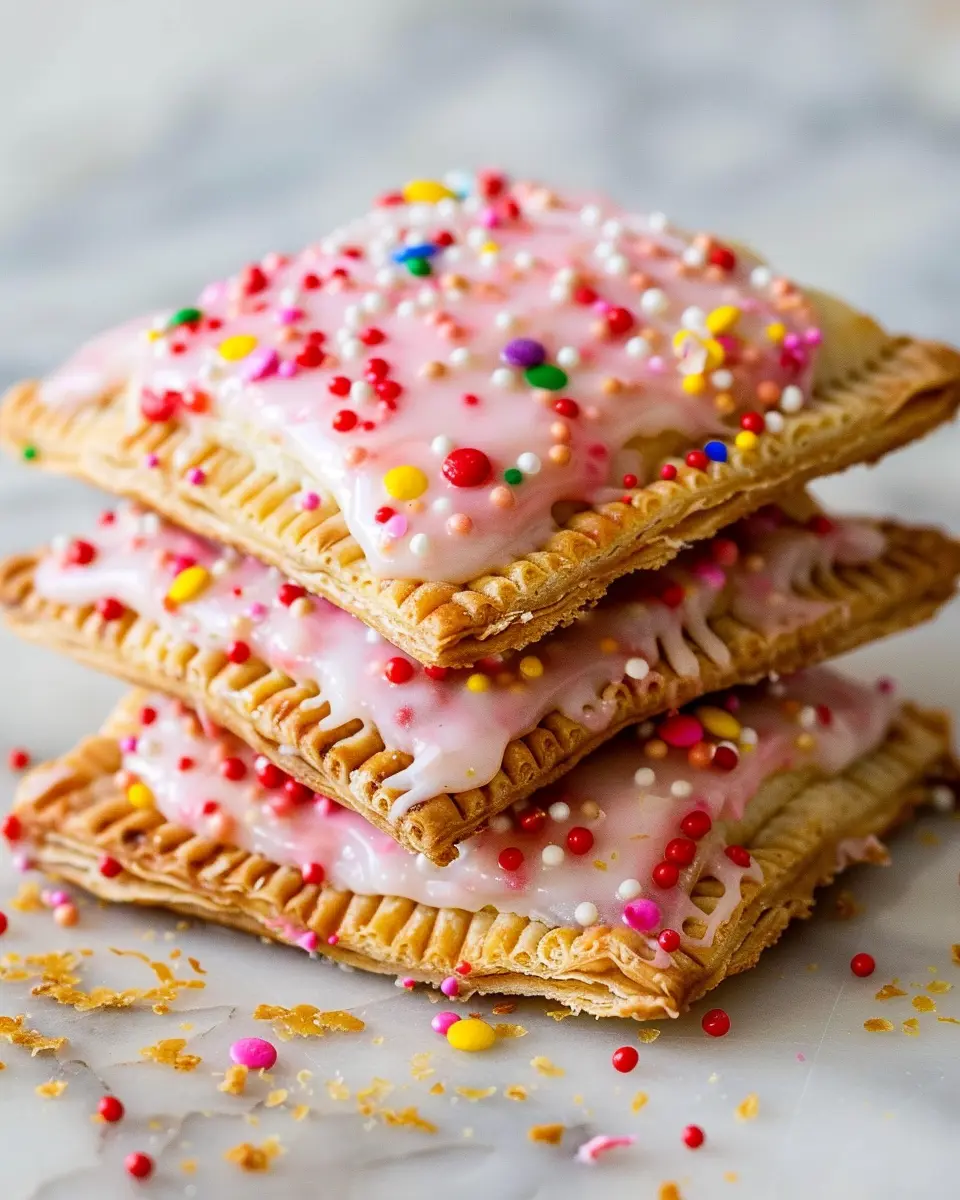
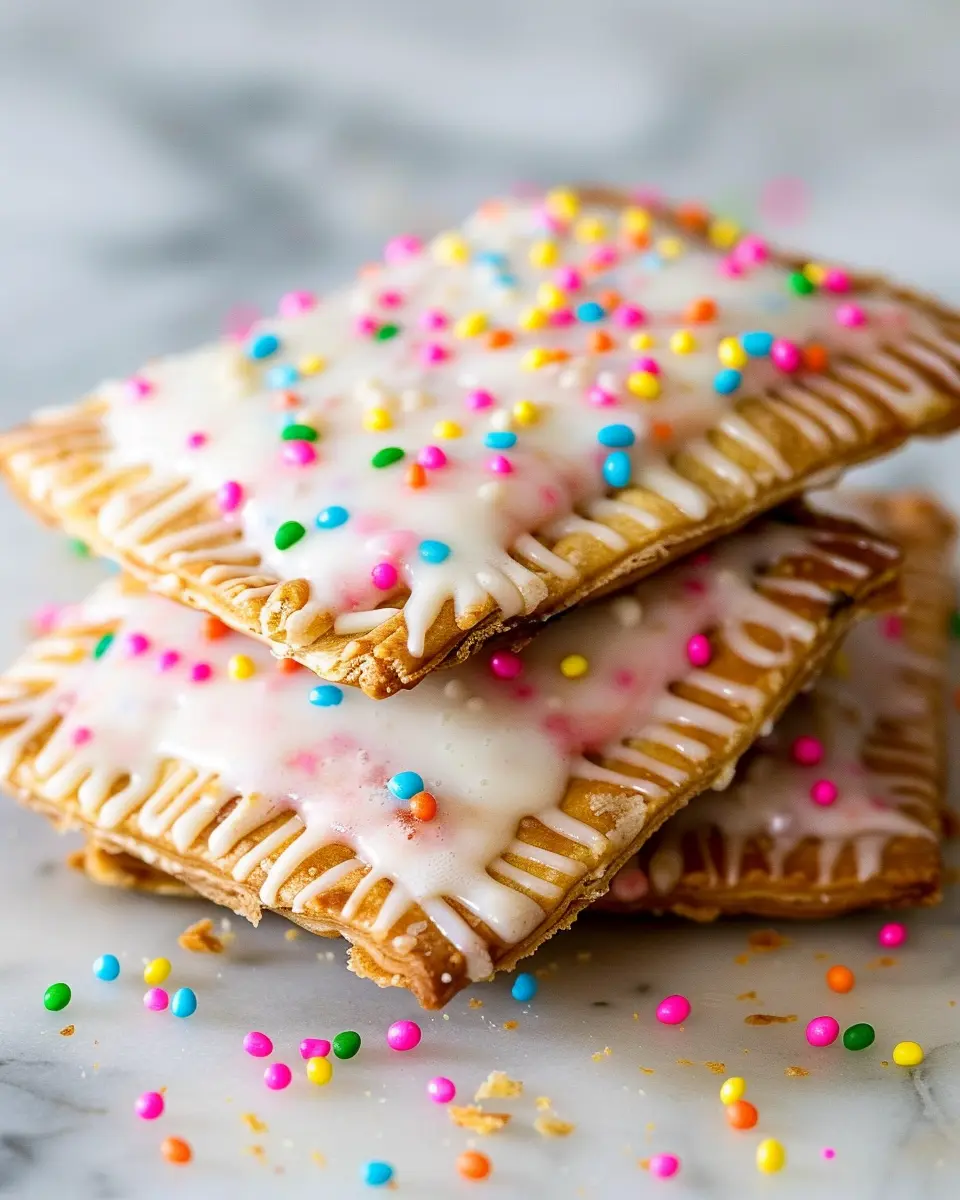
- Icing: A glaze made from powdered sugar and milk can elevate your pop tarts to the next level.
- Sprinkles or toppings: Add a dash of fun with colorful sprinkles or finely chopped nuts.
Experimenting with these ingredients opens up a world of flavor possibilities—just think about what would satisfy your sweet tooth! For more inspiration, check out this guide to creative toppings that can take your treats from ordinary to extraordinary.
Step-by-step Preparation of Homemade Pop Tarts
Creating homemade pop tarts is not just a fun baking adventure; it’s a fantastic way to bring some creativity into your kitchen while enjoying a nostalgic treat that can be customized to your liking. Let’s dive right into the how-tos of this delightful process, step by step!
Gather your ingredients
Before you roll up your sleeves, it’s important to gather all the necessary ingredients. This first step helps streamline the process and ensures you won’t have to run to the store halfway through! For your homemade pop tarts, you’ll need:
-
For the pastry:
-
2 cups all-purpose flour
-
1/4 cup granulated sugar
-
1/2 teaspoon salt
-
1 cup unsalted butter (cold, cut into cubes)
-
1/4 to 1/2 cup ice water
-
For the filling:
-
1 cup of your favorite jam or preserves (e.g., strawberry, raspberry, or apricot)
-
For the glaze (optional):
-
1 cup powdered sugar
-
2 tablespoons milk or cream
-
1/2 teaspoon vanilla extract
-
Sprinkles (for decoration)
Once you have everything ready, you’ll save time and make the cooking experience far more enjoyable!
Prepare the jam filling
Now that you have your ingredients in place, let’s whip up that jam filling. This is a simple step that can make a big difference, especially if you decide to go with homemade jam for a personal touch. If you’re using store-bought:
-
Choose your flavor: Select a jam that speaks to you. If you’re feeling adventurous, consider combining flavors or even making a blend.
-
Heat it up: Pour the jam into a small saucepan over medium heat. Stir frequently until it becomes more spreadable, roughly about 5 minutes. This caramelization brings out deeper flavors and helps it adhere better to the pastry.
-
Cool it down: Once warmed, let it cool while you tackle the pastry—this ensures your filling isn’t too runny.
Roll out and cut the pie crusts
With your filling ready, it’s time to make the crust. This is where the magic happens!
-
Make the dough: In a large bowl, mix flour, sugar, and salt. Add the cold butter cubes and use a pastry cutter or your fingers to blend until the mixture resembles coarse crumbs. Gradually add ice water, a tablespoon at a time, until a dough forms.
-
Chill: Wrap the dough in plastic wrap and let it chill in the refrigerator for at least 30 minutes. This is crucial for achieving that flaky texture—a tip borrowed from culinary experts at Serious Eats.
-
Roll it out: After chilling, dust your work surface with flour and roll out the dough to about 1/8-inch thickness.
-
Cut into shapes: Use a sharp knife or a pastry cutter to create rectangles—about 3×4 inches works well.
Assemble your pop tarts
Now comes the fun part—assembly!
-
Put the filling on: Take one dough rectangle, place a tablespoon of your cooled jam filling in the center, and leave a bit of space around the edges.
-
Seal it up: Top with another rectangle, and press the edges together with your fingers. For a decorative flare, use a fork to crimp the edges and ensure your filling stays snug inside.
-
Optional egg wash: If you want that beautiful golden color, consider brushing the tops with an egg wash, which is simply one beaten egg mixed with a tablespoon of water.
Bake to golden perfection
Finally, it’s baking time!
-
Preheat your oven: Set it to 350°F (175°C).
-
Line a baking sheet: Place your assembled pop tarts on a parchment-lined baking sheet.
-
Bake: Pop them in the oven for 25-30 minutes or until they are golden brown. The aroma wafting through your kitchen will be irresistible!
-
Cool: Let them cool for a few minutes on the baking sheet before transferring them to a wire rack.
Add your optional glaze while they cool, and sprinkle on the decorations. Then voilà! You’re ready to enjoy your homemade pop tarts—perfect for breakfast, a snack, or even dessert. Just remember that the fillings can be switched up for different flavors, so feel free to experiment! Happy baking!

Variations on Homemade Pop Tarts
Fruit-Filled Pop Tarts
When it comes to homemade pop tarts, fruit fillings are a crowd favorite. Think beyond just classic strawberry or blueberry — why not try something different? Seasonal fruits can elevate your pop tart game! Here are some ideas:
- Apple Cinnamon: A comforting mix of spiced apples and a sprinkle of cinnamon.
- Peach Berry: Fresh peaches combined with blueberries for a sweet-tart explosion.
- Raspberry Lemonade: A zesty blend that’s perfect for summer treats.
For detailed guidance on fruit preservation methods, check out this helpful guide.
Savory Pop Tart Options
Yes, you can go savory with your homemade pop tarts! This twist is perfect for brunch or a light dinner. Consider these delectable fillings:
- Chicken Ham and Cheese: A classic combo that never disappoints.
- Turkey Bacon and Egg: Add some scrambled egg for a hearty breakfast treat.
- Beef and Spinach: A savory delight seasoned with your favorite spices.
These options allow for a unique take on the traditional pop tart and can be filled with leftovers for a quick meal.
Gluten-Free Alternatives
If you’re navigating dietary restrictions, fear not! Making homemade pop tarts gluten-free is easier than you might think. Use a combination of almond flour and coconut flour for a delicious base, or opt for gluten-free all-purpose flour. Don’t forget:
- Chill Your Dough: This helps maintain texture.
- Xanthan Gum: It can provide that elasticity you might miss!
For more in-depth recipes and tips for gluten-free baking, visit Gluten-Free Girl.
So there you have it! The possibilities for homemade pop tarts are endless, making them a delicious canvas for your culinary creativity.
Cooking Tips and Notes for Homemade Pop Tarts
Perfecting Your Pie Crust
Creating the ideal pie crust is vital for homemade pop tarts. Start by using cold ingredients; this helps to keep the dough flaky. Remember, overworking your dough can lead to tough crusts. For a tender finish, mix just until combined. If you’re feeling adventurous, consider adding a sprinkle of cinnamon to the dough for an unexpected flavor twist.
How to Ensure Even Baking
To achieve that golden-brown perfection, baking your homemade pop tarts evenly is key. Here are some tips:
- Use parchment paper: Line your baking sheet for easy cleanup and even heat distribution.
- Rotate your baking tray halfway through to promote even browning.
- Invest in a baking thermometer. Ensuring your oven is at the right temperature can make a difference—a bit of heat can alter baking times.
With these tips, you’ll be well on your way to mastering delicious, flaky pop tarts that impress, whether you enjoy them for breakfast or as a sweet treat. For more guidance, check out resources from King Arthur Baking for even more baking secrets!
Serving Suggestions for Homemade Pop Tarts
Ideal Pairings with Beverages
When it comes to enjoying your homemade pop tarts, beverage pairings can take your experience to the next level. Consider a rich cup of freshly brewed coffee or a refreshing iced tea to complement the sweet and flaky pastry. A glass of chilled almond milk also works wonderfully, adding a nutty flavor that balances delightfully with the sugary filling. For a more adventurous twist, why not try a vibrant smoothie packed with fruits or a spiced chai latte? The key is to match the flavors; for instance, a berry-filled pop tart goes beautifully with a berry smoothie!
Presentation Ideas for a Brunch Spread
Hosting a brunch? Your homemade pop tarts can be the star of the show. Arrange them on a colorful platter, maybe even slice them in half to reveal their tasty fillings! Pair them with a selection of spreads, like fruit preserves or cream cheese frosting, encouraging guests to customize their treats. Add some fresh fruits, like strawberries or blueberries, for a pop of color and freshness. A simple touch of greenery, such as mint leaves, can elevate the presentation further. This setup not only looks enticing but also invites mingling and creativity among your brunch guests!
For more brunch inspiration, check out resources like Bon Appétit or Cooking Light.
Time Breakdown for Homemade Pop Tarts
When making delicious homemade pop tarts, it’s essential to have a clear understanding of the time involved. Here’s a simple breakdown to help you plan your baking adventure!
Preparation Time
Gathering your ingredients and preparing the dough takes about 30 minutes. This is the perfect time to get into your creative zone! Consider adding your favorite fillings—perhaps some jam or Nutella—and make this recipe your own.
Baking Time
Once your homemade pop tarts are assembled, pop them in the oven for approximately 20 minutes. Watch as they turn golden brown and start to fill your kitchen with a warm, inviting aroma.
Total Time
In total, you’re looking at about 50 minutes from start to finish. It’s a relatively quick process that results in a delightful treat. For more detailed guidance, check out resources from AllRecipes or Serious Eats. Enjoy your baking!
Nutritional Facts for Homemade Pop Tarts
Calories and macronutrients
When crafting your homemade pop tarts, it’s essential to be mindful of their nutritional profile. A typical homemade pop tart contains around 200-300 calories, depending on the filling and crust you choose. They are often rich in carbohydrates and sugars, with about 30-40 grams of carbs and around 5-7 grams of protein. The fat content usually hovers around 8-12 grams, depending on the type of fat used in the dough.
Healthier ingredient swaps
Want to create a version that supports your wellness goals? Consider these healthier swaps:
- Use whole wheat flour instead of all-purpose flour for added fiber.
- Opt for natural sweeteners like honey or maple syrup instead of refined sugar.
- Try fruit fillings like unsweetened applesauce or fresh berries to reduce sugar intake and enhance nutrients.
- Replace butter with coconut oil or unsweetened applesauce for a lower-fat option.
By making these adjustments, your homemade pop tarts can still be indulgent but pack more vitamins and minerals. For more insights on nutrition swaps, check out the USDA Food Composition Database for detailed info on various food items.
Experimenting in the kitchen can enhance both your cooking skills and your nutritional choices, so dive in and discover what works for you!
FAQs about Homemade Pop Tarts
If you’re venturing into the delightful world of homemade pop tarts, you might have some questions. Let’s tackle a few FAQs to help you along your culinary journey.
Can I freeze homemade pop tarts?
Absolutely! Freezing is a fantastic way to preserve your homemade pop tarts for future breakfast or snack cravings. Just wrap each pop tart tightly in plastic wrap or foil and place them in an airtight container or freezer bag. They can last for about 2 to 3 months in the freezer. When you’re ready to enjoy one, simply pop it in the toaster or oven straight from the freezer for a quick treat.
How long do they stay fresh?
Freshly baked homemade pop tarts will stay good for about 3-5 days when stored in an airtight container at room temperature. They’ll maintain their best flavor and texture during this time. If you notice them getting a bit stale, a quick toast can work wonders to revive their deliciousness.
What can I substitute for pie crust?
If you’re looking to mix things up, there are some great substitutes for traditional pie crust in your homemade pop tarts. Here are a few ideas:
- Store-bought puff pastry: This gives a flaky, buttery taste.
- Shortbread cookies: Ground up into crumbs mixed with butter can create a delightful base.
- Graham cracker crust: For a sweeter twist, crush graham crackers mixed with butter.
For more tips on crust alternatives, check out this guide on different pie crusts from Serious Eats.
With these FAQs answered, you’re well on your way to mastering the art of homemade pop tarts. Enjoy your baking adventure!
Conclusion on Homemade Pop Tarts
Why You Should Try Making These at Home!
Making homemade pop tarts is not just a fun and satisfying experience; it allows you to tailor flavors and fillings to your personal taste. Why settle for the same old store-bought pastries when you can create sweet or savory treats bursting with freshness? Plus, you can feel good about using quality ingredients, whether it’s real fruit preserves or a hint of dark chocolate.
Imagine the delight on your friends’ faces when you serve these scrumptious pastries at brunch or as a sweet snack. It’s a simple way to impress, and the best part? You can experiment endlessly! So roll up your sleeves, get creative, and bring the joy of homemade pop tarts into your kitchen. For more inspiration, check out this guide on fun fillings and icings!
PrintHomemade Pop Tarts: Easy and Deliciously Fun to Make at Home

Learn how to make Homemade Pop Tarts that are not only easy to prepare but also deliciously fun to enjoy. Perfect for a special breakfast or snack!
- Prep Time: 30 minutes
- Cook Time: 25 minutes
- Total Time: 55 minutes
- Yield: 10 pop tarts
- Category: dessert
- Method: baking
- Cuisine: American
- Diet: vegetarian
Ingredients
- 2 cups all-purpose flour
- 1/4 cup granulated sugar
- 1/2 teaspoon salt
- 1 cup unsalted butter, chilled and diced
- 1/4 cup ice water
- 1 egg
- 1 cup fruit preserves or frosting (for filling)
Instructions
- In a mixing bowl, combine flour, sugar, and salt.
- Add the diced butter and mix until the mixture resembles coarse crumbs.
- Stir in ice water, a tablespoon at a time, until the mixture comes together.
- Wrap the dough in plastic and refrigerate for at least 30 minutes.
- Preheat the oven to 350°F (175°C).
- Roll out the dough on a floured surface and cut into rectangles.
- Place a spoonful of filling on one rectangle and cover with another.
- Seal the edges with a fork and place on a baking sheet.
- Brush with beaten egg and bake for 20-25 minutes or until golden brown.
- Allow to cool before serving.
Notes
- Experiment with different fillings like chocolate or nut butter.
- For a sweet glaze, mix powdered sugar with a bit of milk and drizzle over the cooled tarts.
Nutrition
- Serving Size: 1 pop tart
- Calories: 250
- Sugar: 12g
- Sodium: 200mg
- Fat: 18g
- Saturated Fat: 10g
- Unsaturated Fat: 8g
- Trans Fat: 0g
- Carbohydrates: 30g
- Fiber: 1g
- Protein: 3g
- Cholesterol: 30mg