Introduction to Peanut Butter Blossoms
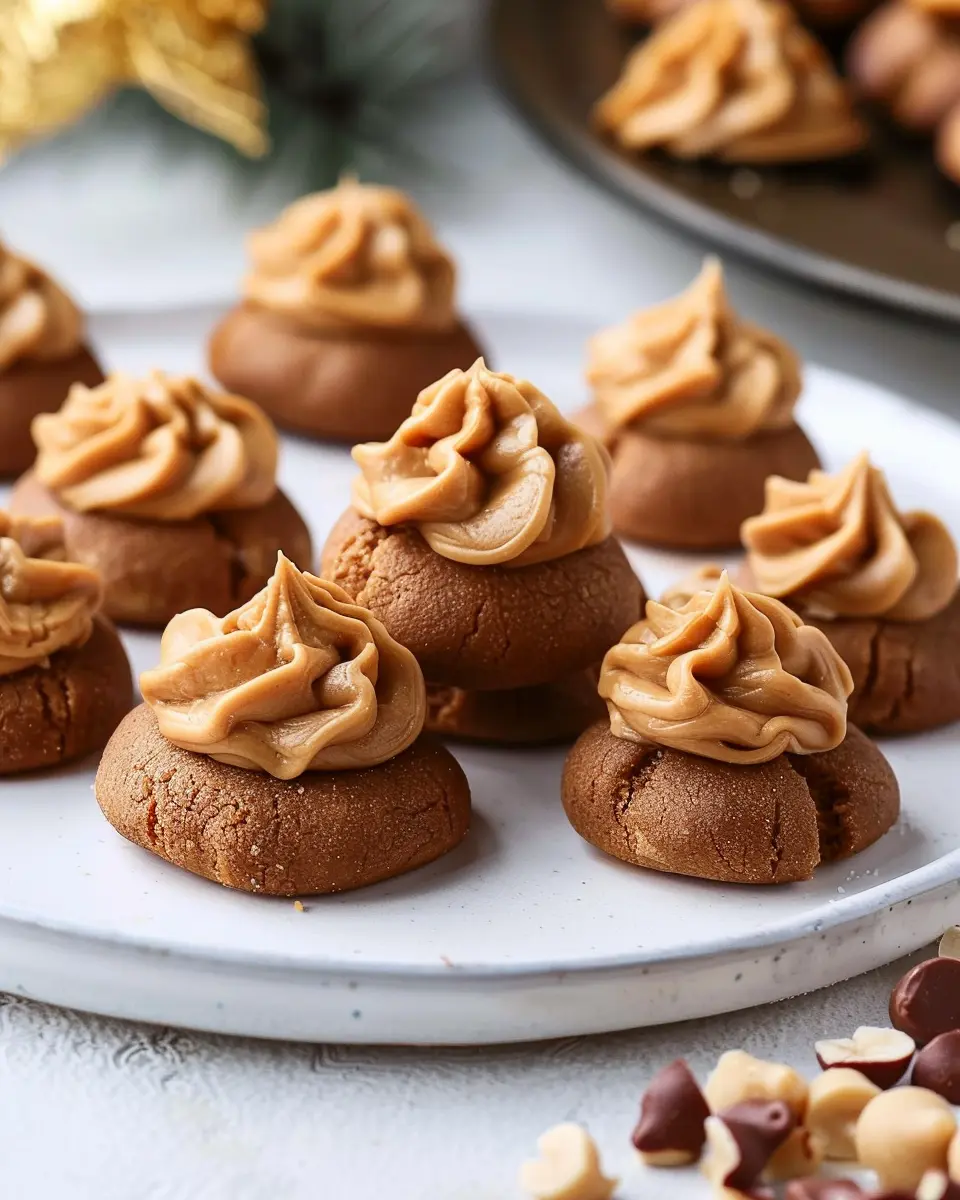
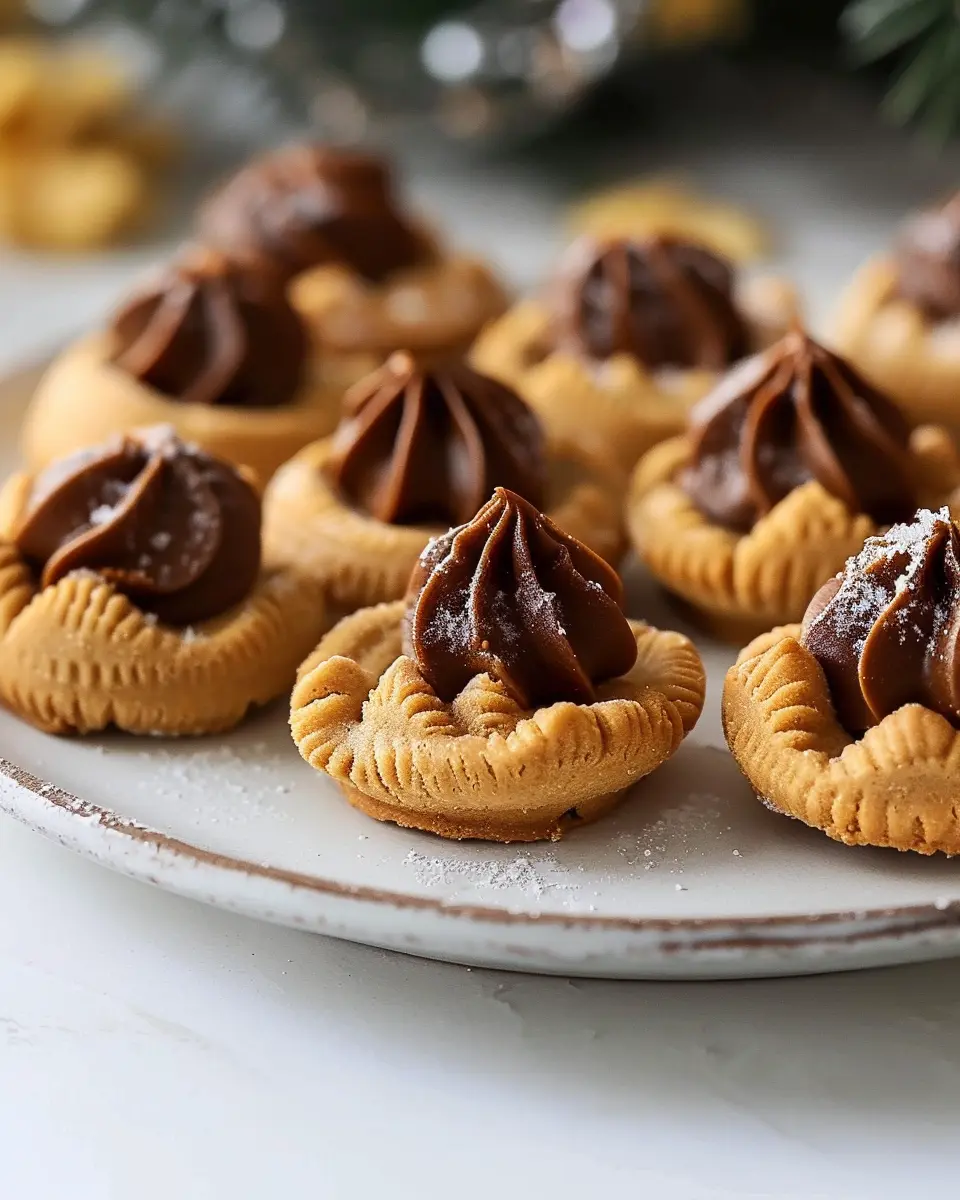
When it comes to homemade treats, few things can match the simple joy of peanut butter blossoms. This delightful cookie combines the rich, nutty flavor of peanut butter with the sweetness of chocolate kisses, creating a nostalgic snack that can brighten anyone’s day. Whether you’re baking for a cozy night in or whipping up a batch for a gathering, this classic dessert is a guaranteed crowd-pleaser.
Why Peanut Butter Blossoms Are the Ultimate Homemade Treat
One of the reasons peanut butter blossoms stand out is their unforgettable taste. The combination of the soft, chewy cookie with the melty chocolate on top creates a flavor explosion that dances on your taste buds. Additionally, they are incredibly versatile; you can mix in ingredients like chopped nuts or swap out the chocolate kisses for your favorite candy.
What’s more? Baking these cookies can be a delightful bonding experience. Inviting friends over for a baking session can turn an ordinary weekend into a fun-filled day. Cooking together fosters laughter and community, and you’ll end up with a batch of delicious cookies to share. Need more inspiration? Check out resources from the American Baking Guild, which emphasizes the importance of engaging with the baking process here.
From a health standpoint, peanut butter brings some nutritional benefits to the table. Rich in protein and essential fats, it’s a pantry staple that’s not just tasty but also nourishing. Plus, as the world becomes more health-conscious, many are exploring alternative nut butters, and this recipe can easily adapt to almond or sunflower seed butter if you’re looking for variety.
What about the classic peanut butter blossoms recipe you’re about to dive into? It’s straightforward and doesn’t require any special skills. With just a few pantry staples, you can create something that not only tastes incredible but also evokes warm memories of childhood.
So, whether you’re a seasoned baker or just starting, get ready to embrace the sweet, nutty goodness of peanut butter blossoms. Trust me; once you bite into one of these delightful cookies, you’ll understand why they are an all-time favorite.
Ingredients for Peanut Butter Blossoms
Essential ingredients for the perfect cookies
When crafting delicious peanut butter blossoms, the right ingredients make all the difference. These scrumptious cookies are a delightful blend of flavors and textures, and here’s what you’ll need to whip up a batch:
- Peanut Butter: Smooth or chunky, depending on your preference, this is the star of the show! Aim for a natural variety without unnecessary additives for the best flavor.
- Granulated Sugar: Sweetens the batter and gives those edges a nice crisp.
- Brown Sugar: A touch of richness and moisture that helps create a chewy texture.
- Baking Soda and Baking Powder: These leavening agents work together to give your cookies that perfect lift.
- Egg: It binds everything together, ensuring that your cookies don’t fall apart.
- All-Purpose Flour: A must-have for structure and stability.
- Chocolate Kisses: Add these after baking to create the signature blossom effect!
For extra tips on ingredient selection, you can check out Cooking Light for guidance on baking essentials. You’ll be on your way to cookie perfection in no time!
Step-by-Step Preparation of Peanut Butter Blossoms
If you’re looking for a delicious cookie that combines the rich flavor of peanut butter with the sweetness of chocolate, look no further than this peanut butter blossoms recipe! These cookies not only taste amazing but also bring back childhood memories of baking with family. Let’s dive into the step-by-step preparation to make your own batch of these delightful treats!
Gather and Prepare Your Ingredients
Before you dive into mixing and baking, it’s essential to gather all your ingredients. Here’s what you’ll need:
- 1 cup peanut butter (creamy or crunchy, your choice)
- ½ cup granulated sugar
- ½ cup packed brown sugar
- ½ cup unsalted butter, softened
- 1 large egg
- 1 teaspoon vanilla extract
- 1 ½ cups all-purpose flour
- 1 teaspoon baking soda
- ½ teaspoon salt
- Granulated sugar, for rolling
- Hershey’s Kisses, for the tops
Having everything ready will streamline the process and keep you organized. Don’t forget to preheat your oven to 375°F (190°C) now so it can be nice and hot by the time your dough is ready.
Cream the Butter and Sugars
In a large mixing bowl, combine the softened butter, granulated sugar, and brown sugar. Using a hand mixer or stand mixer, beat them together until the mixture is fluffy and light. This typically takes about 2-3 minutes. You’ll know it’s ready when it changes from a sticky mass to a light and airy blend. This step is crucial because it helps to incorporate air into your mixture, giving your cookies that perfect texture.
Mix in the Egg and Vanilla
Once your butter and sugars are well combined, it’s time to introduce the wet ingredients. Crack the egg into the mixture and add the vanilla extract. Continue beating for another minute or so until fully incorporated. The warmth of the egg will help combine the ingredients and add richness to the dough. This is also the moment to let your unique personality shine—consider adding a pinch of cinnamon or a splash of your favorite alternative milk for flavor.
Combine Dry Ingredients and Form the Dough
In a separate bowl, whisk together the flour, baking soda, and salt. Gradually add this dry mix into your wet mixture, stirring until just combined. It’s important not to overmix—you want the dough to come together without becoming too tough. When it’s smooth and well-combined, you’re ready to move to the next step.
If you need a visual guide for this step, check out this informative article on how to mix cookie dough effectively.
Shape the Cookies and Roll in Sugar
Now comes the fun part! Take small portions of cookie dough (about one tablespoon each) and roll them into balls. Then, roll each ball in granulated sugar until they’re lightly coated. Placing them on a lined or greased baking sheet is essential. Make sure to leave some space between each cookie, as they will spread a bit while baking.
Bake and Add Hershey’s Kisses
Finally, pop your baking sheet into the preheated oven and let those cookies bake for about 8-10 minutes. Keep an eye on them, as you want them to be golden but not overly brown. When you pull them out, immediately press a Hershey’s Kiss into the center of each cookie. It will melt slightly, creating the perfect topping for your beautiful cookies. Allow the cookies to cool on the sheet for a few minutes before transferring them to a wire rack to cool completely.
There you have it—a simple yet delightful peanut butter blossoms recipe that’s sure to impress. Not only will your kitchen smell heavenly, but you’ll also have a treat that showcases your baking skills and creativity. Happy baking!
Variations of Peanut Butter Blossoms
Classic vs. Dark Chocolate Variations
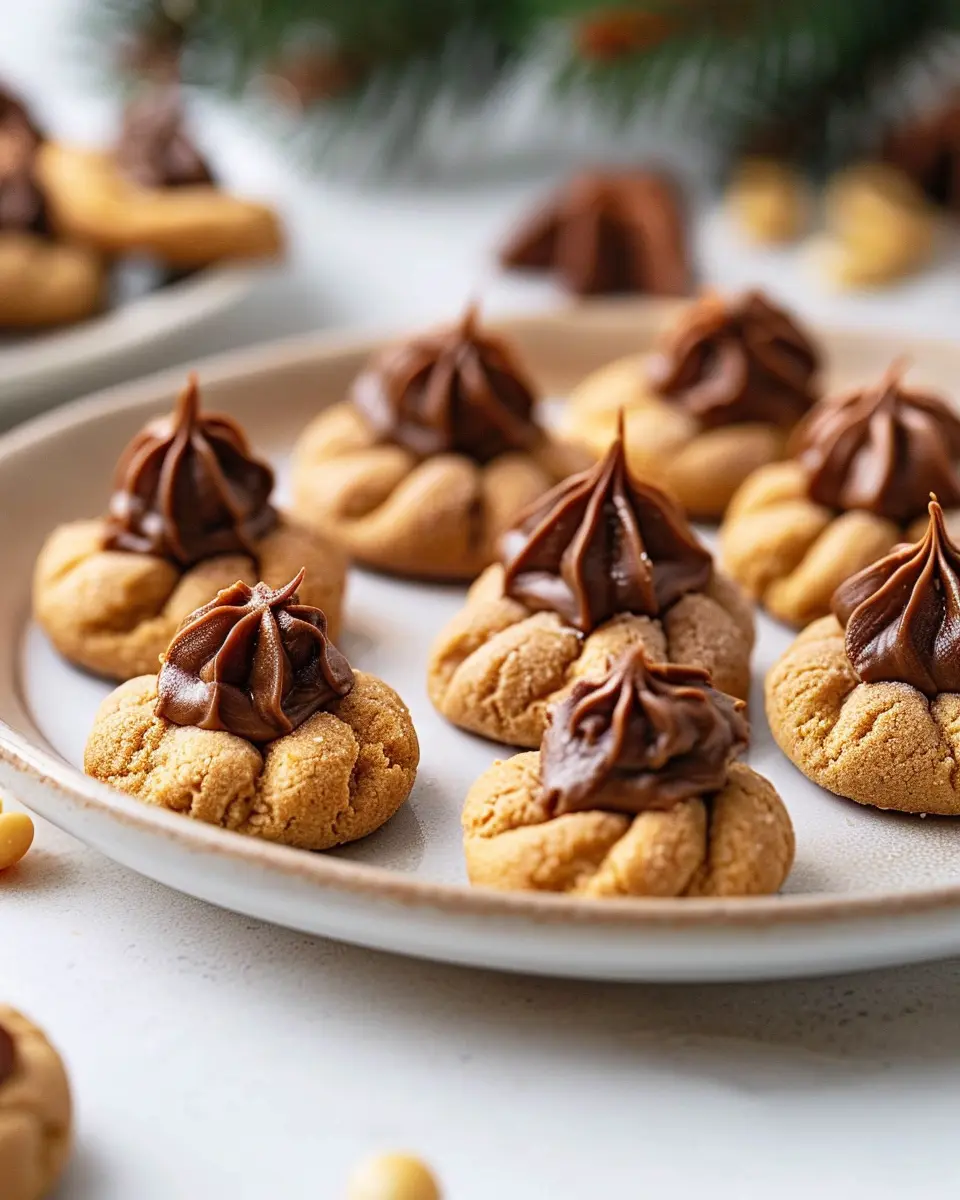
When it comes to the ever-popular peanut butter blossoms recipe, you can start with the classic approach or try something new with dark chocolate. The original calls for Hershey’s Milk Chocolate Kisses, which offer a delightful balance of creamy sweetness. However, if you’re a dark chocolate lover, switching to dark chocolate kisses can take this cookie to a whole new level. The rich, slightly bitter notes complement the nutty flavor of peanut butter, creating a sophisticated twist that elevates your baking game.
To make both styles equally enjoyable, experiment with your cookie dough by adding a touch of cinnamon or even a pinch of sea salt. This simple enhancement can elevate the taste profile considerably, making each bite a little more exciting!
Festive Twists with Flavored Kisses
Why settle for the usual when you can unleash your creativity? Explore seasonal variations by using flavored kisses! With options like caramel, mint, or even pumpkin spice, the possibilities are endless. Imagine delighting your guests during the holidays with cookies topped with pumpkin spice kisses. This adds a festive flair and flavors that scream comfort and warmth.
You can also adjust the base peanut butter blossoms recipe by incorporating mini chocolate chips or adding a swirl of your favorite flavored nut butter. Use decorative sprinkles or even crushed nuts for visual appeal, transforming your simple cookies into an eye-catching spread.
For more peanut butter inspiration, check out this guide on nut butter variations. Who knew that peanut butter blossoms could be so versatile? Enjoy experimenting and delighting in these tasty variations.
Cooking Tips and Notes for Peanut Butter Blossoms
Make-Ahead Tips for Future Baking
If you love the Peanut Butter Blossoms recipe but want to streamline your baking process, consider making the dough ahead of time. Simply prepare the cookie dough, roll it into balls, and refrigerate for up to 24 hours. This not only saves you time but also enhances the flavors as they meld together! For even longer storage, freeze the dough balls in an airtight container for up to three months.
Storing and Freezing Your Cookies
Once your peanut butter blossoms are baked, you’ll want to keep them fresh for as long as possible. Store your cookies in an airtight container at room temperature for about a week. If you have a batch that you want to savor later, individually wrap each cookie in plastic wrap and place them in a freezer-safe bag. They can last for up to three months in the freezer!
By following these simple tips, you’ll ensure your delicious Peanut Butter Blossoms remain fresh and delightful long after baking. For more storage insights, check out sources like the USDA for proper food storage guidelines.
Serving Suggestions for Peanut Butter Blossoms
Perfect Pairings: From Milk to Coffee
Nothing complements your peanut butter blossoms recipe quite like a refreshing drink. Here are some delightful pairings to consider:
- Classic Cold Milk: You can’t go wrong with the timeless combo of fresh milk. It’s a nostalgic pairing that brings out the creamy richness of the peanut butter.
- Hot Coffee: The bitterness of coffee beautifully balances the sweetness of the blossoms. A medium roast is perfect to enhance those flavors without overpowering them.
- Herbal Tea: For a herbal twist, try chamomile or mint tea. Both can cleanse your palate and offer a calming effect after enjoying your cookies.
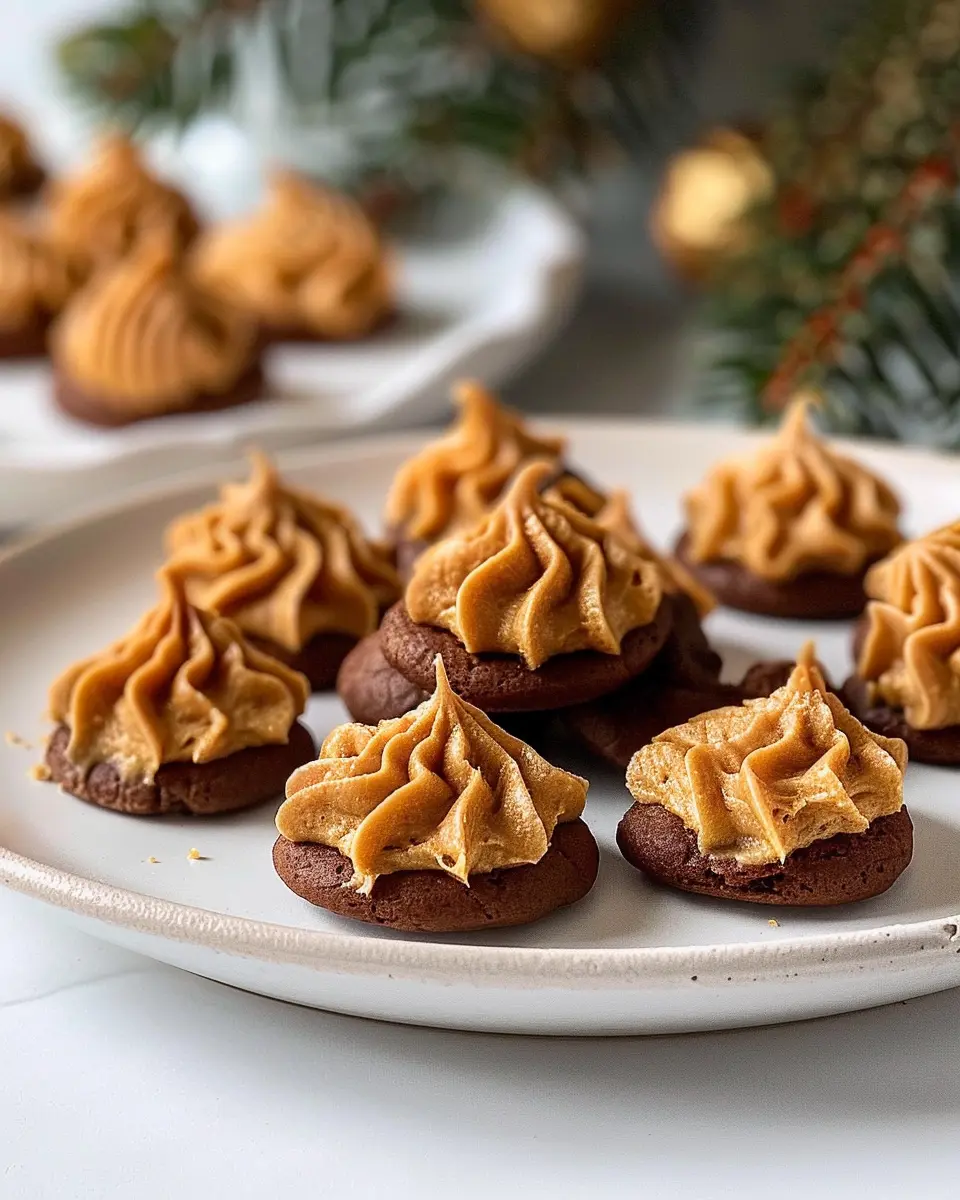
Presentation Ideas for Holiday Gatherings
When it comes to serving your peanut butter blossoms, presentation is key. Elevate your cookie display to impress your guests:
- Festive Platters: Use decorative platters with holiday motifs to create an inviting display. Add some variety by mixing in other holiday treats, like decorated sugar cookies.
- Cookie Jars: For a vintage touch, fill a glass jar with your blossoms and tie a colorful ribbon around it. This not only looks great but also makes for a perfect gift idea!
- Themed Table Settings: Coordinate your cookie display with your holiday décor. Consider using seasonal colors and accents to tie everything together.
With these suggestions, your peanut butter blossoms will not only taste fantastic but also look stunning at any gathering! For more tips on baking and serving, check out resources like Food Network or Serious Eats. Happy baking!
Time Breakdown for Peanut Butter Blossoms
Preparation Time
Getting started with our peanut butter blossoms recipe is a breeze! You’ll need about 15 minutes for preparation. This includes gathering all your ingredients, mixing the dough, and rolling it into delightful little balls – a task that’s as satisfying as it is fun.
Baking Time
Once your dough is ready, it’s time to bake! Preheat your oven and let your cookies bake for around 10 to 12 minutes. Keep an eye on them; you want those beautiful, golden edges for the perfect texture.
Total Time
So, when all’s said and done, you’re looking at a total of roughly 30 minutes for these scrumptious cookies to go from idea to reality. Perfect for a quick treat or indulging yourself while catching up on your favorite show. Happy baking! For more baking tips, check out Baking Basics for insights on perfecting your cookie techniques.
Nutritional Facts for Peanut Butter Blossoms
When indulging in delightful treats like Peanut Butter Blossoms, it’s important to understand what you’re savoring. These classic cookies, with their signature kiss of chocolate, are not only delicious but also pack a nutritional punch!
Caloric Breakdown
On average, each cookie contains about 90 calories. If you’re watching your calorie intake, consider how many you indulge in during those cozy movie nights or holiday gatherings.
Key Nutrients per Cookie
Every Peanut Butter Blossom brings more than just sweetness:
- Protein: Approximately 2.5g, thanks to the peanut butter, making them a satisfying snack choice.
- Fat: Around 4g, primarily from healthy fats in peanut butter, providing energy and flavor.
- Carbohydrates: About 10g, delivering a quick energy boost that’s perfect for any moment.
- Fiber: Roughly 1g, helping to keep your digestive system in check.
Are you curious about how peanut butter blossoms recipes can fit into a balanced diet? Nutritionists often recommend enjoying them in moderation. They can be a part of a healthy lifestyle when paired with whole foods and nutrient-dense meals. For more insights on healthy snacking, check out this resource from the Mayo Clinic.
Moderation is key, so next time you whip up a batch, consider sharing with friends or storing some in the freezer for a later treat!
FAQs about Peanut Butter Blossoms
How do I avoid flat cookies?
Nobody wants a batch of sad, flat cookies when making the beloved Peanut Butter Blossoms recipe. To keep your cookies perfectly puffy, make sure to measure your flour accurately. Spoon it into a measuring cup, rather than scooping directly from the bag, as this can compact it and lead to excess flour. Chilling the dough for at least 30 minutes helps too. This step allows the butter to firm up, resulting in thicker cookies that hold their shape as they bake.
Can I substitute any ingredients?
Absolutely! One of the beauties of this classic cookie recipe is its flexibility. If you’re looking for a healthier option, you can swap out regular peanut butter for natural peanut butter or even almond butter. For those with dietary restrictions, gluten-free flour can replace all-purpose flour, making this treat accessible for more folks. However, keep in mind that any substitutions can slightly alter the texture or flavor, so feel free to experiment! You might also want to check this article on baking substitutions for more ideas.
What’s the best way to store these cookies?
To keep your Peanut Butter Blossoms tasting fresh, store them in an airtight container at room temperature. They’ll stay delicious for up to a week. For longer storage, consider freezing them! Just be sure to cool them completely before placing them in a freezer-safe container. When you’re ready to enjoy, simply let them thaw at room temperature for a flavorful treat that’s ready to delight!
With these tips in mind, you’re well on your way to baking the perfect batch of Peanut Butter Blossoms. Happy baking!
Conclusion on Peanut Butter Blossoms
Why You Should Try Making These Delicious Cookies
In a world full of cookies, the peanut butter blossoms recipe stands out as a quintessential favorite. Not only do these cookies boast a delightful combination of rich, creamy peanut butter and sweet chocolate, but they also carry a touch of nostalgia that can instantly brighten your day.
Making these cookies is an easy way to impress friends and family during gatherings. Plus, they are perfect for those cozy nights in, complementing a warm cup of tea or coffee. For additional tips on elevating your baking experience, check out resources like Serious Eats for expert advice.
So why not try your hand at this recipe? Your taste buds will thank you!
PrintPeanut Butter Blossoms Recipe: Easy Treats for Every Occasion
This Peanut Butter Blossoms recipe is perfect for any occasion, combining the rich flavors of peanut butter and chocolate in a delightful treat.
- Prep Time: 15 minutes
- Cook Time: 10 minutes
- Total Time: 25 minutes
- Yield: 24 cookies
- Category: Dessert
- Method: Baking
- Cuisine: American
- Diet: Vegetarian
Ingredients
- 1 cup peanut butter
- 1 cup sugar
- 1 egg
- 1 teaspoon vanilla extract
- 1 teaspoon baking soda
- 24 chocolate kisses
Instructions
- Preheat your oven to 350°F (175°C).
- In a bowl, mix peanut butter, sugar, egg, vanilla extract, and baking soda until well combined.
- Roll the mixture into balls and place them on a baking sheet.
- Bake for 10 minutes, then remove from the oven.
- Press a chocolate kiss into the center of each cookie while they are still warm.
- Allow to cool before serving.
Notes
- For a richer flavor, add a pinch of salt to the mixture.
- Store any leftovers in an airtight container.
Nutrition
- Serving Size: 1 cookie
- Calories: 120
- Sugar: 10g
- Sodium: 50mg
- Fat: 6g
- Saturated Fat: 2g
- Unsaturated Fat: 4g
- Trans Fat: 0g
- Carbohydrates: 14g
- Fiber: 1g
- Protein: 3g
- Cholesterol: 10mg