Introduction to Thumbprint Cookies
What are thumbprint cookies, and why are they special?
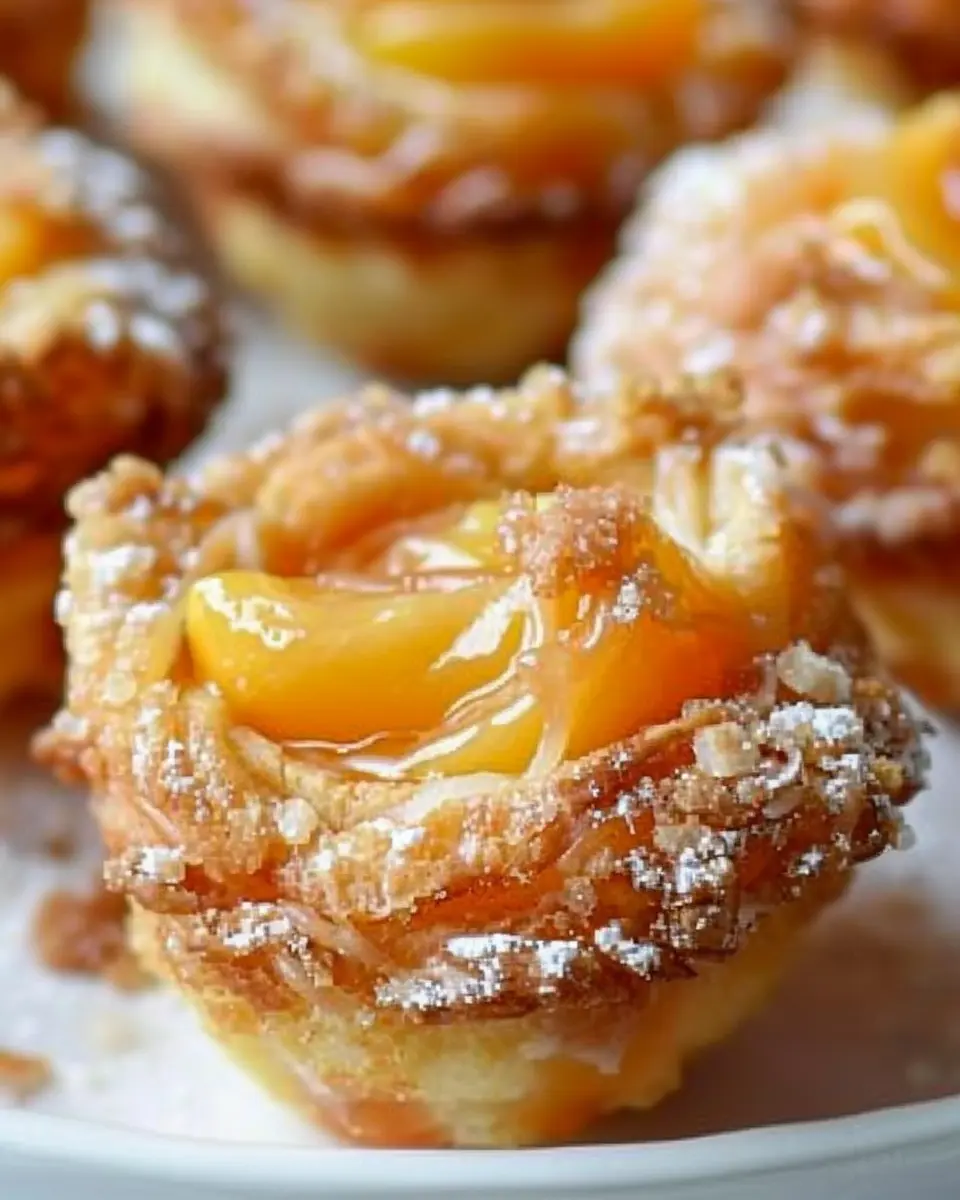
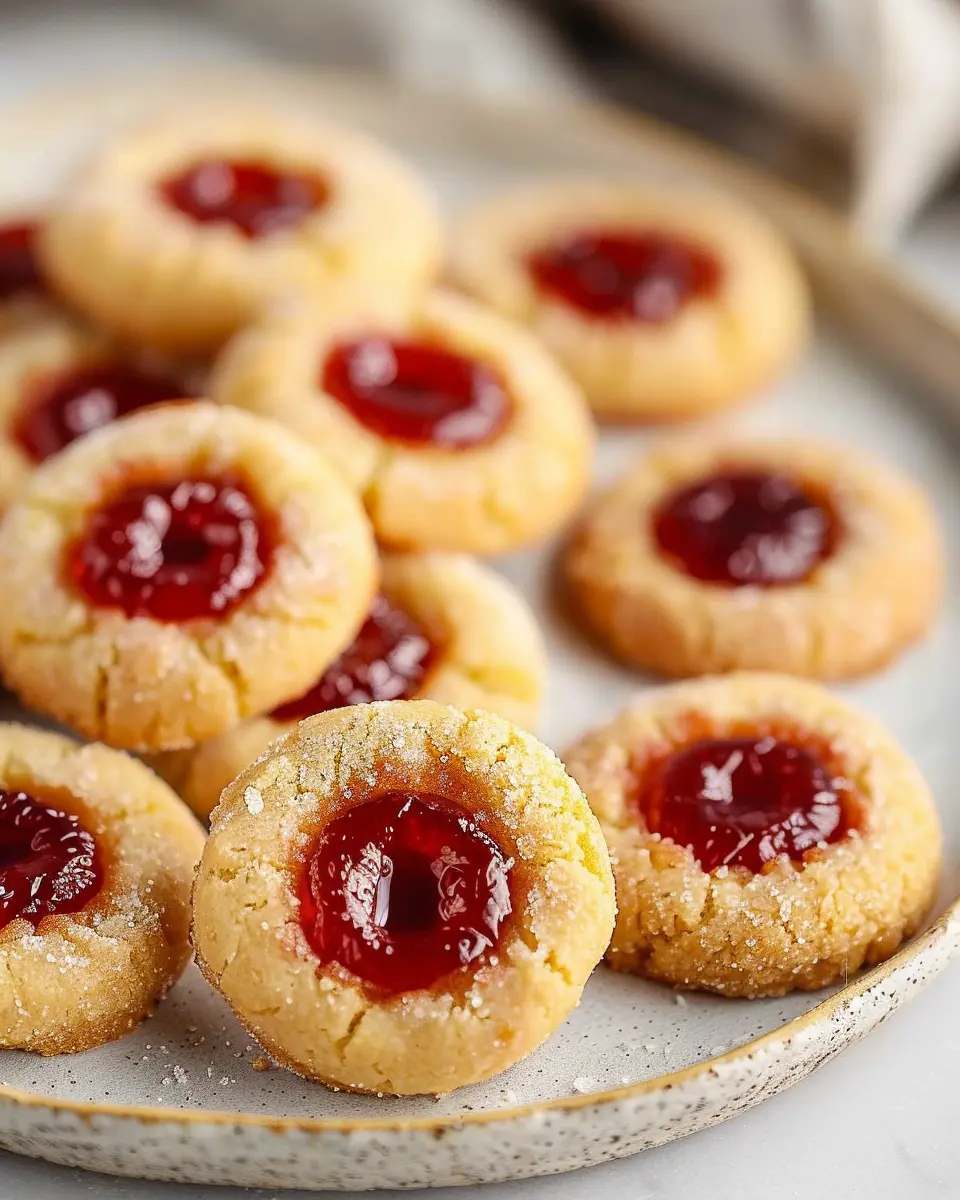
Thumbprint cookies are delightful little confections that hold a special place in the hearts of many dessert lovers. Originating from Europe, particularly in Scandinavian countries, these cookies are instantly recognizable due to their signature pinched center, which is precisely the “thumbprint” that gives them their name. Imagine small, buttery cookies with a sweet, fruit-filled center—the perfect combination of texture and flavor!
What makes thumbprint cookies truly unique is their versatility. The base of the cookie is typically made with simple ingredients like flour, butter, sugar, and a hint of vanilla. This straightforward dough provides a canvas that can be adorned with an array of fillings, such as jams, jellies, or even chocolate ganache. The classic choice often includes sweet raspberry or apricot preserves, but the options are practically limitless! Want to try something different? How about a rich chocolate filling or even a tangy lemon curd? Thumbprint cookies break the mold, inviting everyone to put their twist on this beloved treat.
A brief glance at the history of these cookies reveals their deep-rooted connection to family gatherings and holiday traditions. Have you ever baked these cookies with friends or family during the festive season? There’s something incredibly heartwarming about sitting around the kitchen, laughing and sharing stories, all while creating delicious desserts together. Online resources, like BakingTips, offer great insights and recipes that can inspire your cookie creations—definitely check them out!
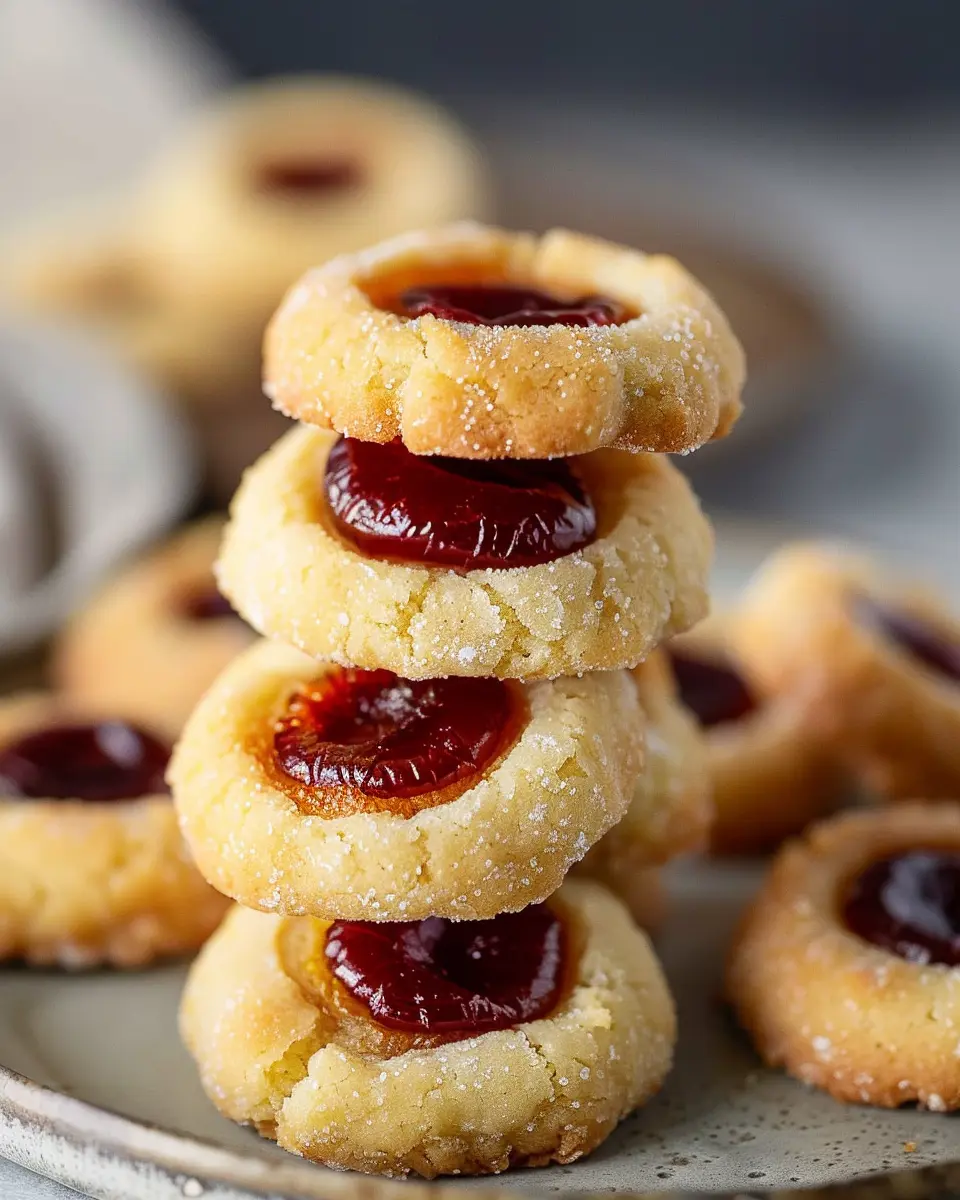
The texture of a well-baked thumbprint cookie is another reason they are adored. The outside remains pleasantly crisp, while the center is chewy and moist thanks to the filling. Whether they’re enjoyed with a cup of coffee during those busy work-from-home days or served at festive celebrations, thumbprint cookies are the kind of treat that never disappoints.
So, whether you’re a seasoned baker or a beginner eager to try your hand at developing new skills, we invite you to dive into the world of thumbprint cookies. You might just find your new favorite recipe!
Ingredients for Thumbprint Cookies
Essential ingredients for delicious thumbprint cookies
Creating the perfect thumbprint cookies starts with a handful of essential ingredients that come together to make these delightful treats. Each component plays a crucial role in achieving that buttery, melt-in-your-mouth texture. Here’s what you’ll need:
- Butter: About 1 cup of unsalted butter adds richness; be sure to let it soften for easy mixing.
- Granulated Sugar: You’ll need 1/2 cup to balance the flavors—sweet enough to satisfy, but not overpowering.
- Brown Sugar: Another 1/2 cup brings a subtle depth that elevates your cookies.
- All-Purpose Flour: Use 2 cups to give your cookies structure while maintaining that soft bite.
- Egg Yolk: One large yolk binds everything together and adds a touch of richness.
- Vanilla Extract: A splash (roughly 1 teaspoon) is essential for that warm, comforting flavor.
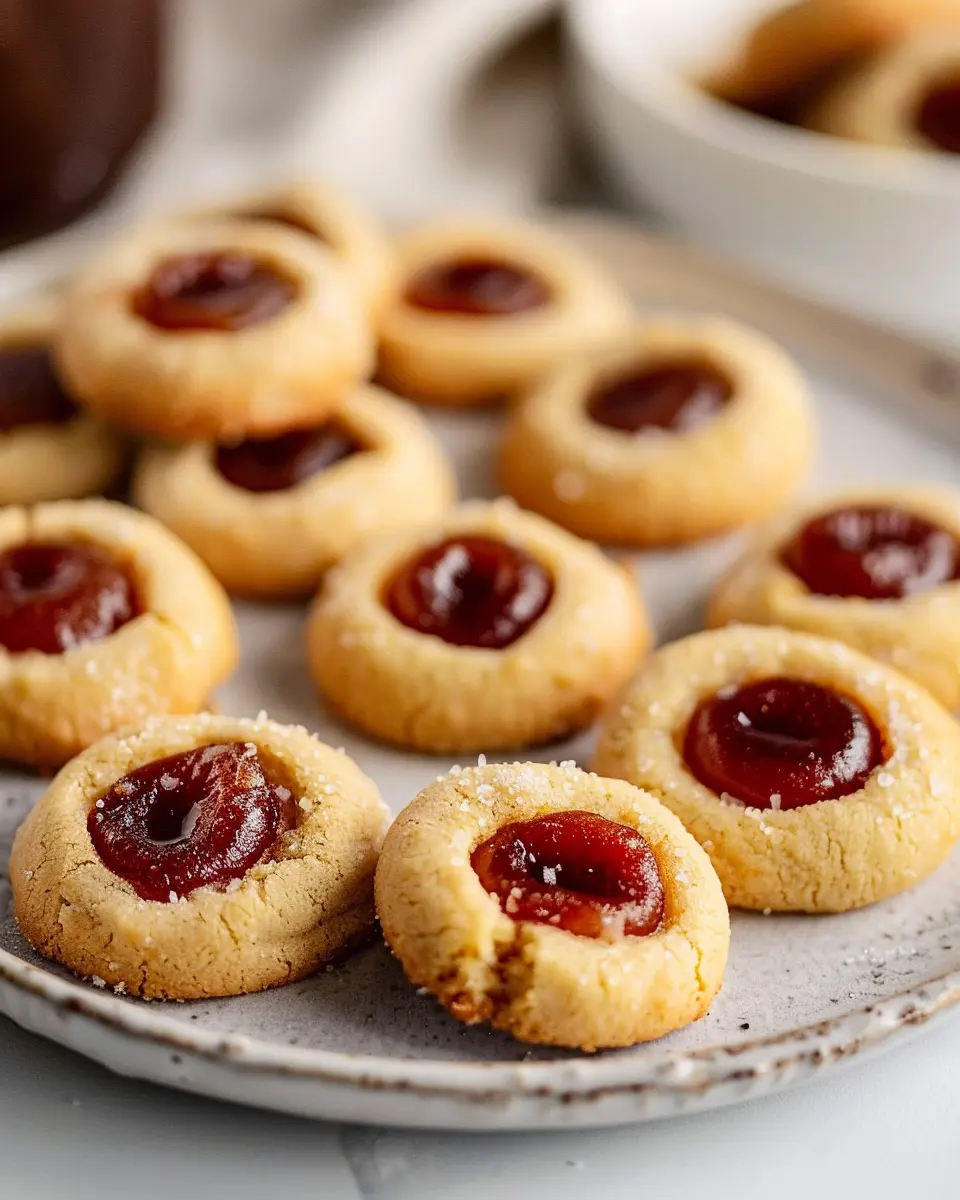
- Jam or Preserves: Your choice for the thumbprint! Raspberry and apricot are popular favorites.
These ingredients not only combine to create delicious thumbprint cookies but also provide a creative canvas for flavor. Check out King Arthur Baking for more baking tips and inspiration!
Preparing Thumbprint Cookies
Making delicious thumbprint cookies is not only a delightful experience; it’s also a fantastic way to fill your kitchen with warmth and amazing aromas. These lovely little confections are perfect for sharing or just treating yourself. Let’s walk through the preparation steps to make these scrumptious cookies!
Gather the ingredients and tools
Before diving in, it’s important to have everything you need at hand. This helps streamline the process and prevents any last-minute scrambles.
Ingredients:
- 1 cup unsalted butter, softened to room temperature
- 2/3 cup granulated sugar
- 2 egg yolks
- 1 teaspoon vanilla extract
- 2 cups all-purpose flour
- Your favorite jam or fruit preserves for filling (strawberry, raspberry, or apricot are excellent choices!)
- A pinch of salt
Tools:
- Mixing bowls
- Electric mixer or whisk
- Measuring cups and spoons
- Baking sheet lined with parchment paper
- A spoon or your thumb for shaping the cookies (hence the name!)
Having these essentials on your kitchen counter will make the thumbprint cookies creation process much more enjoyable!
Cream together butter and sugar
Start by using your electric mixer or traditional whisk to beat the softened butter and granulated sugar together in a large mixing bowl. Aim for a light, creamy texture. This will typically take about 3-5 minutes. Good technique here is crucial; it infuses air into the mixture, making your cookies delightfully light and tender.
Did you know that the creaming method is a critical step in baking that determines the final texture of many baked goods? According to expert bakers, this process not only sweetens the batter but also emulsifies the fat and sugar, leading to a smooth cookie dough.
Incorporate egg yolks and vanilla
Once your butter and sugar are nicely creamed, it’s time to add in the egg yolks and vanilla extract. Mix until these wet ingredients are well combined, which should take just about a minute. The egg yolks add richness and moisture to the dough, while the vanilla enhances the flavor profile of your thumbprint cookies, making them even more irresistible.
Mix in the flour and form the dough
Next up, gradually add the flour and a pinch of salt to the mixture. It’s best to do this in thirds, mixing each addition until just combined. You want to avoid overworking the dough. As you incorporate the flour, you’ll start to see the mixture come together into a soft dough. If it’s too sticky, you can refrigerate it for about 30 minutes before rolling.
Shape, roll and fill the cookies
Now comes the fun part! Preheat your oven to 350°F (175°C) while you get ready. Take a heaping teaspoon of dough and roll it into a ball—aim for about 1 inch in diameter. Place each ball on your prepared baking sheet, leaving some space between them.
Using your thumb (or the end of a spoon), press down gently in the center of each cookie to create a well. This is where the magic happens!
Fill each thumbprint with your choice of jam or preserves. It’s fun to combine flavors—perhaps strawberry and blueberry for a delicious twist.
Bake the thumbprint cookies to perfection
Once you’ve filled your cookies, it’s time to pop them into the preheated oven. Bake for about 12-15 minutes, or until the edges start to become golden brown. Keep an eye on them as every oven can behave differently.
Your kitchen will soon be filled with the enticing aroma of fresh-baked thumbprint cookies. Once they’re out, allow them to cool on a wire rack before enjoying.
And there you have it! A simple yet rewarding recipe that allows you to indulge in delicious, homemade thumbprint cookies. For more baking tips, consider checking out resources like The Kitchn for additional insights and recipes. Happy baking!
Variations on Thumbprint Cookies
When it comes to thumbprint cookies, the classic recipe is just the starting point. Let’s explore some delightful variations that will cater to different tastes and allow your creativity to flourish in the kitchen.
Creative fruit-filled versions
Imagine biting into a warm, buttery cookie that bursts with flavor. Switching up the filling is not only easy but also a fun way to personalize your thumbprint cookies. Here are a few ideas to get you started:
- Jams and Preserves: Experiment with different fruit spreads like raspberry, apricot, or even fig for a more refined taste.
- Fruity Purees: Try mango or passion fruit puree for a tropical twist.
Not only do these fruit fillings add a splash of color, but they also provide a delightful contrast to the rich, buttery cookie base.
Nutty thumbprint cookies
For those who love a good crunch, why not add some nuts to your thumbprint cookies? Think about incorporating finely chopped pecans or almonds into the dough or using nut-based fillings:
- Nut Butters: Peanut butter or almond butter can be a creamy filling that complements the cookie base perfectly.
- Chopped Nuts on Top: Before baking, sprinkle some chopped nuts on top for added texture and taste.
This version is perfect for nut enthusiasts and adds a touch of heartiness to your baking.
Chocolate thumbprint delights
If you’re a chocolate lover, this variation will be your new favorite. Picture this: rich, chocolatey goodness combined with the signature thumbprint.
- Chocolate Ganache Filling: Replace the traditional fruit with a rich chocolate ganache.
- Cocoa in the Cookie Dough: Add unsweetened cocoa powder to the dough for an extra chocolatey flavor.
These chocolate thumbprints not only satisfy a sweet tooth but also make for an elegant treat at parties or gatherings.
Want more inspiration? Check out this article on creative cookie ideas for additional tips and recipes that will elevate your baking game. Happy baking!
Baking tips for Thumbprint Cookies
Common pitfalls to avoid
When making thumbprint cookies, a few common mistakes can lead to less-than-perfect results. One major pitfall is overmixing the dough—this can result in a tough cookie instead of a tender one. Remember to mix just until combined! Also, don’t skip chilling the dough; it helps the cookies hold their shape and prevents spreading. If you’re unsure about the consistency, check out Baker’s Journal for additional insights.
How to achieve the perfect texture
For that melt-in-your-mouth texture, use room temperature ingredients, especially butter. Creaming the butter and sugar together until light and fluffy is key. Opt for high-quality fillings, whether jam or chocolate, to elevate your thumbprint cookies. A pinch of salt can also enhance sweetness; just don’t overdo it. Finally, baking on a parchment-lined sheet promotes even cooking—essential for that soft, chewy center that keeps you coming back for more.

Serving suggestions for Thumbprint Cookies
Pairing ideas for morning coffee
There’s something magical about enjoying thumbprint cookies with your morning coffee. The buttery texture and sweet filling perfectly complement the rich flavors of your brew. Here are a few pairing suggestions:
- Dark Roast Coffee: The boldness of a dark roast enhances the sweetness of the cookies, making each bite an indulgent experience.
- Vanilla Latte: The creamy sweetness of a vanilla latte pairs wonderfully with fruity thumbprint fillings like raspberry or apricot, creating a delightful balance.
- Herbal Tea: If you’re looking for a lighter option, a chamomile or mint herbal tea can refresh your palate alongside the cookies’ sweetness.
Creative ways to gift thumbprint cookies
Thumbprint cookies make fantastic gifts! Whether for a holiday, a thank-you gesture, or simply to brighten someone’s day, consider packaging them thoughtfully.
- Decorative Jars: Layer cookies in a mason jar with a cute ribbon for an appealing presentation. You can find great inspiration on sites like Pinterest.
- Mix and Match: Create an assorted box with various fillings—think chocolate, almond, and berry—to make your gift unique and personal.
- Personal Notes: Add a handwritten note with baking tips or your favorite way to enjoy thumbprint cookies. This little touch can make your gift even more special.
With these serving suggestions, you’re sure to impress your friends and enjoy every moment with your delicious thumbprint cookies!
Time details for Thumbprint Cookies
Preparation time
Making thumbprint cookies is a delightful task that typically takes about 20 to 30 minutes. This includes gathering your ingredients, mixing the dough, and rolling it into delightful little balls. If you’re anything like me, you might enjoy taking your time to make sure every detail is just right!
Baking time
Once your yummy dough is ready, you’ll want to get those cookies in the oven. Baking time is usually around 12 to 15 minutes. Keep an eye on them, as ovens can vary! They should be golden around the edges but still soft in the center to give you that perfect bite.
Total time
In total, you’re looking at approximately 35 to 45 minutes to whip up these scrumptious thumbprint cookies from start to finish. Not only is the process enjoyable, but the smell of cookies wafting through your kitchen is an experience you don’t want to miss.
For more inspiration on baking delish cookies, check out sites like King Arthur Baking for tips and tricks. Plus, if you want more recipes to satisfy your sweet tooth, visit The Cookie Rookie. Happy baking!
Nutritional information for Thumbprint Cookies
When indulging in thumbprint cookies, it’s essential to be mindful of their nutritional values if you’re tracking your intake. Here’s a quick breakdown to keep in mind:
Calories per cookie
Each cookie contains approximately 80 calories. That makes it easier to enjoy a tasty treat without feeling guilty!
Sugar content
These delightful cookies pack around 6 grams of sugar per serving. Opt for lower-sugar jams or sugar alternatives if you’re looking to cut back!
Recommended serving size
A typical serving size is two cookies. This amount allows you to enjoy the best of both worlds: satisfying your sweet tooth while keeping your portions in check.
For more insights into the nutritional benefits of cookies, check out guidelines from the USDA. If you’re curious about healthier swaps, resources from Healthline can be quite handy!
FAQs about Thumbprint Cookies
Can I make thumbprint cookies ahead of time?
Absolutely! Thumbprint cookies are perfect candidates for making in advance. You can prepare the dough and refrigerate it for about 2–3 days. When you’re ready to bake, simply scoop and roll into balls, make the thumbprint, and add your filling. Alternatively, you can bake the cookies ahead and store them, either unfrosted or with jam added. They’re ideal for holiday baking marathons or last-minute gatherings!
What can I use for filling besides jam?
While traditional thumbprint cookies are often filled with jam, there’s a whole world of delicious fillings to explore! Here are some tasty alternatives:
- Nut butter: Almond or peanut butter make for rich, protein-packed options.
- Chocolate ganache: Perfect for chocolate lovers; just melt chocolate and combine with cream.
- Caramel sauce: A sweet, gooey treat that adds a delightful twist.
- Lemon curd: For a zesty kick, lemon curd is a refreshing option that balances the sweetness.
Experimenting with flavors not only enhances your cookies but also showcases your creativity.
How should I store leftover thumbprint cookies?
To keep your thumbprint cookies fresh, store them in an airtight container at room temperature. Typically, they can last for about 4–5 days—if you can resist eating them all in one sitting! For longer storage, consider freezing them. Just layer them between sheets of parchment paper and place them in an airtight bag. They can last for up to 3 months in the freezer, making them a convenient treat for any time you crave something sweet.
If you’re interested in more unique baking tips or need expert advice, websites like King Arthur Baking offer a wealth of resources and recipes. Happy baking!
Conclusion on Thumbprint Cookies
Why you’ll love making these at home
Baking thumbprint cookies in your own kitchen brings an irresistible charm to your dessert table. These cookies are not only simple to prepare but also allow for a delightful range of fillings that can cater to your unique taste buds. Imagine using your favorite jams, chocolate, or even nut butters, which you can easily customize based on what you have on hand!
By making these cookies at home, you can control the quality of ingredients, making them a healthier option compared to store-bought treats. Plus, there’s something uniquely satisfying about seeing those little indents filled with sweet goodness. Don’t be surprised if these become a go-to recipe in your collection! For tips on variations and additional recipes, check out this fantastic guide on cookie baking. Happy baking!
PrintThumbprint Cookies: Easy Indulgence for Homemade Happiness

Thumbprint cookies are a classic treat, perfect for any occasion, featuring a delightful center of jam or chocolate.
- Prep Time: 15 minutes
- Cook Time: 18 minutes
- Total Time: 33 minutes
- Yield: 24 cookies
- Category: Dessert
- Method: Baking
- Cuisine: American
- Diet: Vegetarian
Ingredients
- 1 cup unsalted butter, softened
- 1 cup granulated sugar
- 2 cups all-purpose flour
- 1 cup jam or chocolate for filling
- 1 teaspoon vanilla extract
- 1/2 teaspoon salt
Instructions
- Preheat the oven to 350°F (175°C).
- In a bowl, cream the butter and sugar until light and fluffy.
- Add in the vanilla and salt, mixing until combined.
- Gradually add the flour until a dough forms.
- Shape the dough into small balls and place them on a baking sheet.
- Make an indent in the center of each ball and fill with jam or chocolate.
- Bake for 15-18 minutes, or until lightly golden.
Notes
- Experiment with different types of jam for varied flavors.
- Store cookies in an airtight container to maintain freshness.
Nutrition
- Serving Size: 2 cookies
- Calories: 100
- Sugar: 8g
- Sodium: 50mg
- Fat: 7g
- Saturated Fat: 4g
- Unsaturated Fat: 2g
- Trans Fat: 0g
- Carbohydrates: 10g
- Fiber: 0g
- Protein: 1g
- Cholesterol: 30mg