Introduction to Thumbprint Cookies
When it comes to cookies, few are as beloved as thumbprint cookies. These delightful treats, with their unique dimpled center filled with jam or chocolate, evoke a sense of nostalgia that resonates with many. But why exactly are thumbprint cookies considered a classic favorite?
One reason is their versatility. You can fill that little thumbprint with almost anything—from fruity jams to rich chocolates or even creamy peanut butter. Each household seems to have its own twist on the classic recipe, adding to the cookie’s charm. This adaptability makes thumbprint cookies suitable for any occasion, whether you’re hosting a cozy gathering or just enjoying a quiet evening alone.
Moreover, thumbprint cookies have an easy-to-follow recipe. Even if you’re a beginner in the kitchen, the straightforward process of mixing ingredients and rolling dough means you can whip up a batch in no time. Plus, the hands-on aspect of pressing your thumb into each cookie is not only fun but also a great way to engage with the baking process. Not convinced yet? If you’re curious about the origins of these delightful cookies, consider checking out this source from The Spruce Eats.
What sets thumbprint cookies apart is their homemade appeal. Biting into a fresh batch evokes feelings of comfort and warmth—especially when shared with friends or family. As a personal anecdote, I remember baking thumbprint cookies with my grandmother; the kitchen would fill with laughter and, of course, the sweet aroma of melting chocolate and warm dough.
In addition to their nostalgic value, thumbprint cookies can also be a creative outlet. Feel free to experiment with various fillings and toppings to make them your own. This creativity can lead to delightful surprises and perfect conversation starters at your next gathering.
For those irresistible treats that blend simplicity, nostalgia, and creativity, thumbprint cookies are undoubtedly a go-to favorite. Ready to dive into the recipe? Let’s get started!
Ingredients for Thumbprint Cookies
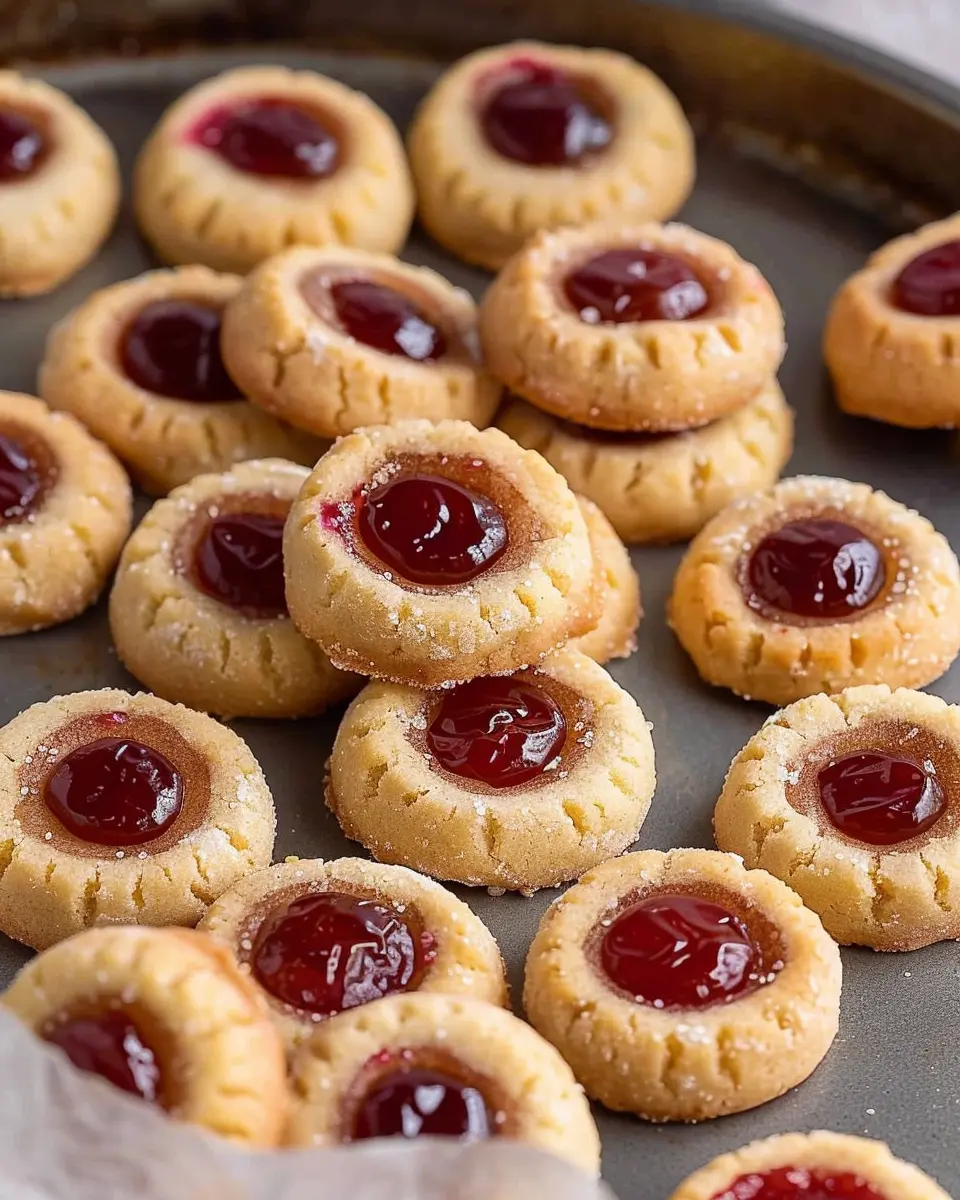
Essential ingredients for delicious thumbprint cookies
Creating the perfect thumbprint cookies is all about using quality ingredients that come together to deliver delightful flavor and texture. Here’s what you’ll need:
- Flour: The foundation of your cookies—opt for all-purpose flour for the best results.
- Butter: Unsalted is ideal as it lets you control the saltiness. Plus, who doesn’t love a rich buttery flavor?
- Sugar: A mix of granulated and powdered sugar creates the perfect sweetness and delightful texture.
- Eggs: One large egg binds everything together, giving the cookies a lovely structure.
- Vanilla Extract: A dash of pure vanilla adds incredible depth to the flavor profile.
- Jam or Preserves: The star of the show! Choose your favorite—raspberry, strawberry, or apricot work beautifully.
By using these essential ingredients, you’ll ensure your thumbprint cookies turn out both scrumptious and memorable. Try experimenting with different jams for unique flavors; your friends will be thanking you! For more tips about choosing the best ingredients, check out this helpful guide from The Spruce Eats.
Preparing Thumbprint Cookies
Making thumbprint cookies is not just a baking task — it’s an experience! With their delightful bursts of flavor and chewy textures, these cookies are perfect for any occasion, be it a cozy evening at home or a festive gathering with friends. Let’s dive into the preparation process step-by-step!
Gather Your Ingredients
Before diving into the mixing bowl, make sure you have everything you need on hand. For perfect thumbprint cookies, you will need:
- 1 cup unsalted butter (softened at room temperature)
- 1/2 cup granulated sugar
- 2 egg yolks (save those whites for another use!)
- 2 cups all-purpose flour
- 1/4 teaspoon salt
- 1/2 teaspoon vanilla extract (or almond extract for a twist!)
- Your choice of jam (raspberry, strawberry, or apricot work wonderfully)
Fun fact: Choosing high-quality ingredients, especially the jam, can elevate your cookie game significantly. Consider checking out this guide on selecting the best jams and spreads for your baking.
Cream the Butter and Sugar
Now, it’s time to get mixing! In a large bowl, use a hand mixer or a stand mixer fitted with the paddle attachment to cream together the softened butter and granulated sugar until the mixture is light and fluffy. This process incorporates air into the cookie batter, which helps give your thumbprint cookies that perfect chewy texture.
Mix in the Egg Yolk and Flour
Once the butter and sugar are perfectly blended, it’s time to mix in the egg yolks and vanilla extract (your kitchen will smell divine!). Gradually add in the flour and salt, mixing on low speed until just combined. Avoid overmixing, as it can lead to tougher cookies later on.
Chill the Dough (Optional but Recommended)
Here’s a little secret: Allowing your dough to chill for at least 30 minutes can enhance the flavors and improve the cookie’s structure. Wrap your dough in plastic wrap and place it in the refrigerator. If you’re in a hurry, you can skip this step, but the results are worth the wait!
Portion and Shape the Dough
After chilling, remove the dough from the fridge and preheat your oven to 350°F (175°C). Use a cookie scoop or your hands to portion out 1-inch balls of dough. Roll them gently in your palms for a smooth finish.
Create the Thumbprint Indent
Using your thumb (or the back of a measuring spoon), press down into the center of each dough ball to create a small indent. This is where all the goodness also happens! Keep your fingertips dusted with a bit of flour to prevent sticking.
Fill with Jam
Choose your favorite jam flavor and spoon about half a teaspoon into each indentation. Don’t fill it too much, though; you don’t want the jam overflowing while it bakes. This small burst of flavor is what makes thumbprint cookies so special!
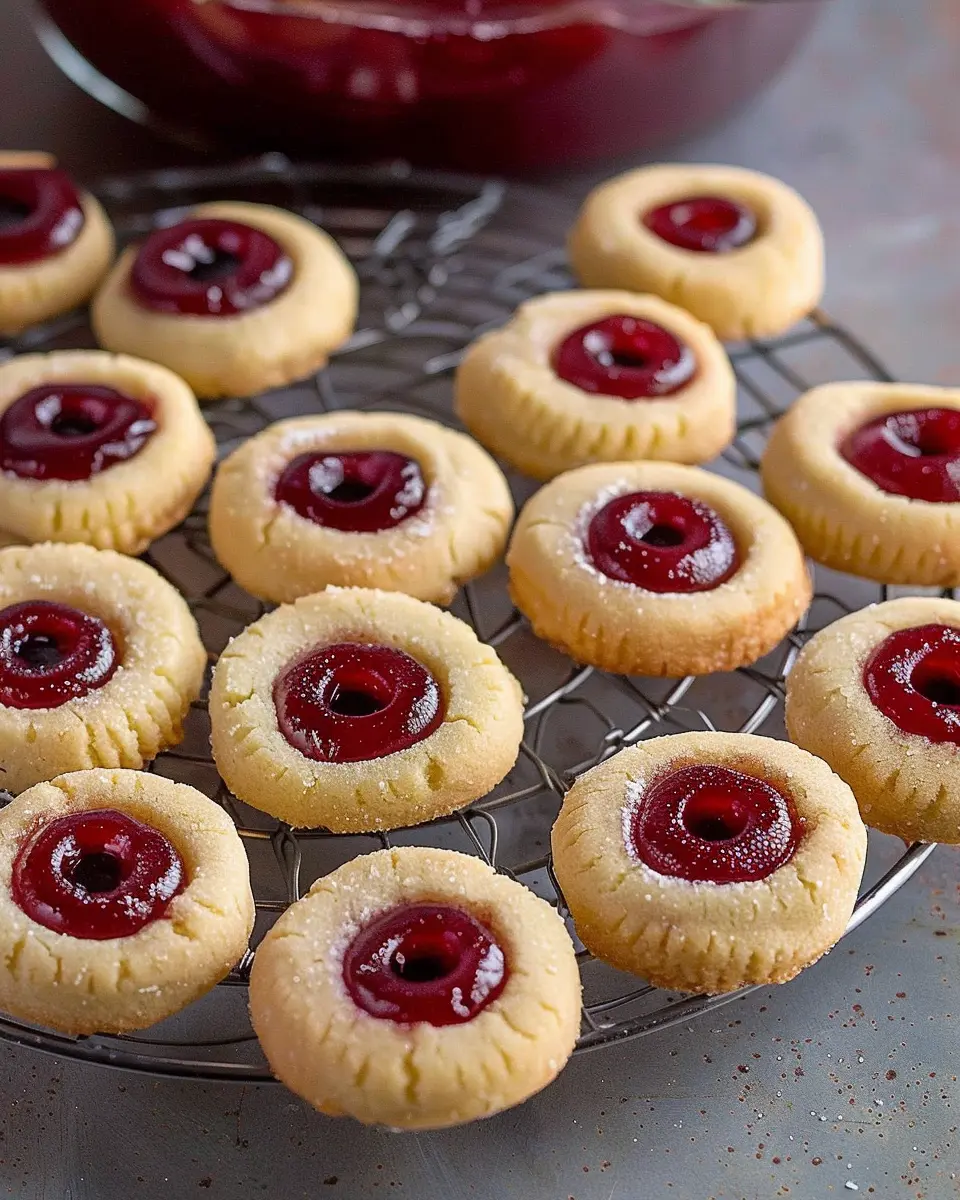
Bake the Cookies to Perfection
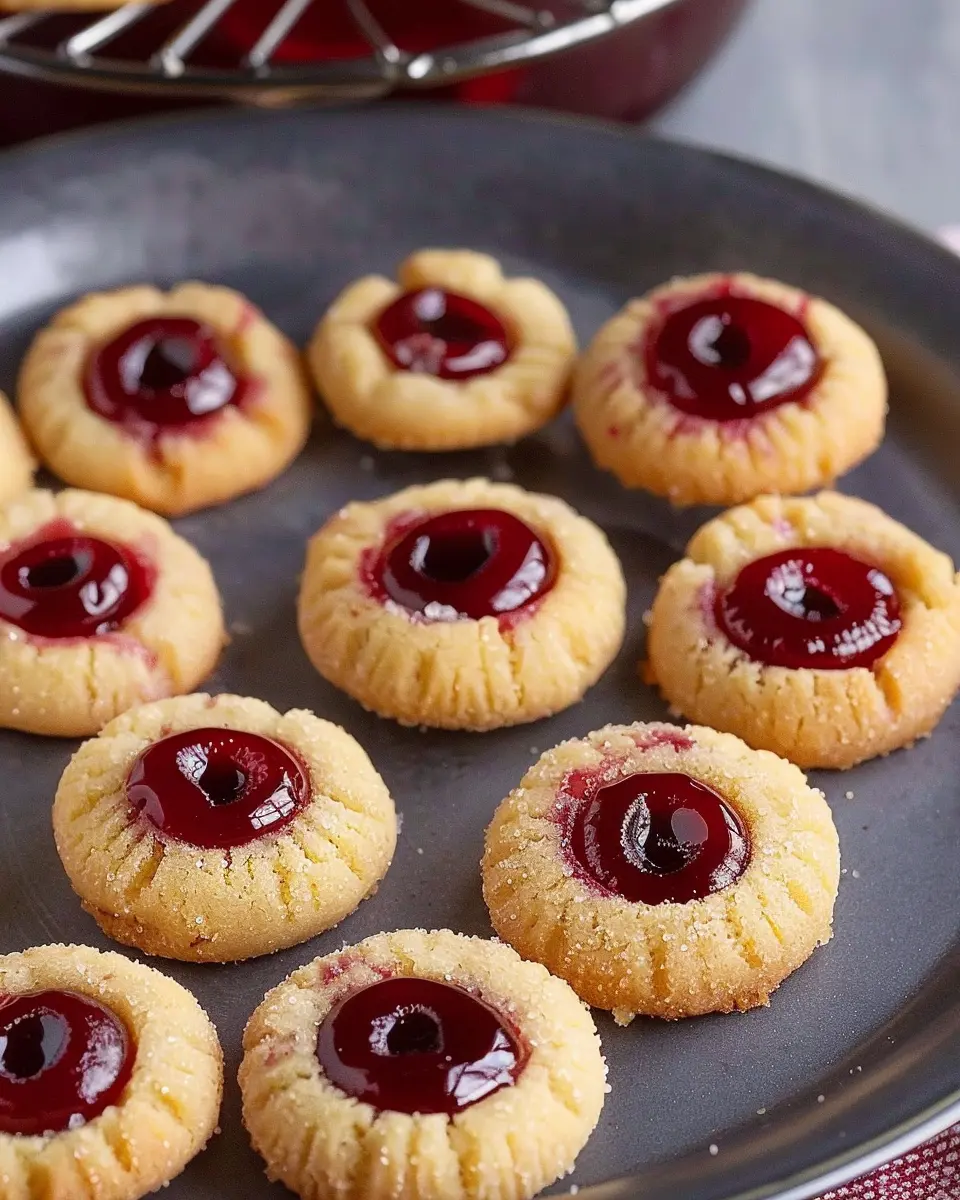
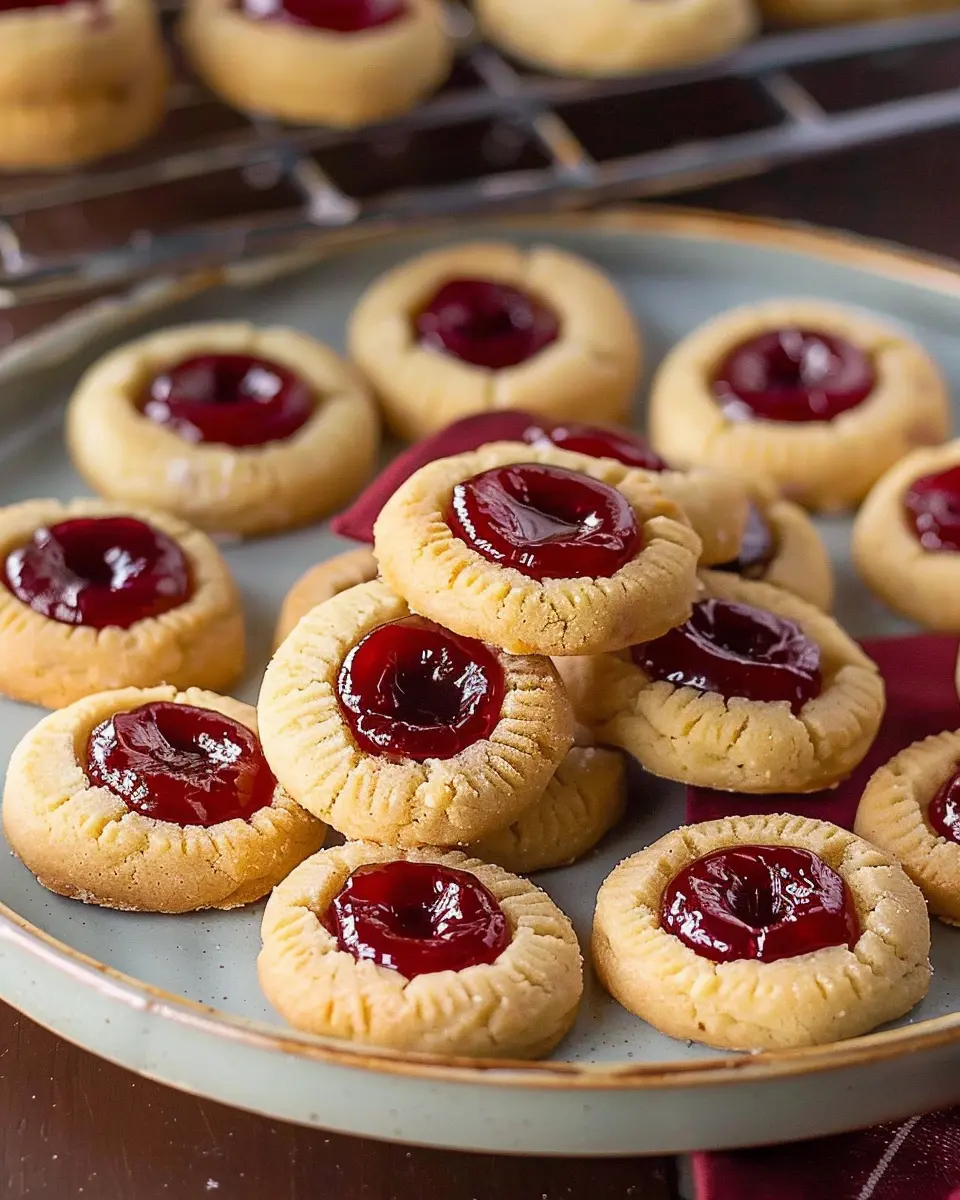
Place your cookies on a lined baking sheet, leaving ample space between each to allow for spreading. Pop them into the preheated oven and bake for about 12-15 minutes or until the edges are lightly golden. The jam will bubble a bit as it cooks, creating a beautiful contrast with the cookie.
When you remove them from the oven, let your cookies cool for a few minutes on the sheet before transferring them to a wire rack to cool completely. Enjoy the delightful aroma of baking while you wait.
Now, you’re all set to impress your friends and family with these fantastic thumbprint cookies! Want fresh ideas for what to serve alongside? Check out this awesome guide to pairing desserts with beverages for some inspiration. Happy baking!
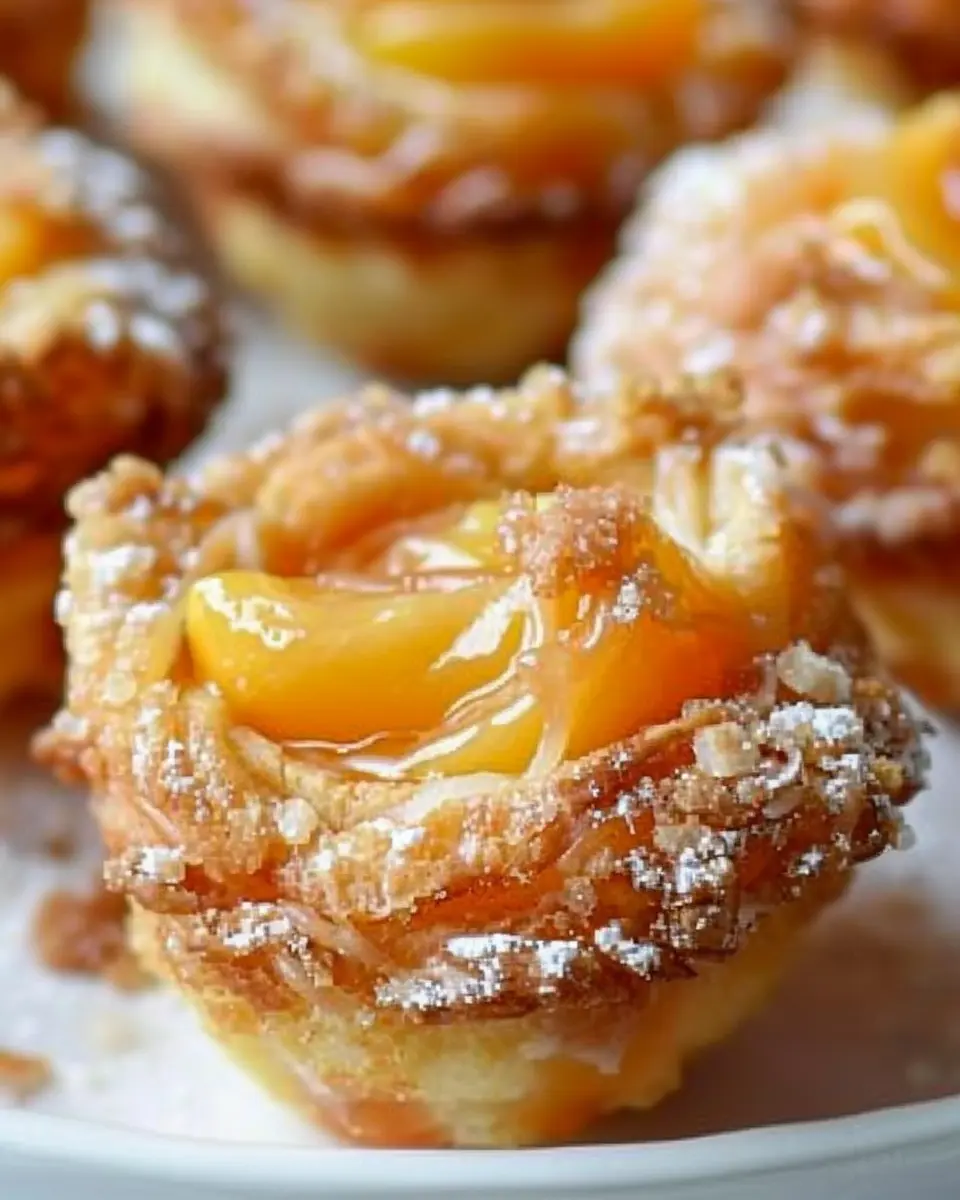
Variations on Thumbprint Cookies
Thumbprint cookies are incredibly versatile, and there are so many delightful variations you can try! Whether you’re in the mood for something nutty, chocolaty, or seasonally inspired, here are some fun twists on this classic treat.
Nutty Thumbprint Cookies
For those who love a little crunch, nutty thumbprint cookies are the way to go! Simply mix your favorite finely chopped nuts like almonds, walnuts, or pecans into the dough. You can also roll the cookie balls in crushed nuts before baking for an extra layer of flavor and texture. If you’re feeling adventurous, try pairing your nuts with different fillings like honey or maple syrup for a unique twist. Nut lovers, rejoice!
Chocolate Thumbprint Cookies
Who can resist the allure of chocolate? Transform your thumbprint cookies into delightful chocolate treats by adding cocoa powder to the dough. This variation works great with a chocolate filling, but you can also experiment with flavors like caramel or nut butter. Drizzling melted chocolate on top of the cookies after baking adds an extra touch of indulgence. It’s the perfect way to satisfy your chocolate cravings!
Seasonal Jam Thumbprint Cookies
Embrace the flavors of the season by using seasonal jams as your cookie filling. In the summer, try fresh raspberry or strawberry jam; in the fall, go for rich pumpkin spice or apple butter. This gives your thumbprint cookies a delicious twist that reflects what’s fresh and available. Choosing locally made jams can also support your community and enhance the flavor profile of your cookies.
These variations offer endless possibilities to experiment with textures and flavors, making your thumbprint cookies perfect for any occasion. So why not dive into the kitchen and unleash your creativity? For more cookie inspiration, check out King Arthur Baking for some fantastic tips!
Baking Tips and Notes for Thumbprint Cookies
Key tips for success
When diving into the world of thumbprint cookies, remember these essential tips for the best results:
- Chill the dough: After mixing, letting the dough chill for at least 30 minutes helps prevent spreading. This is a game-changer for achieving that perfect cookie shape!
- Use a reliable jam: The filling can make or break your cookies. Opt for high-quality fruit preserves or homemade jam for a delicious burst of flavor. Check out this jam-making guide for a fun DIY project!
- Size matters: Roll your cookie dough into uniform balls (around 1 inch in diameter) to ensure even baking and filling distribution.
Common mistakes to avoid
While baking thumbprint cookies, watch out for these common pitfalls:
- Overworking the dough: Mix just until combined to maintain a tender texture.
- Skipping the flour measurement: Too much flour can lead to dry cookies. Always measure accurately! A kitchen scale can be a handy tool.
- Neglecting the filling: Don’t leave the thumbprint too shallow; you want enough room for a generous dollop of jam!
With these tips, you’ll create delightful thumbprint cookies that are sure to impress! Happy baking!
Serving Suggestions for Thumbprint Cookies
Perfect pairings with beverages
When it comes to enjoying thumbprint cookies, sipping the right drink can elevate your experience. Consider pairing these delightful treats with:
- Herbal teas: The soothing notes of chamomile or peppermint create a lovely contrast to the sweetness.
- Coffee: A rich, aromatic brew complements the buttery cookies beautifully, balancing the flavors perfectly.
- Milk alternatives: Almond, oat, or coconut milk can enhance the texture and add a subtle flavor twist.
Experimenting with beverages not only enhances the taste but also makes for a cozy, comforting moment. For even more delightful drink ideas, check out Tea Association or Specialty Coffee Association.
Creative serving ideas
Now that you have your beverages sorted, let’s talk presentation. Here are some fun ways to serve your thumbprint cookies:
- Decorative platters: Arrange your cookies on colorful platters for an inviting look.
- Gift jars: Fill mason jars with your cookies tied with ribbons for a charming homemade gift.
- Cookie bars: Host a cookie bar during gatherings, offering various flavors and toppings for guests to customize their own!
By mixing and matching these ideas, you’ll create a delightful atmosphere that makes every bite even more enjoyable.
Time Breakdown for Thumbprint Cookies
When craving delightful thumbprint cookies, it’s always handy to know how much time to set aside for your baking adventure. Here’s a simple breakdown to keep you organized and ready to impress!
Preparation Time
You’ll spend about 15–20 minutes getting everything prepped. This includes gathering ingredients, mixing your dough, and creating those iconic thumbprint indentations. It’s the perfect time to crank up your favorite playlist!
Baking Time
Pop those cookies in the oven for around 12–15 minutes. The aroma will make it hard to resist sneaking a taste before they’re fully cooled!
Total Time
In just about 30–35 minutes, you’ll have a batch of thumbprint cookies ready to enjoy. It’s a quick and satisfying process, and your friends will be so grateful you made them!
For an extra treat, consider pairing these cookies with a warm cup of tea or coffee. Check out more delicious recipes and tips on Food Network for your next baking session!
Nutritional Facts for Thumbprint Cookies
Calories per cookie
If you’re curious about the caloric content of thumbprint cookies, they generally come in at about 80-100 calories per cookie, depending on the ingredients and toppings you choose. This means they can fit nicely into a variety of snacking occasions, whether you’re enjoying them with coffee or sharing them at a gathering.
Sugar content
A typical thumbprint cookie contains around 6-8 grams of sugar, giving them that delightful sweetness without being overly indulgent. If you’re mindful of sugar intake, consider using natural alternatives or reducing the quantity slightly in your recipe.
Dietary considerations
For those with dietary restrictions, thumbprint cookies can be modified to accommodate different needs:
- Gluten-Free: Substitute regular flour with almond flour or gluten-free flour blends.
- Vegan Option: Replace butter with coconut oil or vegan butter and use flaxseed meal as an egg substitute.
- Nut Allergies: Use sunflower seeds or oats in place of nut-based ingredients or toppings.
For further reading on cookie nutrition, you can check out resources like the USDA National Nutrient Database or the American Heart Association’s guidelines on sugar intake. Remember, moderation is key, and these cookies can be enjoyed as part of a balanced diet!
FAQs about Thumbprint Cookies
How can I make thumbprint cookies gluten-free?
Making thumbprint cookies gluten-free is a breeze! Simply substitute all-purpose flour with a quality gluten-free blend. Look for one that contains xanthan gum, as this ingredient mimics the elasticity of gluten. You might also consider using almond flour for a delicious, nutty flavor. Remember to double-check that any added ingredients, like jam, are also gluten-free. This way, everyone can enjoy these delightful treats!
What’s the best jam to use for thumbprint cookies?
When it comes to filling your thumbprint cookies, the options are practically endless! The traditional choice is raspberry or apricot jam, both of which offer a perfect balance of sweet and tart. However, feel free to experiment with your favorites—strawberry, blueberry, or even lemon curd can elevate the flavor. If you’re aiming for a unique twist, why not try a homemade jam? Check out a simple recipe from Bon Appétit for a delightful addition to your cookies!
Can I freeze thumbprint cookies?
Absolutely! Freezing thumbprint cookies is a fantastic way to keep them fresh for longer. Simply bake and cool the cookies, then flash freeze them on a baking sheet before transferring them to an airtight container or freezer bag. They can last up to three months in the freezer. For the best experience, let them thaw at room temperature and then add fresh jam right before serving for that just-baked feel. Perfect for unexpected visitors or a late-night snack!
So, whether you’re baking for a gathering or simply indulging in a cookie jar moment, we’ve got you covered with these easy-to-follow tips!
Conclusion on Thumbprint Cookies
Recap and encouragement to bake at home
In conclusion, baking thumbprint cookies is an enriching experience that combines creativity with the joy of flavor. These delightful treats not only bring warmth to your home but also offer a wonderful way to connect with family and friends. With a versatile base and endless filling options, they are perfect for any occasion or just as a sweet pick-me-up.
So grab your apron, roll up your sleeves, and let’s get baking! Nothing beats the satisfaction of pulling warm cookies from the oven and sharing them with loved ones. Need inspiration? Check out this baking guide to elevate your skills and explore more delicious recipes. Happy baking!
PrintThumbprint Cookies: The Best Indulgent Treat for Any Occasion

Delicious and easy-to-make Thumbprint Cookies filled with your favorite jam, perfect for any celebration.
- Prep Time: 15 minutes
- Cook Time: 15 minutes
- Total Time: 30 minutes
- Yield: 24 cookies
- Category: Dessert
- Method: Baking
- Cuisine: American
- Diet: Vegetarian
Ingredients
- 1 cup unsalted butter, softened
- 3/4 cup granulated sugar
- 2 large eggs
- 2 teaspoons vanilla extract
- 2 1/4 cups all-purpose flour
- 1/2 teaspoon salt
- 1 cup fruit jam (your choice)
- 1/2 cup powdered sugar (for dusting)
Instructions
- Preheat your oven to 350°F (175°C) and line a baking sheet with parchment paper.
- In a mixing bowl, cream together the softened butter and granulated sugar until light and fluffy.
- Add the eggs one at a time, followed by the vanilla extract, mixing well after each addition.
- Gradually add the flour and salt, mixing until combined.
- Using your hands, shape the dough into small balls and place them on the prepared baking sheet.
- Use your thumb to create an indent in the center of each cookie.
- Fill each indent with your choice of fruit jam.
- Bake for 12-15 minutes or until the edges start to turn golden.
- Let cool slightly before dusting with powdered sugar.
Notes
- For a twist, try using different types of jams or even chocolate ganache!
- Ensure to not overbake the cookies for the best texture.
Nutrition
- Serving Size: 1 cookie
- Calories: 150
- Sugar: 10g
- Sodium: 50mg
- Fat: 8g
- Saturated Fat: 5g
- Unsaturated Fat: 2g
- Trans Fat: 0g
- Carbohydrates: 18g
- Fiber: 0g
- Protein: 2g
- Cholesterol: 30mg