Introduction to Starbucks Birthday Cake Pops
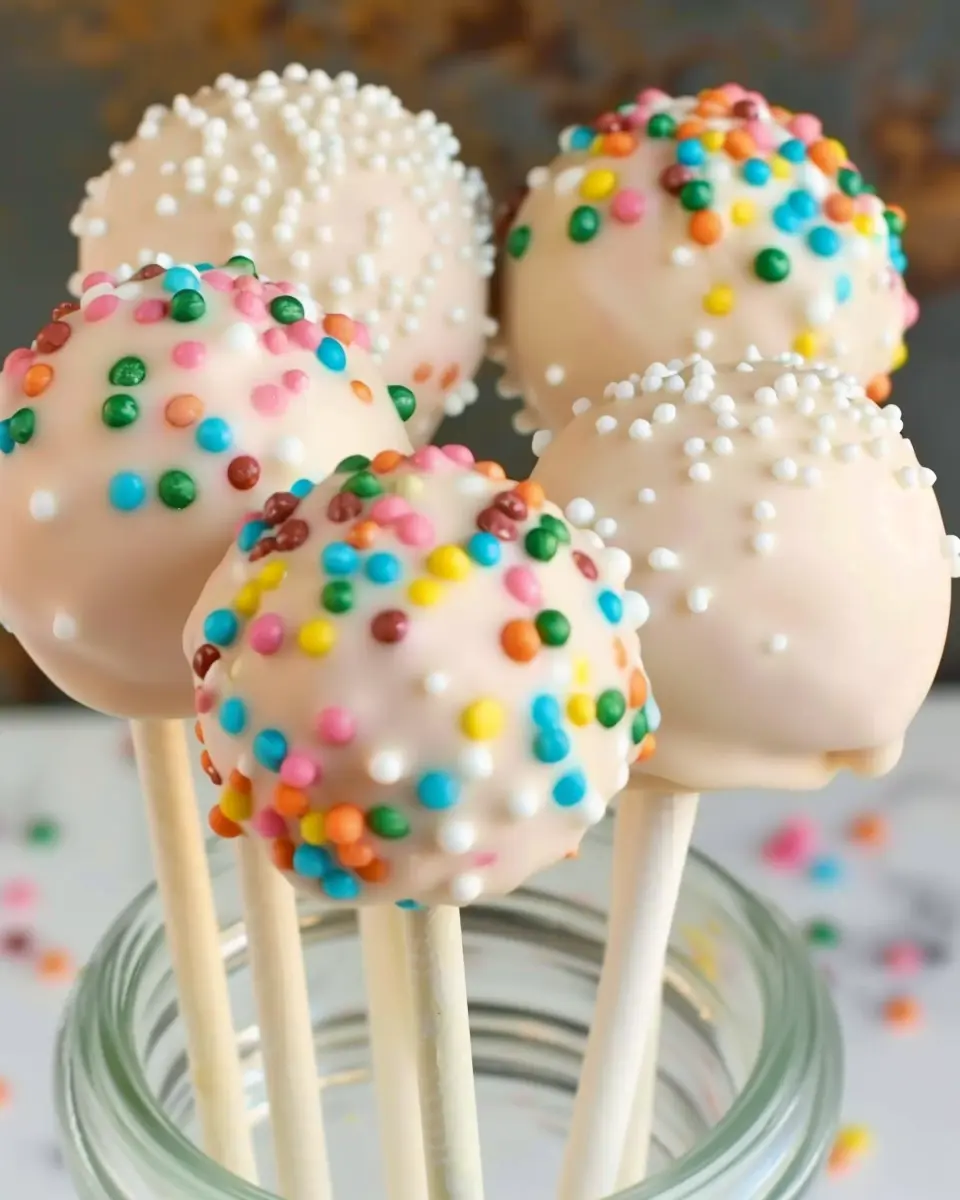
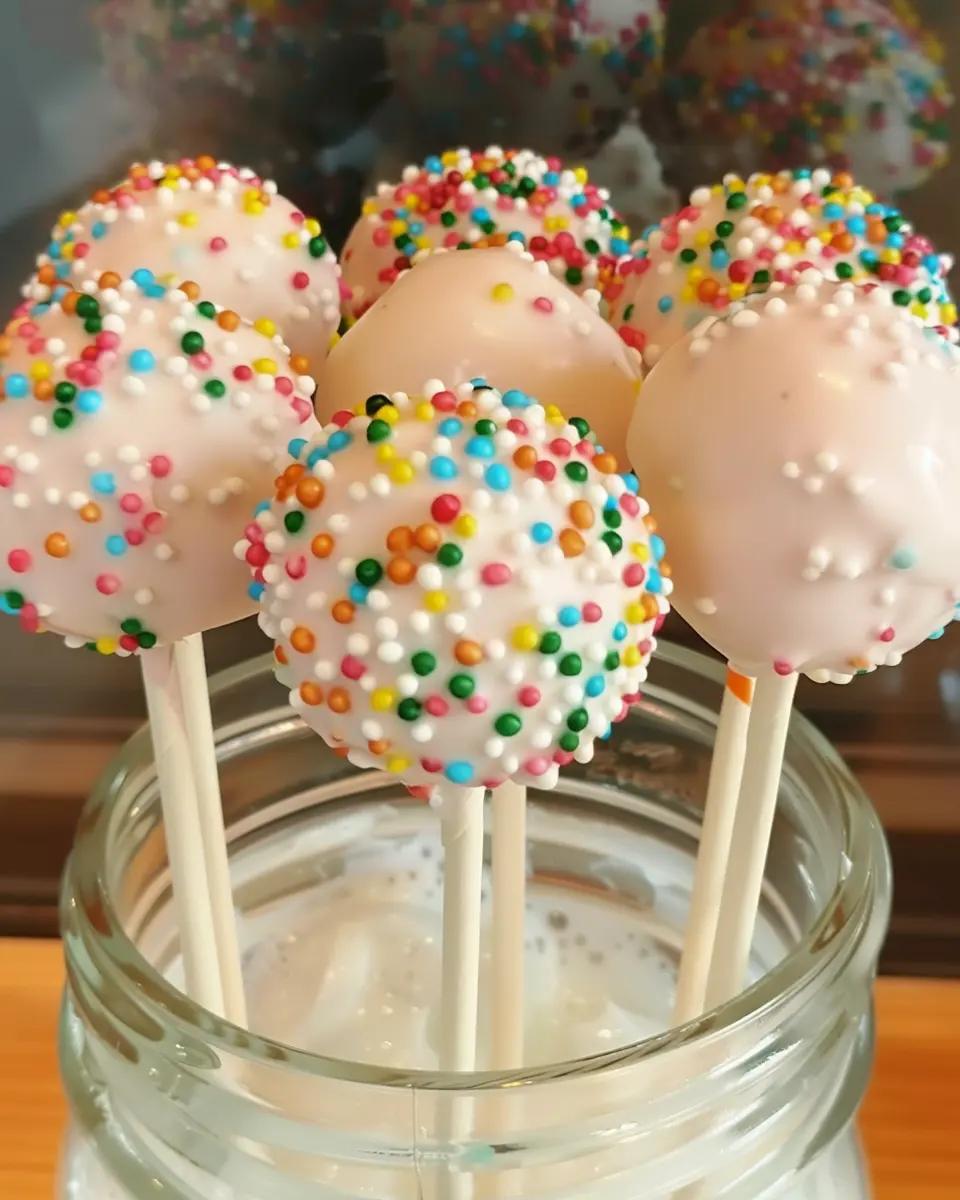
If you’ve ever savored a Starbucks Birthday Cake Pop, you know just how delightful they can be. These little treats are not just a visual feast; they are a delicious combination of cake and frosting, beautifully coated in chocolate or candy melts. The good news? You can recreate this joy right in your kitchen! In this section, let’s dive into the magic of homemade cake pops and why they are worth the effort.
The Joy of Homemade Cake Pops
There’s something incredibly rewarding about making treats from scratch. It’s not just about the end product; it’s about the experience of mixing ingredients and creating something uniquely yours. When you whip up a batch of cake pops, you aren’t just baking; you’re crafting edible art.
The first time you bite into a cake pop you’ve made yourself, you’ll understand how satisfying it is. You control the flavors, the texture, and even the decoration. Want to add a sprinkle of sea salt on top for a sweet and salty combo? Go for it! Craving a touch of vibrant color? Use different candy melts to customize them.
Benefits of Making Cake Pops:
- Customization: You can tailor flavors to suit your preferences—think vanilla, chocolate, or even red velvet.
- Fun for Gatherings: Cake pops are perfect for parties, and they can be a hit at birthdays, holidays, or even casual meet-ups with friends. The impressive presentation makes them a great conversation starter.
- Control Over Ingredients: By making them yourself, you have control over the quality of ingredients you use. This is especially helpful if you’re catering to certain dietary restrictions.
Not quite sure where to start? You might find resources at Serious Eats helpful for additional insights on cake making and decorating techniques.
As you embark on this flavorful journey, remember to keep it light and fun. Who knows? You might even discover a new hobby in cake pops! So grab your baking gear, and let’s dive into making the perfect Starbucks Birthday Cake Pops.
Ingredients for Starbucks Birthday Cake Pops
Essential ingredients for the perfect cake pop
Creating your own Starbucks Birthday Cake Pops at home is a delightful way to celebrate any occasion! To get that signature flavor and texture similar to what you love at Starbucks, here’s what you’ll need:
- Cake Mix: Opt for a funfetti cake mix for that classic birthday vibe.
- Frosting: You can’t go wrong with creamy vanilla frosting; it binds everything together perfectly.
- Chocolate Melts: Use white chocolate melts for coating, providing a sweet canvas for the pops.
- Sprinkles: Don’t hold back here—colorful sprinkles add the festive touch we all adore!
- Lollipop Sticks: Essential for securing your pops; try to find sturdy ones that won’t break easily.
- Styrofoam Block: This will hold your cake pops upright while they set.
Gather these simple ingredients, and you’re on your way to impressing friends and family! If you’re curious about the science behind baking, this article on baking basics could provide valuable insights.
Imagine sharing a plate of these adorable cake pops at your next gathering—what a sweet conversation starter!
Preparing Starbucks Birthday Cake Pops
Starbucks Birthday Cake Pops have become a delightful treat, loved for their moist cake inside a rich coating. Making them at home can be a fun and rewarding experience, allowing you to display creativity while treating your taste buds. Let’s dive into the preparation process with easy-to-follow steps.
Step 1: Prepare the cake
The foundation of your Starbucks Birthday Cake Pops starts with a delicious cake. You’ll want to use a vanilla cake mix or even make one from scratch if you’re feeling adventurous. Here’s how to prepare your cake:
-
Gather your ingredients:
-
1 box of vanilla cake mix
-
Ingredients as specified on the cake mix box (usually water, eggs, and oil)
-
Instructions:
- Preheat your oven to the temperature as directed on the box.
- Mix the cake batter according to the instructions.
- Pour the batter into a greased baking pan and bake until golden brown, typically around 30 minutes.
- Allow the cake to cool completely before proceeding to the next step. Cooling is crucial, as it helps retain moisture.
Step 2: Create cake pop dough
Once your cake has cooled, it’s time to transform it into cake pop dough. This step is where the magic really happens, so get ready:
-
Crumble the cake:
-
Once the cake is cool, break it into small pieces in a large mixing bowl. Make sure there are no large chunks remaining.
-
Add frosting:
-
Now, add frosting to the crumbled cake. A good starting point is around ½ cup of vanilla frosting, but feel free to adjust based on your preference for moistness. Mix it well until fully incorporated. The ideal texture should feel like playdough—moldable and slightly sticky.
Step 3: Form the cake balls
Here comes the fun part! Forming your Starbucks Birthday Cake Pops into balls adds a personalized touch:
-
Scoop and roll:
-
Use a cookie scoop or your hands to portion out about 1 tablespoon of cake dough. Roll each portion into a smooth ball, making sure they are uniform in size to ensure even coating later.
-
Set aside:
-
Place the formed balls on a baking sheet lined with parchment paper. Make sure they are spaced out to prevent sticking.
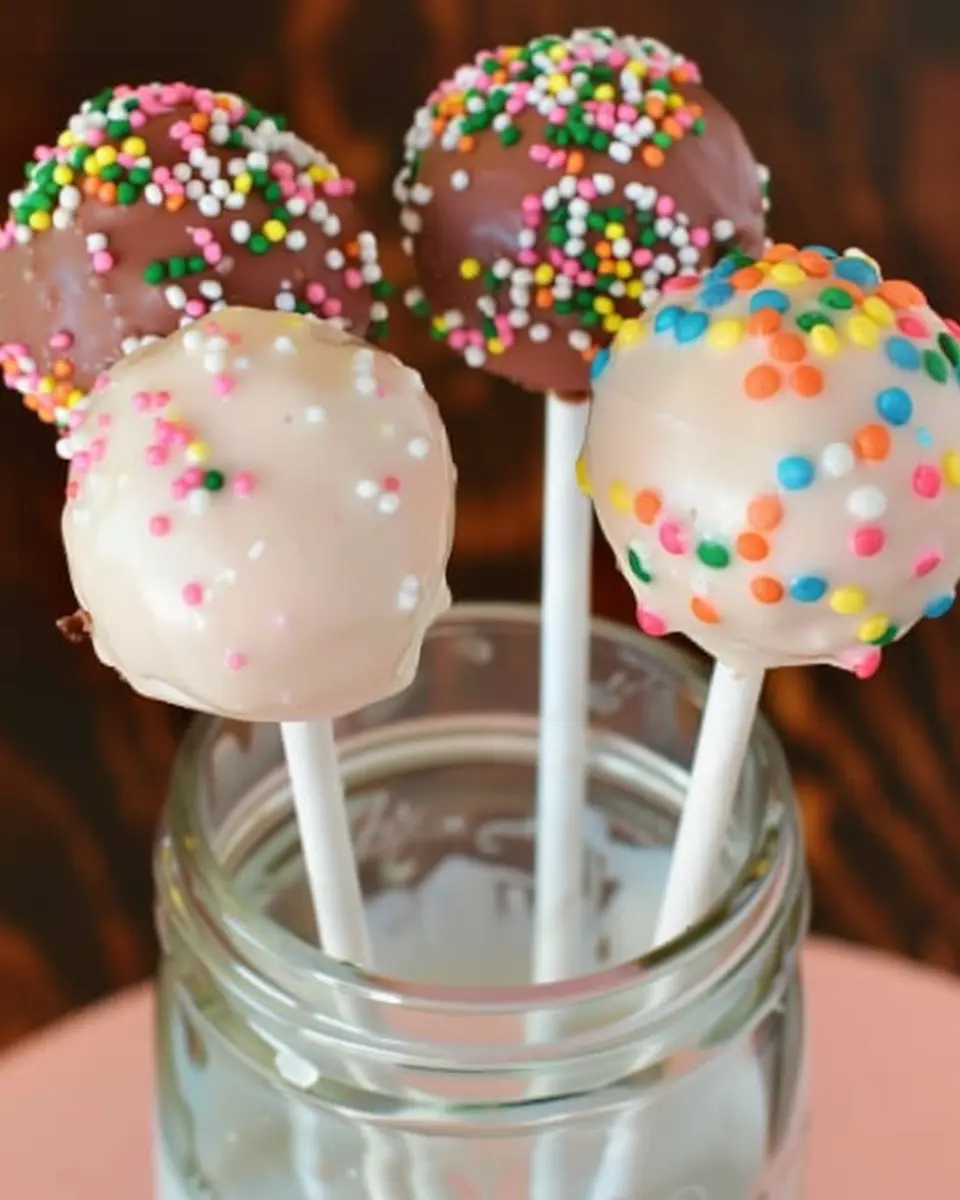
Step 4: Dip and decorate the pops
Dipping and decorating is arguably the best part! Here’s how to bring those cake pops to life:
-
Melt the coating:
-
Use a microwave-safe bowl to melt candy melts or chocolate, stirring every 30 seconds until smooth.
-
Dip the sticks:
-
Dip the tip of a lollipop stick into the melted chocolate before inserting it into the cake ball. This helps adhere the stick to the cake pop.
-
Dip the cake balls:
-
Gently dip each cake ball into the melted chocolate, allowing excess to drip off.
-
If desired, you can sprinkle colorful birthday-themed decorations or sprinkles over the chocolate before it sets for that festive touch.
Step 5: Allow to harden
Patience pays off in this final step:
-
Set the pops:
-
Place the decorated cake pops upright in a piece of Styrofoam or a cake pop stand to allow the coating to harden completely.
-
Cooling time:
-
Let them cool for at least 30 minutes or until the chocolate feels solid to touch.
And voila! There you have it—homemade Starbucks Birthday Cake Pops that are sure to impress your friends and family. Try them at parties, as gifts, or just for a sweet treat on a cozy evening. If you want to tweak the flavor, consider adding flavor extracts like almond or lemon to the cake mix, or experimenting with different chocolate coatings. Happy baking! For more cake-related creativity, check out Bakerella, a fantastic resource for all things cake pops.
Variations on Starbucks Birthday Cake Pops
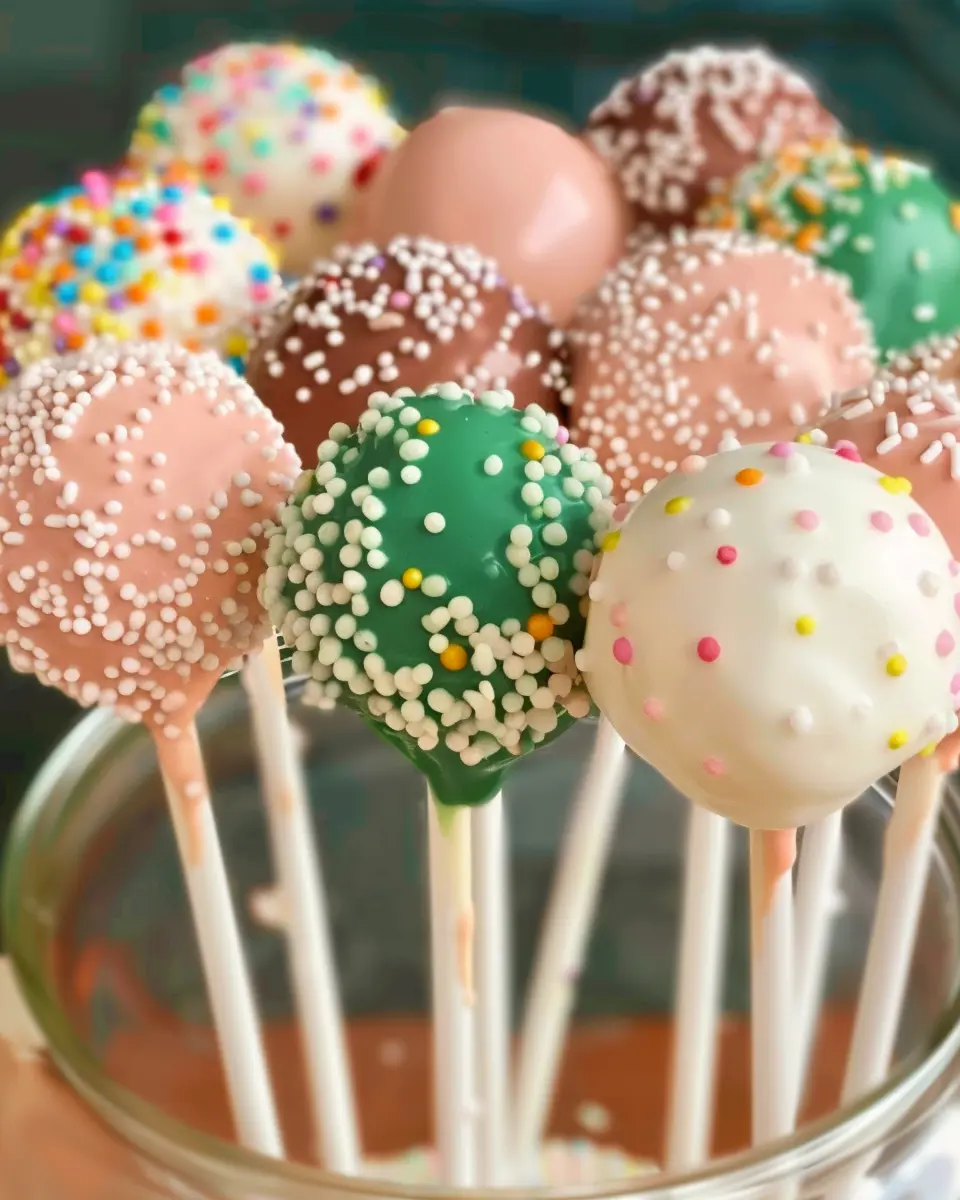
Cake pops are a delightful treat, and there’s something incredibly satisfying about creating your own versions at home. Let’s explore some fantastic variations of Starbucks Birthday Cake Pops that can suit various taste preferences!
Chocolate Cake Pops
Chocolate lovers, rejoice! For a scrumptious twist, swap out the vanilla cake for rich, moist chocolate cake. You can use your favorite chocolate cake recipe or a boxed mix. Just remember to incorporate chocolate frosting to maintain that deliciously creamy texture. For a finishing touch, dip your pops in dark or milk chocolate and sprinkle with chocolate shavings or colorful sprinkles. These are perfect for any occasion, from birthday parties to cozy movie nights.
Red Velvet Cake Pops
If you’re seeking something a little more classy, why not try Starbucks Birthday Cake Pops with a red velvet twist? The vibrant hue and tangy cream cheese frosting make for eye-catching treats. Bake your red velvet cake just as you would any other cake and mix it with cream cheese frosting for that signature taste. Dip in white chocolate and top off with red and white sprinkles for a pop of color. These treats add a touch of elegance and are sure to impress your guests.
Gluten-Free Cake Pops
For those who need a gluten-free option, you can create Starbucks Birthday Cake Pops that everyone can enjoy! Use a gluten-free cake mix or make a homemade cake with almond flour or coconut flour. Ensure your frosting is also gluten-free. For a little extra flair, try adding a bit of vanilla bean to both the cake and the frosting to enhance the flavor. These pops are not only inclusive for your gluten-sensitive friends but are also a hit at any celebration.
Creating these Starbucks Birthday Cake Pops variations allows you to share delicious treats tailored to your guests’ preferences. So, which flavor will you try first? For more cake pop inspiration, check out resources like AllRecipes or The Pioneer Woman. Happy baking!
Cooking tips and notes for Starbucks Birthday Cake Pops
Common pitfalls to avoid
When making Starbucks Birthday Cake Pops, it’s easy to face a few challenges. One common mistake is overmixing the cake batter; this can lead to tough pops. Remember, gentle mixing is your friend! Another pitfall is not cooling the cake properly before crumbling. If it’s too warm, the pops can become a gooey mess. Moreover, don’t skimp on coating the pops in chocolate; an even layer ensures delightful taste and a beautiful finish.
Making the process easier
To simplify crafting your Starbucks Birthday Cake Pops, consider prepping ingredients in advance. Measure out everything beforehand to save time and avoid stress. Using a cookie scoop can help you form uniform balls, which is key to a more professional look. Lastly, consider investing in a candy melting pot; this keeps the chocolate warm and melted, making it easier to coat each cake pop consistently.
For more tips on cake pops, check out resources from The Kitchn or Food Network. Happy baking!
Serving suggestions for Starbucks Birthday Cake Pops
When it comes to Starbucks Birthday Cake Pops, the fun doesn’t stop at just enjoying them as a sweet treat. Here are some delightful ways to elevate your experience!
Perfect pairings
Consider these perfect accompaniments for your Starbucks Birthday Cake Pops:
- Coffee: Opt for a classic brew or a seasonal cold brew to balance the richness of the cake pops.
- Tea: A refreshing cup of chamomile or mint tea can be a lovely counterpart.
- Smoothies: Try a bright berry or tropical smoothie for a fruity contrast.
These pairings not only enhance flavors but create a delightful celebration for your taste buds!
Fun serving ideas
Thinking of ways to serve your Starbucks Birthday Cake Pops? Here are some creative suggestions:
- Dessert Table: Place the pops on a decorative dessert table. Use colored plates or a tiered stand to make them visually pop.
- Gift Bags: Consider packaging them in cute gift bags with a handwritten note for your friends or coworkers celebrating a birthday.
- Mini Birthday Party: Host a small gathering to celebrate special moments! Serve the pops alongside party hats and confetti for a festive touch.
Adding a personal touch to how you serve your cake pops turns a simple treat into a memorable experience. Check out resources like The Spruce Eats for more festive serving ideas. Who wouldn’t love a sweet surprise?
Time breakdown for Starbucks Birthday Cake Pops
When you’re excited to whip up some scrumptious Starbucks Birthday Cake Pops, it’s helpful to know the timing involved. Here’s how the time breaks down for this delightful treat:
Preparation time
Get your ingredients and tools ready—this will take about 30 minutes. Melt the chocolate, mix your cake batter, and set the stage for deliciousness.
Baking time
Time to bake! Once your cake batter is ready, pop it in the oven for about 25 minutes. Keep an eye on it, as every oven is a bit different.
Total time
From start to finish, you’re looking at about 1 hour and 15 minutes. This includes preparation, baking, and cooling time.
Curious to see the detailed instructions? Check out these baking tips to elevate your cake pop game! If you’ve ever been dazzled by the festive flavors of Starbucks Birthday Cake Pops, you’re just moments away from bringing that joy into your kitchen.
So, gather your supplies and let’s create some magic!
Nutritional Facts for Starbucks Birthday Cake Pops
When indulging in Starbucks Birthday Cake Pops, it’s essential to consider their nutritional impact. These delightful treats, perfect for a celebration or a sweet pick-me-up, come with some interesting facts.
Calories
Each Starbucks Birthday Cake Pop packs approximately 170 calories. While this makes them a fun treat, moderation is key, especially if you’re watching your caloric intake.
Sugar Content
You might want to keep an eye on the sugar content—each pop can contain around 20 grams of sugar. This sweet factor certainly adds to the celebration vibe but can also spike your daily sugar levels.
Dietary Restrictions
If you’re concerned about dietary restrictions, here’s the scoop: Starbucks Birthday Cake Pops may contain gluten and dairy, making them less than ideal for those with specific food allergies or intolerances. Always check with your barista for the latest ingredient information if you have any dietary concerns.
For more nutritional insights on treats like these, consider visiting sources such as the USDA FoodData Central to make informed choices. Have you ever wondered how these calories stack up against other popular snacks? It might surprise you to see how they fit into your daily diet!
FAQs about Starbucks Birthday Cake Pops
When you’re whipping up a batch of Starbucks Birthday Cake Pops, it’s natural to have questions. Let’s dive into some common queries that many bakers face when making these delightful treats!
How long can I store cake pops?
Starbucks Birthday Cake Pops are a delightful indulgence, and you’ll want to enjoy them at their best. If stored properly, these cake pops can last up to a week at room temperature. Just make sure to keep them in an airtight container to maintain freshness. For longer storage, consider refrigerating them, where they can last for up to two weeks.
Can I freeze cake pops?
Absolutely! Freezing is a great option if you want to prepare ahead of time. Before freezing, ensure the cake pops are well wrapped in plastic wrap and then placed in a freezer bag. They can last up to six months in the freezer. When you’re ready to enjoy, simply let them thaw in the refrigerator overnight for the best texture.
What can I use instead of candy melts?
If you’re wanting to skip candy melts for your Starbucks Birthday Cake Pops, there are several alternatives you can try:
- Chocolate Chips: Melt regular chocolate chips for a rich flavor. You might need to add a bit of shortening to achieve the right consistency.
- White Chocolate: For a sweeter option, melt white chocolate and drizzle it over the cake pops.
- Yogurt Coating: If you’re looking for something a bit healthier, consider a yogurt coating, which can add a unique flavor twist.
These alternatives not only work well but can also give your cake pops a personalized touch!
For more tips, check out this resource on cake pops to deepen your baking knowledge! Whether you’re celebrating a birthday or just treating yourself, creating Starbucks Birthday Cake Pops at home can be a fun and rewarding experience.
Conclusion on Starbucks Birthday Cake Pops
Creating your own Starbucks Birthday Cake Pops at home is not only satisfying but also a fun way to celebrate any occasion. The process of mixing, shaping, and decorating these delightful treats allows you to unleash your inner baker. Plus, you can customize flavors and colors to match your unique style!
Think about it—how often do you get to impress friends with homemade desserts that taste just as good, if not better, than the store-bought version? It’s a rewarding experience! So grab your ingredients, channel your creativity, and make these indulgent pops for your next gathering. For more cake pop inspiration, check out Bakerella’s Cake Pops, where you can dive deeper into the world of fun desserts.
PrintStarbucks Birthday Cake Pops: Easy Homemade Delight to Celebrate

Delight in the joy of making homemade Starbucks Birthday Cake Pops! Perfect for celebrating any special occasion.
- Prep Time: 15 minutes
- Cook Time: 30 minutes
- Total Time: 1 hour
- Yield: 24 cake pops
- Category: Dessert
- Method: Baking
- Cuisine: American
- Diet: Vegetarian
Ingredients
- 1 box vanilla cake mix
- 1 cup water
- 1/2 cup vegetable oil
- 3 large eggs
- 1 can vanilla frosting
- 1 pound white chocolate melting wafers
- 1/4 cup sprinkles
Instructions
- Preheat the oven to 350°F (175°C).
- Prepare the cake mix according to the package instructions.
- Bake the cake for the specified time and let it cool completely.
- Once cooled, crumble the cake into a large bowl.
- Add the frosting to the crumbled cake and mix until well combined.
- Form the mixture into small balls and place them on a baking sheet.
- Chill the cake balls in the refrigerator for at least 30 minutes.
- Melt the white chocolate melting wafers in a microwave-safe bowl.
- Dip each cake ball into the melted chocolate and place them back on the baking sheet.
- Sprinkle with colorful sprinkles before the chocolate sets.
- Allow the chocolate to harden before serving.
Notes
- These cake pops can be customized with different flavors and decorations.
- For best results, use high-quality chocolate wafers.
Nutrition
- Serving Size: 1 cake pop
- Calories: 150
- Sugar: 12g
- Sodium: 50mg
- Fat: 7g
- Saturated Fat: 3.5g
- Unsaturated Fat: 2g
- Trans Fat: 0g
- Carbohydrates: 20g
- Fiber: 0g
- Protein: 2g
- Cholesterol: 40mg